Nail Art Supplies Starter List: What to Buy First (and What to Skip)
A tiered nail art supplies list: the core kit, paint and color, chrome and foil, then builder-level art, with what each tier unlocks and what to skip.
Start with a gel lamp, base coat, no-wipe top coat, black and white gel, dotting tools and a thin liner brush. Add gel paint and a brush set next, then chrome, foil and rhinestones, and finally builder gel for encapsulation.
How to use this list
Nail art supplies cover hundreds of products, and most beginners buy too much. This list is built the other way: start with the small set that does the most, then add one technique at a time. Each tier tells you what it unlocks, so you can stop when you have what you need.
Nail art sits on top of a finished nail, so before any art you need a clean base: color, a base coat and a top coat. If you do gel art, you also need a lamp. If you work in lacquer, you need patience for drying (see our guide to bubbles and slow drying).
The list assumes gel, since gel is the most flexible for art. Gel stays workable until you cure it, so you can fix mistakes. Lacquer art works too, but dries as you paint.
One more rule before you shop: buy from one gel system when you can. Base coat, color and top coat from the same maker are designed to work together and to cure in the same lamp, which removes a lot of guesswork. When you mix brands, test a nail first and note the cure time that works.
Tier 1: the core kit (do simple art right away)
| Item | Why you need it | Shop |
|---|---|---|
| Gel lamp | Cures gel. Match it to your gel (UV, LED or both). | Gel lamps |
| Gel base coat and no-wipe top coat | Base grips the nail. A no-wipe top coat is also the surface for chrome and foil. | Gel base, top coat |
| Gel colors: black, white, a nude, one favorite | The foundation of almost every design. | Gel colors |
| Dotting tools | Dots, hearts, flower centers, tiny polka dots. | Pickers, dotting, sponges |
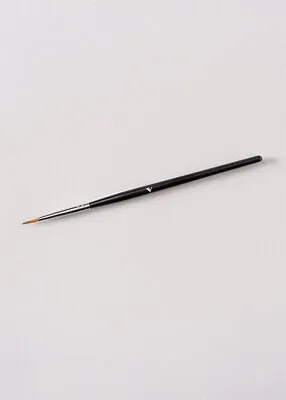
| A thin liner brush | Lines, outlines, micro French. | Art brushes |
| Lint-free wipes and cleanser | Clean up edges and wipe tacky layers when your gel needs it. | Lint-free wipes and nail wipes |
| A palette (foil or plastic) | Holds a small dot of gel paint. | Palettes and sheets |
| Buffer and dust brush | Smooth the surface and brush off dust. | Dust brushes |
| Cuticle oil | Finish every set and keep nails flexible. | Cuticle oil |
With these items you can do dots, lines, French tips, checkers and simple animal prints. The AAD also advises sunscreen with SPF 30 or higher on the hands before gel curing, so add that to your kit.
Tier 2: paint and color (get your first art effects)
- Gel paint or gel liner. Thick, pigmented gels for detailed art. A 12-color precision gel paint set is a quick way to get a palette. See our guide to gel paint and liners.
- Striping gel. Ink-like gel for straight, even lines.
- Marble gel ink. For swirls and watercolor effects.
- A brush set. A 7- or 10-piece art brush set from DL Professional gives you liner, detail, flat and fan brushes in one purchase.
- Ombre sponge or brush. For baby boomer fades. See how to do baby boomer nails.
- French brush. For smile lines. See French tip methods.
This tier lets you do hand-painted flowers, French variations, animal prints, abstract lines and ombre. It is the best value upgrade, because gel paint and a good liner brush cover most designs people ask for.
Tier 3: shine and texture (chrome, foil, stones)
- Chrome powder. Mirror, pearl, aurora and holographic. Needs a no-wipe top coat, which you already have. See how to do chrome nails.
- Transfer foils. Marble, metallic, crackle and mesh. See how to use nail foil.
- Rhinestones and a rhinestone gel adhesive. Plus a wax pencil or picker. See how to apply rhinestones.
- Charms and decals. Quick 3D and flat accents.
- Glitter and pixie. For sparkle layers.
- A fine brush for chrome and powder. For clean lines of powder on tip designs.
Browse chrome, transfer foils, rhinestones and pearls, charms, decal stickers and glitter and pixie.
Buy one product from this tier at a time. Chrome and foil are both cheap to try and do not take a lot of space.
Tier 4: builder-level art (encapsulation, 3D, stamping)
- Clear builder gel. For encapsulation and building up 3D shapes. See builder and solid gels.
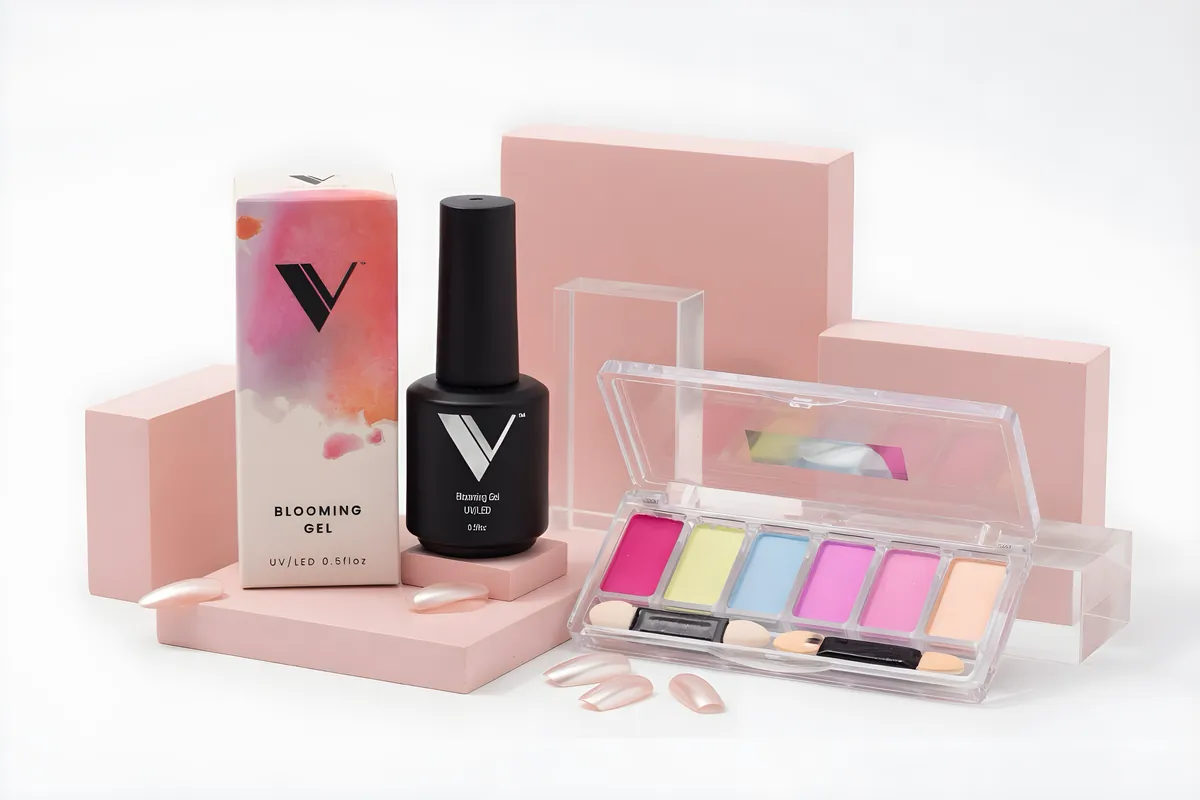
- Dried flowers, encapsulation foils and blooming gel. See how to make encapsulated nails.
- A stamping kit. For lace and repeating patterns. We carry The Studio's stamping kits and Born Pretty's stamping gel polish.
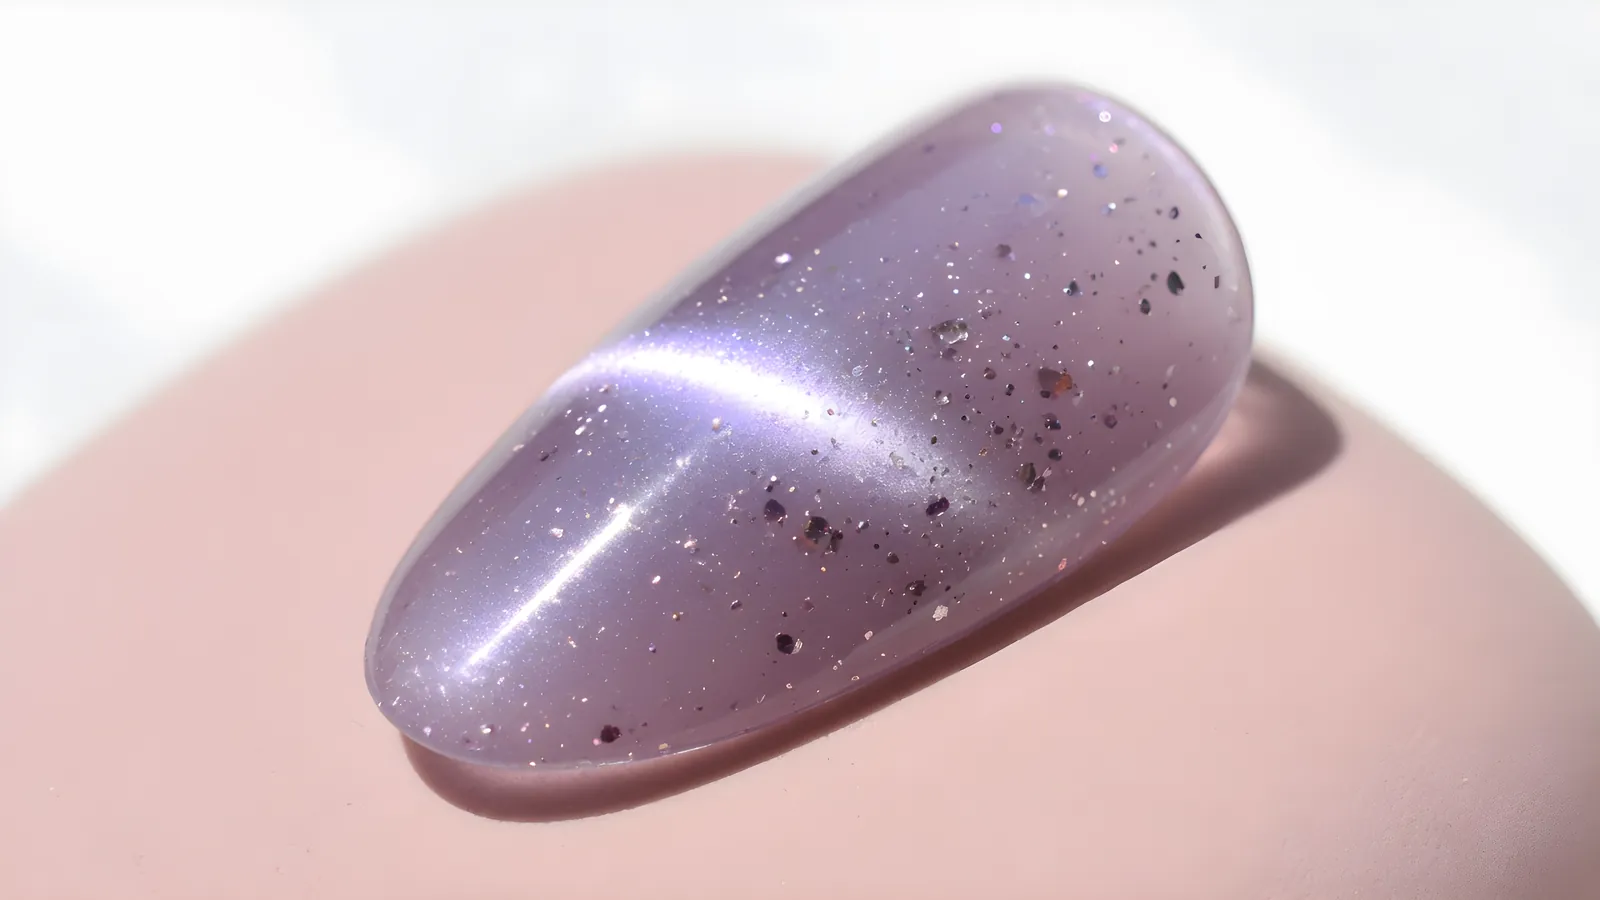
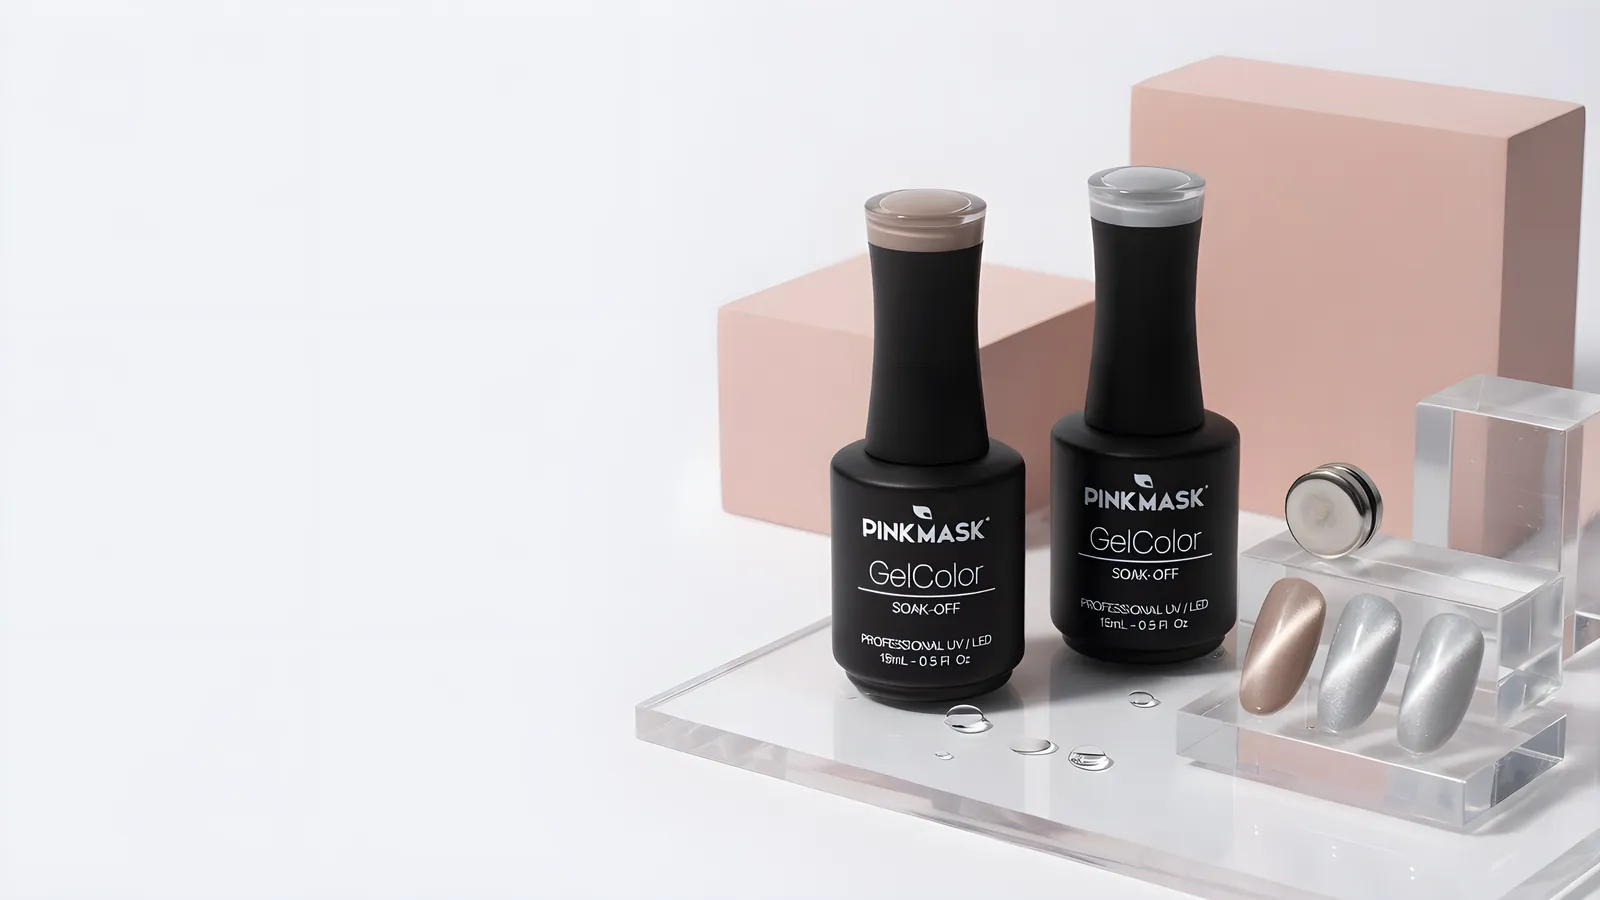
- Cat eye gels and a magnet. For shimmering magnetic effects. See cat eye magnets.
- Nail forms and tips. For sculpted shapes.
This tier needs more technique, so add it after the earlier tiers feel natural.
Shopping lists by goal
Not everyone wants the same look. Pick the goal that fits you and buy only that list.
Goal: clean, minimal designs (micro French, dots, lines)
- Black and white gel, a nude or sheer pink
- A thin liner brush and a dotting tool set
- No-wipe top coat
Goal: glossy, shiny looks (chrome, glazed, foil)
- A no-wipe top coat (the most important item)
- Two or three chrome powders, such as a pearl, a mirror silver and a gold
- A pack of transfer foil and foil gel or foil glue
- A soft dust brush
Goal: bling (stones, charms, pixie)
- Flat-back rhinestones in two or three sizes
- Rhinestone gel adhesive and builder gel
- A wax pencil or picker, and fine tweezers
- A few charms and a clear gel to lock them in
Goal: illustrated, custom art (flowers, characters, prints)
- A gel paint set in 12 colors
- A brush set with liner, detail and flat brushes
- A palette and plenty of lint-free wipes
- A strong, bright light at your work table
Techs working on clients usually need all four lists, but build them over time. Whatever you buy, check that each product's label matches your lamp and your system.
A practice plan for your first four sets
Supplies alone do not make nail art look good. Practice does. Try this plan on a practice hand or on a set of tips mounted on a stand before you move to a client or your own hands.
- Set 1: dots and lines. Do a row of dots down each nail and a straight line along the free edge. The goal is even size and spacing, not a fancy design.
- Set 2: French and checkers. Draw a smile line on every nail and make a small checkerboard. These teach you to control a liner brush and to cure each color before adding the next.
- Set 3: a sponge fade or chrome. Practice a baby boomer fade or a full chrome nail. Both teach you timing and a light touch.
- Set 4: a mixed set. Pick one nail for foil, one for stones and two for painted shapes, and keep the rest plain. Accent nails look intentional and let you use many techniques without a busy look.
Take a photo of each set. Compare the photos after a month and you will see which skills moved forward and which need more time. If one technique keeps frustrating you, go back to the guide for it: our posts on chrome, foil and gel paint each have a fix-it table.
If you work in a salon, plan your art supplies the way you plan your color shelf. Keep the most-used items within arm's reach, store the rest in a drawer, and write the cure time for each gel on a label so you never need to look it up mid-service.
What to skip at first
- Giant mixed art kits. They look like value but come with products you won't use. Buy single items you know you need.
- Dozens of colors. Five well-chosen colors do more than fifty random ones.
- Cheap, unlabeled gels. Check the label for what lamp the gel needs and what cure time to use. A product that doesn't cure properly makes everything above it fail.
- A drill. You do not need an e-file to do art.
- Every brush shape. Start with a liner and a dotting tool.
Setup and safety
- Ventilation. FDA advises good ventilation when you use nail products. Work near an open window or with a small fan pulling air away from you.
- UV protection. Sunscreen of SPF 30 or higher on your hands before curing, or dark gloves with cut-off fingertips, per the AAD.
- Keep gel off the skin. Gel on skin is where allergy starts. Clean up edges before you cure.
- Store gels away from light and heat. Cap them right away.
- Remove gel properly. Don't peel or pick. Soak only the fingertips in acetone.
For a table of the right lamps and cure times, see our guides on cure times and LED vs UV lamps.
Shop what's in this guide
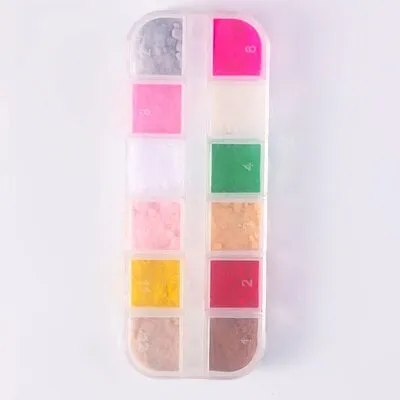
Art Pack #640 - Fluffy, Furry - 12 colors
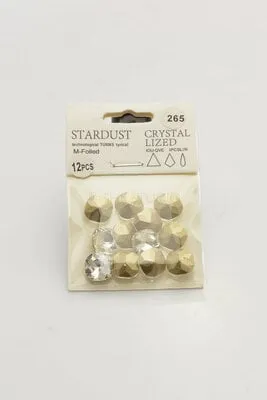
265 - Crystalized
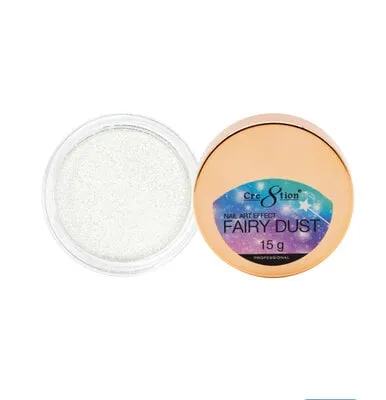
Nail Art Glitter - Fairy Dust - 12
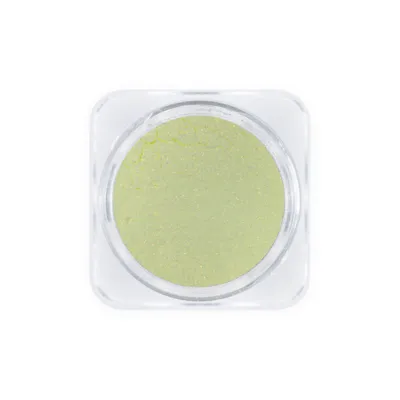
Aurora #5 - Nail Art Chrome
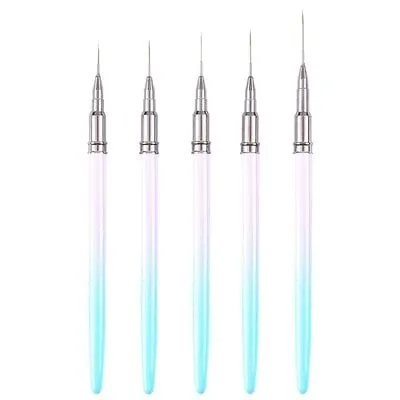
Liner Brush - 5 PC - Blue/Pink Ombre
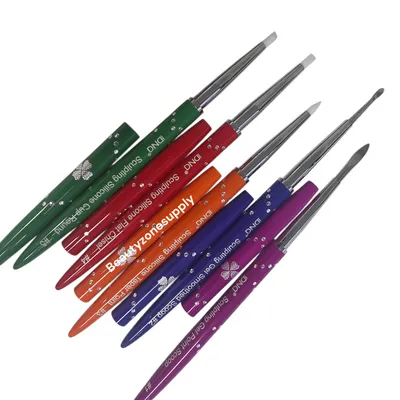
4D Brush Set - Flowers - 5 pcs
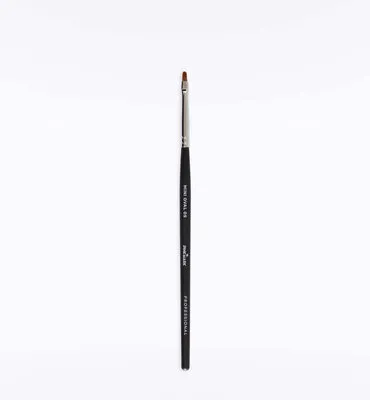
Brush Mini Oval - 05