How to Use Nail Foil Transfers With Gel or Regular Polish
How to use nail foil: foil glue vs foil gel vs no-wipe top coat, which side goes down, step-by-step for gel and polish, sealing and a fix-it table.
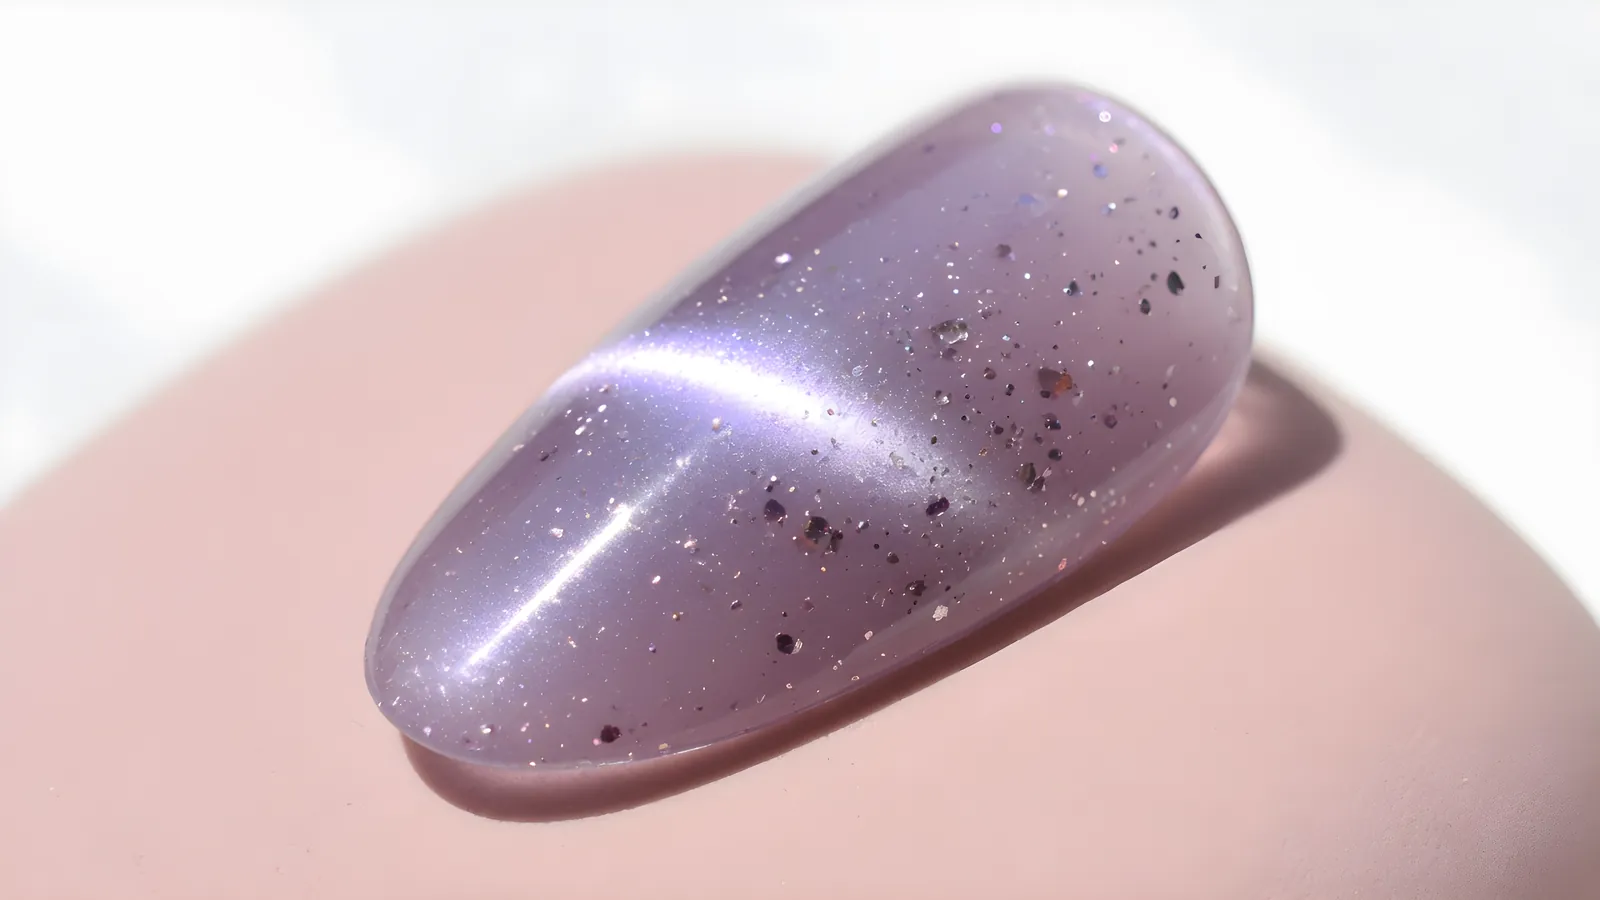
Brush foil glue or foil gel where you want the design. Wait until glue turns clear and tacky (or cure the foil gel), press the foil on with the design side facing up, peel the film away, then seal with top coat.
How transfer foil works
Transfer foil is a thin metallic or patterned coating on a clear plastic carrier film. When you press it against something sticky and then peel the film away, the coating stays on the sticky spot and the rest of the film comes off clean. That is the whole trick. The sticky spot can be foil glue, a foil gel or the tacky film left on a cured no-wipe top coat.
Because the foil only sticks where there is adhesive, you can control the design. Paint the adhesive in a pattern, a line, a heart or a full nail, and the foil copies the shape. Stick the foil on top of the whole nail and you get a full-coverage mirror or marble. Press it on in several places and you get a crackle.
You can see the design through the clear film before you use it, so you know what you will get. Most packs have a design on one side. The shiny, patterned surface should face you through the film, with the dull back of the foil against the glue. Packs differ, so check the pack for the right side.
Foil glue, foil gel or no-wipe top coat
| Adhesive | How it works | Good for | Watch out for |
|---|---|---|---|
| Foil glue | A milky liquid that you brush on and let dry until it turns clear and tacky. No lamp needed for the glue itself. | Polish and gel polish, quick designs | If it is too wet, the foil drags. If it dries too long, it stops being sticky. |
| Foil gel | A sticky gel that you cure under the lamp, then press the foil onto. One maker gives 60 seconds for the cure. | Gel manicures, controlled timing | Needs a lamp. Cure it fully for the foil to grip. |
| No-wipe gel top coat | The tacky film left on a cured no-wipe top coat. This is the same surface used for chrome. | Full-nail foils, when you don't have foil glue | The film is thin, so foil may transfer in patches. |
Which to choose depends on your workflow. If you already use gel, foil gel or the no-wipe method fits right in. Foil glue is helpful when you want to apply foil over regular polish. Browse our transfer foil base and our full transfer foils range, which has marble, metallic, rainbow, reptile skin, Christmas and mesh designs.
Step by step: foil over a gel manicure
This is the usual order from maker's directions. Always check your foil gel and top coat for cure times.
- Finish your gel manicure. Apply base and color, and cure fully. A darker color shows metallic foil best.
- Apply foil gel. Dab or paint a thin layer of foil gel where you want the design. One maker has you dab it on and cure for 60 seconds.
- Cut a piece of foil a little bigger than the area.
- Press the foil on. Place it design side up, dull side against the nail. Press it firmly with a fingertip or a silicone tool, and rub over the whole area so the edges stick.
- Peel it off. Lift the carrier film in one quick motion. The design stays where the foil gel was.
- Press again if needed. If you see gaps, press a clean piece of foil over the gap. The foil will fill in any places that missed.
- Seal. Apply a no-wipe top coat to all the nails, covering the foil, and cure. One maker gives 60 seconds for this step.
Step by step: foil glue over gel or regular polish
- Color the nail and let it cure or dry. For gel, cure and wipe if your top coat needs it. For lacquer, let it dry completely. See our guide to slow-drying polish if yours stays soft.
- Brush on a thin layer of foil glue. Use a small brush where you want the design. Don't flood.
- Wait until it turns clear. The glue goes from milky to clear and tacky. Touch it lightly with a fingertip: it should feel sticky, not wet.
- Press the foil on, design side up, and rub gently so it contacts the glue everywhere.
- Peel the film away. Do it quickly and cleanly.
- Seal. On gel, use a no-wipe gel top coat and cure. On lacquer, use a regular top coat.
The timing is the part that takes practice. If the glue is still milky, the foil sticks in the wrong spots and tears. If it has dried too long, the foil won't stick at all. If that happens, add another thin layer of glue and wait again.
Sealing foil without wrinkles
Foil is a very thin metal layer. A thick top coat can pull it, and a thin top coat can leave it unprotected. A few rules help:
- Use a thin coat of no-wipe gel top coat the first time. You can add a second one later if the foil needs more protection.
- Don't drag the brush back and forth across the foil. Float the top coat on in one or two strokes.
- Flash-cure for a few seconds if your lamp lets you, to freeze the foil in place, then finish the full cure.
- Cap the free edge so the foil can't catch and lift there.
If foil wrinkles when you seal it, the foil probably sat on a layer that was too soft or too thick. Press the foil again and try a thinner top coat.
Choosing foil and base colors
Foil is thin, so the color under it changes the result. Think of the base as the stage and the foil as the costume.
- Black or deep colors. Make metallic, holographic and rainbow foils stand out. Good for a crackle or shattered-glass look.
- Nude or sheer pink. Gives a soft, bridal feel with gold or silver flakes.
- Matching color. Use a base close to the foil color, like a gold-brown base with gold foil, for a rich, seamless look.
- White. Brightens pastel and holographic foils but can make metallic ones look flat.
Our transfer foils include marble prints, reptile skin, metallic and rainbow sets and seasonal designs such as Christmas. They come in packs, so you can try a few designs on practice tips before committing to a full set. Because the foil sits on top of the color, you can also reuse the same set of foils with many different base colors and get a different look each time.
If you do full foil on a client's nails, plan for the edges. The free edge is where foil lifts first, so the sealing coat must wrap over it. If a client works with her hands a lot, favor foil accents and small designs over full coverage.
Foil designs that are easy to do
- Crackle or "shattered glass". Press small pieces of foil in a pattern on glue or foil gel, leaving gaps. Looks best on black.
- Full foil. Cover the whole nail. This gives the sleekest mirror finish, so remember that glue must be even.
- Foil tips. Brush glue only on the tip and press foil to make a metallic French.
- Foil on charms or lines. Paint a line with a thin brush and foil only the line.
- Marble foil. Marble-print foils give instant stone designs without painting.
- Mesh foils. Gold and silver mesh in our transfer foils work well inside clear builder for an encapsulated look. See our encapsulated nails guide.
For nails with chrome powder instead, see our chrome guide. Both foil and chrome are great over a dark base, and chrome is easier when you want a full mirror.
Foil troubleshooting
| Problem | Cause | Fix |
|---|---|---|
| Foil won't transfer | Glue too dry or foil gel not cured | Add another thin layer of glue, wait until tacky, then try again. Cure foil gel fully. |
| Foil only transfers in patches | Uneven glue or not enough pressure | Apply glue evenly and rub the foil down firmly. |
| Foil sticks where you don't want it | Glue on the surrounding area | Clean up the glue edges and use a small brush. |
| Design looks dull | Foil placed the wrong way up | Check the pack. Usually the design shows through the film and the dull side faces the glue. |
| Foil peels at the edge | Free edge not capped | Run the top coat over the tip. |
| Wrinkled foil | Top coat applied thick or dragged | Use a thin top coat and a light stroke. |
Storage and safety
Keep foil rolls and sheets flat in a dry place. Moisture and heat can curl them. Foil glue and foil gel need to be capped and kept away from light and heat, like other gels.
The AAD advises sunscreen with SPF 30 or higher on the hands before gel curing, or dark gloves with the fingertips cut off, because lamps give off UV light. Acetone soak removal is best done on fingertips only, not the whole hand.
Shop what's in this guide
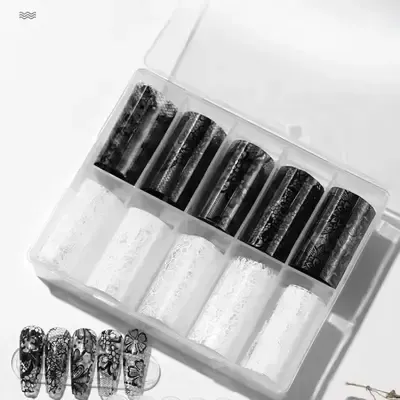
Art Pack #614 - Lace Foils
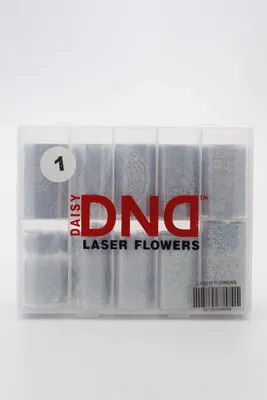
Foil Transfer - Laser Flowers - 1
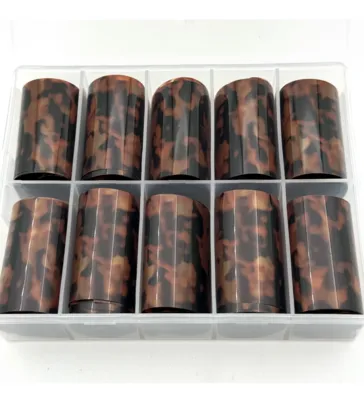
Transfer Foil Pack #49 - Tortoise Shell - 2
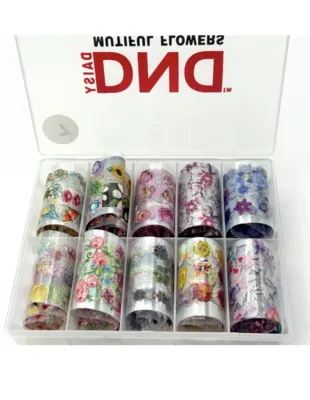
Foil Transfer - Flowers - 7
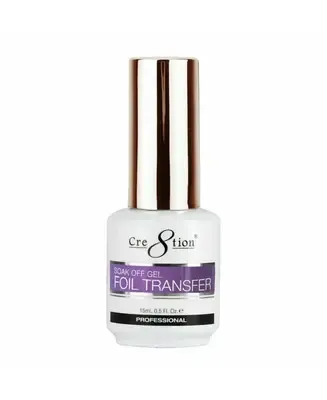
Gel - Foil Transfer Base - 0.5 oz
Gel Top Coat 020 - Matte Dots #2
Gel - Rubber Base - Black Diamond