Gel Paint, Liners and Stamping: How to Do Nail Art Designs
Gel paint, gel liner, striping gel and marble ink explained, with brushes, step-by-step hand painting, and nail stamping vs hand painting compared.
Gel paint and gel liner are thick, pigmented gels you draw on top of a finished nail and cure under a lamp. They stay put until cured, so you can fix mistakes. Use stamping for fast, repeated patterns and hand painting for custom art.
Gel paint, gel liner, striping gel and marble ink: what is the difference?
All four are thick, highly pigmented gels made for drawing on top of a finished nail. They are not nail polish, and they are not meant to cover the whole nail in one coat. Their job is to hold a line or a shape without spreading. They differ in thickness and in what they are best at.
| Product | Texture | Best for | Brush |
|---|---|---|---|
| Gel paint (pots) | Thick, creamy, very pigmented | Hand-painted flowers, animal prints, shapes, shading | Fine detail brush |
| Gel liner (in a bottle with a built-in brush) | Thinner, smooth flow | Long lines, outlines, French edges, checks | Built-in long thin brush |
| Striping gel | Ink-like, self-leveling | Straight stripes and lines | Striper or long liner brush |
| Marble gel ink | Fluid, flowing color | Swirls, marble and watercolor effects | Fine brush or dotting tool |
Because each one is a gel, none of them dries on its own. You can paint, fix and re-paint as long as you want, and the design only sets when you cure it. That makes gel art much more forgiving than lacquer art. It also means that if you leave the cap off, the color can cure in the pot under room light, so keep them closed and out of the sun.
The colors you actually need
You can do an enormous amount of nail art with five colors: black, white, a red, a gold or metallic, and one pastel. Add more only when a design calls for it.
- Black. Outlines, animal prints, shadows and checkers.
- White. Highlights, French edges, flowers and clouds.
- Metallic gold or silver. Lines and details that catch the light.
- One red or pink. Hearts, cherries and lips.
- A beige or brown. For leopard, tortoiseshell and earth tones.
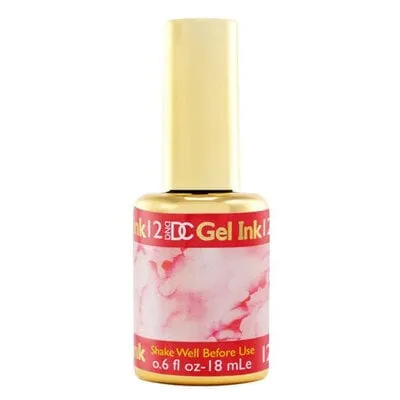
Our shop has many options. Young Nails' Mission Control Precision Gel Paint comes as a 12-color set of 1/8 oz pots, which is a good value if you want a full palette. Cre8tion makes a nail art gel liner in white, V Beauty Pure sells single and duo (black and white) gel liners, and The Studio makes nail art striping gels in white, black, silver and other colors. DC has a range of marble gel inks. Browse the full range in gel and lacquer paint and marble gel ink.
Brushes that do the job
A good brush matters more than the paint. Gel art brushes are made of synthetic or natural hair and come in a few shapes:
- Liner or pointed liner. Long, thin hair that holds a lot of paint and lets you draw long lines in one stroke. DND's pointing liner art brushes in size 7 and 9 are in the shop.
- Detail brush. Very short, fine hairs for tiny dots, eyes and petals.
- Flat or angled brush. For petals and shading.
- Fan brush. For soft effects and blending.
- Dotting tool. For dots, polka patterns and flower centers. Not a brush, but part of every kit.
Browse the art brush category for single brushes, and sets from DL Professional with three, seven or ten pieces. A set is the cheapest way to try the shapes before you decide which ones you really use. Clean brushes with a lint-free wipe and a little cleanser, never leave gel on the bristles, and store them flat or bristle-up.
How to hand paint with gel, step by step
- Finish the base. Apply base coat and color, cure, and top coat. For art that sits on top, many techs use a no-wipe top coat, cure it, and paint directly on the tacky surface. Others wipe the surface and paint on a clean, dry layer. The tacky surface holds paint a bit better.
- Put a small dot of gel paint on a palette. Use foil or a plastic palette. Don't paint straight from the pot, so you don't contaminate it.
- Load the brush lightly. Wipe most of the paint off on the edge of the palette. A little on the brush gives control.
- Draw the design. Draw with steady, light strokes. For lines, rest your pinky on the table or the other hand for stability.
- Fix mistakes before curing. Take a clean, slightly damp liner brush to wipe a stray line away. If it spreads, clean the brush and try again.
- Cure each color in short bursts. A short cure holds the design in place so the next color doesn't smear. Follow the cure time on the product.
- Add details on top once the base shapes are cured.
- Seal. Apply a gel top coat over everything. Cap the free edge. Cure.
Nail stamping vs hand painting
| Stamping | Hand painting | |
|---|---|---|
| Skill needed | Low once you learn the motion | Medium to high |
| Speed per set | Fast. Same design on 10 nails in minutes. | Slower. Every nail is drawn. |
| Consistency | Identical every time | Unique, with natural variation |
| Good for | Lace, geometric patterns, text, repeating prints | Flowers, faces, characters, free-form art |
| Tools | Plate, scraper, stamper, stamping polish or gel | Brushes, gel paint, palette |
| Mistakes | Re-stamp or clean off | Wipe and re-draw before cure |
Use stamping when you need many nails to match or when you want small, intricate patterns that are hard to draw. Use hand painting for anything with a mixed palette, a unique look, or flowing lines. Many sets use both: a stamped lace pattern with hand-painted details on top.
How to stamp
- Cure your color and top coat, or have a dry polish base.
- Put stamping polish or stamping gel on an engraved pattern on the plate.
- Scrape the plate clean with a scraper, leaving paint only in the engraving. Work quickly, because polish dries.
- Roll the stamper over the design to pick it up.
- Roll the stamper onto the nail from one side to the other to transfer the design.
- Cure (if using stamping gel) or let it dry (polish), then seal with top coat.
The Studio makes a nail art stamping kit in several colors, and Born Pretty makes stamping gel polish in several colors. Stamping needs a very opaque, thick pigment. Regular polish or gel polish is usually too thin and gives a blurry print. See our stamping category.
Mixing colors, storage and brush care
Mixing. Gel paints mix on a palette just like regular paint. Add a touch of white to lighten a color, or a touch of black to deepen it. Mix only what you need, because mixed gel left on a palette will start to cure under room light. Mix in thin layers: a muddy brown usually comes from too many colors in one blob.
Palette. A square of foil, a mixing palette or the back of a plastic lid works. Keep it away from the lamp and out of direct light while you work.
Storage. Close pots and bottles as soon as you finish. Store them upright in a drawer or case away from sunlight. If a paint separates, stir it gently with a clean tool before use. If the color cures in the pot or looks stringy and lumpy, replace it rather than trying to rescue it. See our guide on gel that stays sticky for related curing problems.
Brush care. After each use, wipe the brush on a lint-free wipe and clean it with a little cleanser. Reshape the tip with your fingers and let it dry flat. Keep a separate brush for dark colors and for white so black never ends up in your French line. A brush that has been left with cured gel on the bristles splits and won't hold a line, so it is cheaper to replace than to keep fighting it.
Lamp. Make sure your lamp matches the gel. Different gels can need different cure times, and a weak lamp leaves paint soft under the top coat. Our guide to cure times and our gel lamps can help.
Five easy designs to start with
- Micro French. One thin line along the free edge with a liner. See our French tip guide.
- Dots and hearts. Use a dotting tool for dots and two dots dragged together for a heart.
- Checkerboard. Two colors, a liner brush and a ruler-straight hand. Cure each square.
- Abstract squiggles. Free-flowing lines with marble gel ink or liner. Forgiving and trendy.
- Animal print. Cheetah spots (brown dots with black arcs) or zebra stripes. Cure each color before adding the next.
Troubleshooting gel art
| Problem | Cause | Fix |
|---|---|---|
| Lines spread and blur | Paint too thin or too much on the brush | Wipe the brush more. Use a thicker gel paint. |
| Paint wrinkles after cure | Layer too thick | Paint thinner layers and cure each. |
| Colors bleed into each other | Not cured between colors | Flash-cure each color. |
| Design smears when you top coat | Top coat dragged over uncured paint | Cure the art first, then float the top coat on. |
| Paint skates on the nail | Slick, wiped top coat | Paint on a tacky no-wipe surface or lightly buff the top coat. |
| Stamped image is faint | Polish too thin, or plate not scraped right | Use stamping polish and scrape at an angle. |
Shop what's in this guide
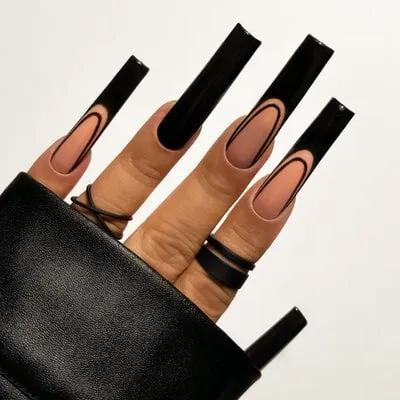
GLOW Gel Liner - 212 Blacklight
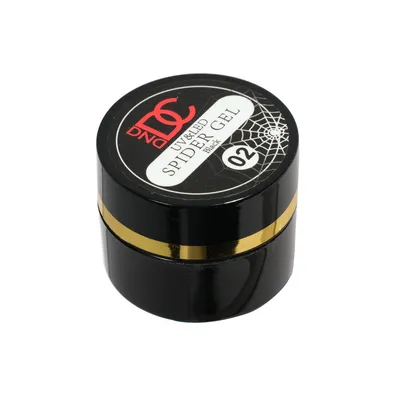
Spider Gel - 02 - Black - 15 ml
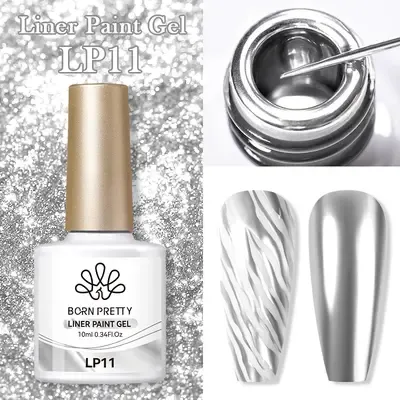
Liner Paint Gel - .34 fl oz - LP11
Markers Line - NW Gel - 03 - Thick Gold
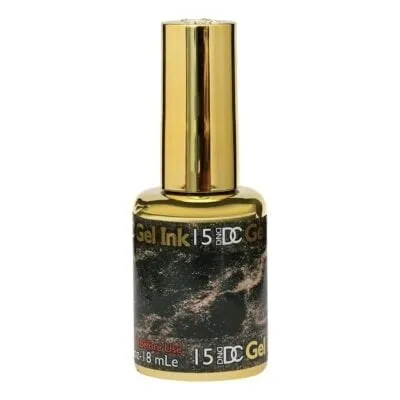
Marble Gel Ink - 15 - Copper - .6 fl oz
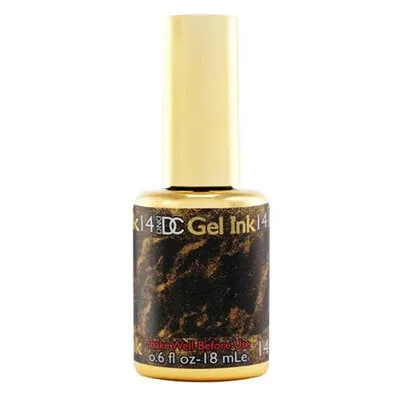
Marble Gel Ink - 14 - Gold - .6 fl oz
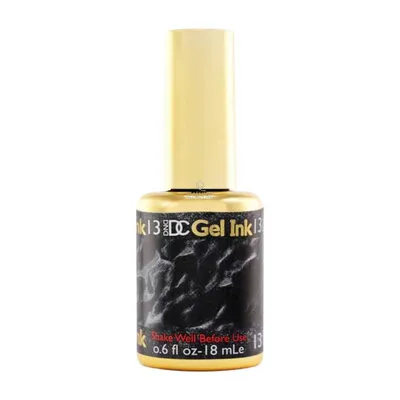
Marble Gel Ink - 13 - Silver - .6 fl oz