French Tip Nails: 5 Methods Compared (Brush, Guides, Dip, Acrylic, Tips)
Five ways to do French tips compared by skill, speed and line quality: brush, guides, pre-colored tips, dip and acrylic, with steps and a fix-it table.
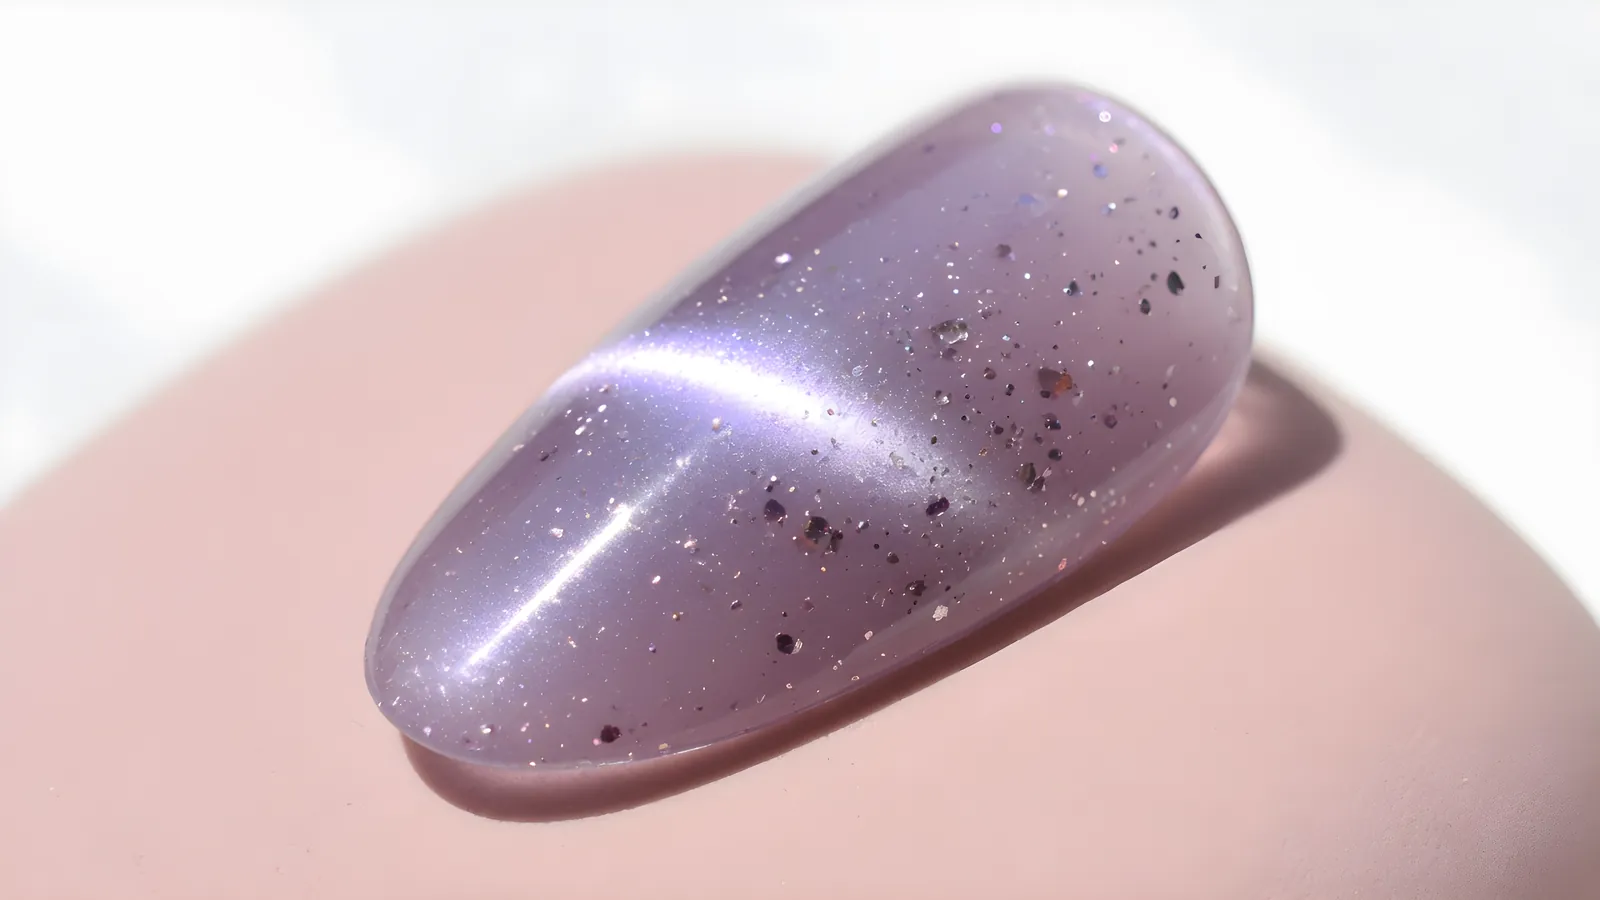
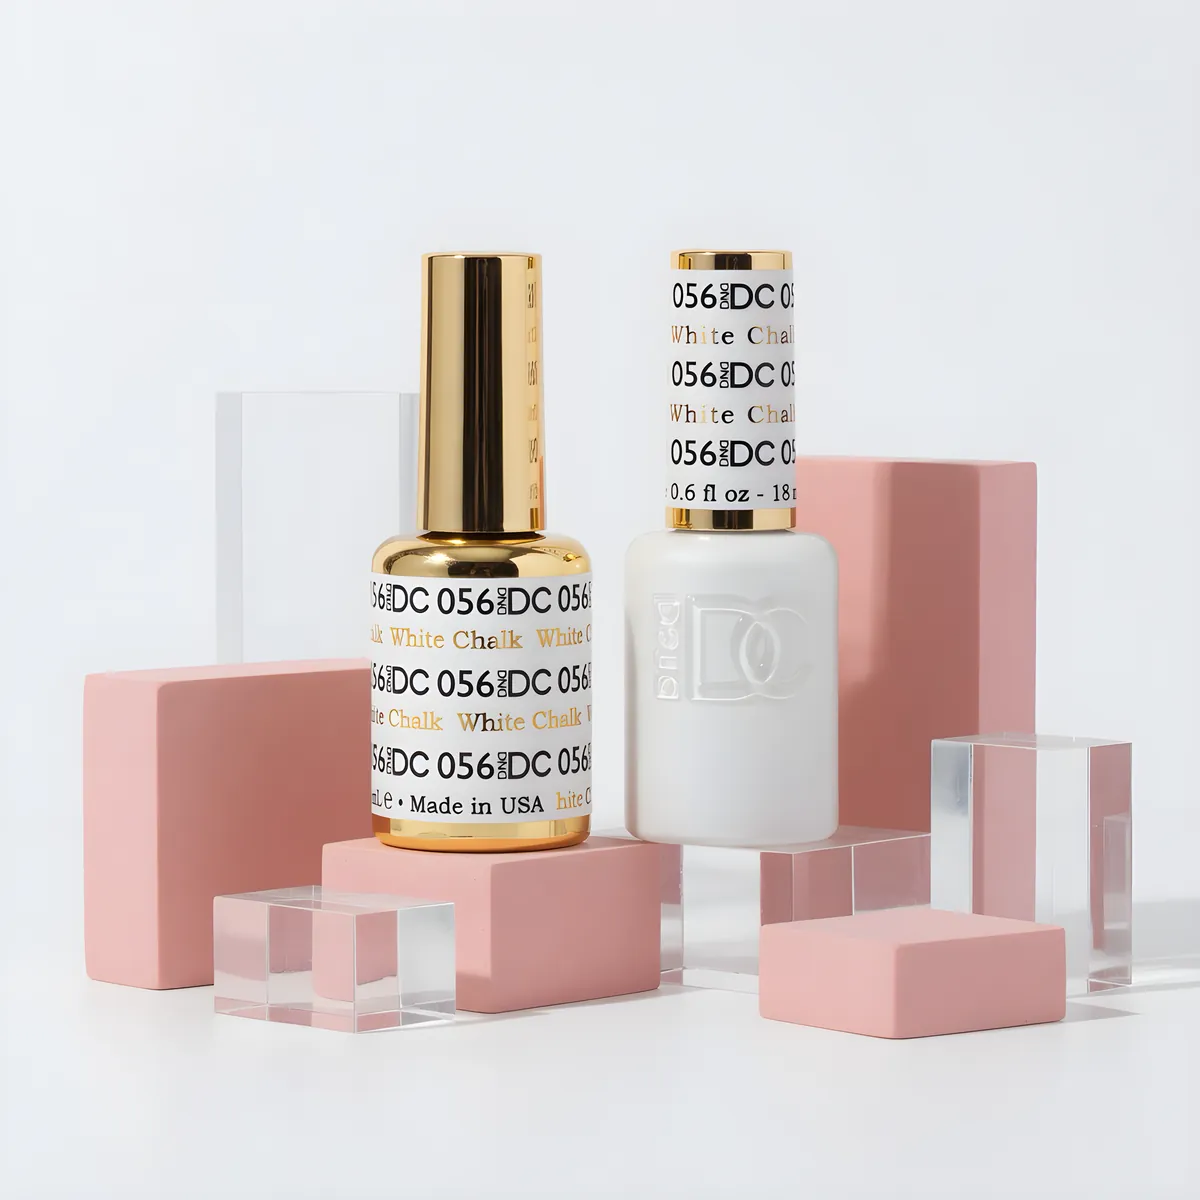
The easiest French tip is a guide sticker over a cured base with thin white gel. A freehand brush gives the most control, dip with a French guide is the fastest, and a sculpted acrylic or hard gel tip gives the sharpest smile line.
Five ways to do a French tip
A French tip is a white (or colored) smile line across the free edge, over a pink or nude base. There is no single best way to make one. The right method depends on the product you work in (gel, dip, acrylic or polish), how fast you need to be, and how crisp you want the line. Here are the five most used methods.
- Freehand with a French or liner brush. Paint the smile line with a thin brush. It is flexible, works on any shape, and costs little. It takes practice.
- Guide stickers or tip guides. Place a curved guide at the free edge, paint over it and peel. It is the easiest way for a beginner to get a clean line.
- Pre-colored tips or white-tip forms. Apply tips that already have a white edge, then blend. We stock white French tip boxes.
- Dip with a French guide. Use a guide to hold the shape, then dip the tip into white powder. It is quick and the same every time.
- Acrylic or hard gel sculpted tip. Build the white tip with white acrylic or gel, and shape it as you go. It gives a sharp, strong smile line.
French tip methods compared
| Method | Skill level | Line quality | Speed | Best product |
|---|---|---|---|---|
| Freehand brush | Medium to high | Custom and flexible | Medium | Gel polish, gel paint, polish |
| Guide stickers | Beginner | Clean and even | Fast | Gel polish, polish |
| Pre-colored tips | Beginner | Consistent | Fast | Gel-X, acrylic tips |
| Dip with guide | Beginner to medium | Good, uniform | Fast | Dip powder |
| Sculpted white tip | High | Sharpest, strongest | Slower | Acrylic, hard gel |
Freehand French with gel, step by step
- Prep, base coat, nude or pink. Apply your gel base coat and a sheer pink or nude color. Cure each layer for the time on your label.
- Load a thin French or liner brush with white gel. We carry French and clean-up brushes in several sizes. Wipe off most of the gel. A little goes a long way.
- Place the brush at the side of the free edge and draw the smile line across the tip in one smooth stroke. Don't paint back and forth.
- Fill in the tip. Pull the color to the edge and fill the tip, keeping the curve consistent.
- Check the symmetry. Look at the hand from the front. The smile lines should be about the same height on every nail.
- Clean up. Use a clean-up brush dipped in cleanser to tidy the line before you cure.
- Cure. Cure the white. If the white is not solid, add a second thin layer.
- Top coat. Apply a gel top coat to the whole nail, cap the edge, and cure.
Two thin layers of white are better than one thick one. A thick layer looks bulky and can wrinkle in the lamp. If you want a more opaque white, choose a dedicated French white gel, such as Apres's French manicure gel in French White.
Using guides for a clean line
Guides are curved stickers or silicone shapes that you press at the free edge. They give you a clean, even smile line without a steady hand.
- Apply your base and cure it fully. The surface must be dry and dust-free or the guide will not stick.
- Place the guide so that the curve sits where you want the smile line. Press the ends firmly so no gel can creep under it.
- Paint the white over the exposed tip, working from the guide outward. Keep the layer thin.
- Cure with the guide on if it is made for it, or peel it off gently first, as the maker instructs.
- Seal with top coat.
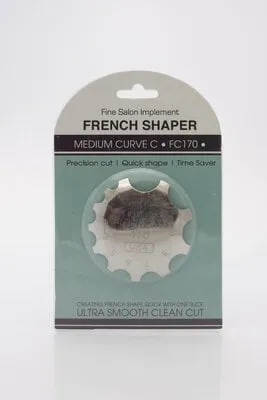
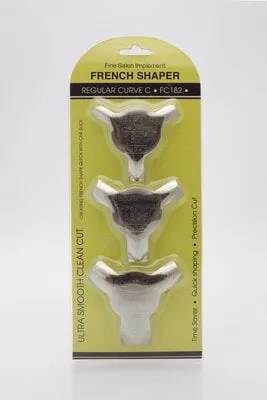
The sticker edge can leave a tiny ridge. A gel top coat over the line smooths it. If you do a lot of French sets, a French cutter helps you shape pre-colored tips before you apply them.
French on dip, acrylic and Gel-X
Dip. Use a French guide pot or a guide to hold the shape, then dip the tip in white powder. Brush off the extra, apply your pink or nude over the nail, and finish with sealer. The Berkeley French Guide Pot and NexGen's French White are in the shop. See dip powders.
Acrylic. Sculpt the white tip first on a form. Press a small bead of white acrylic and shape the smile line. Add pink or clear over the top. File the line sharp. Mia Secret has a white French powder in our acrylic powders.
Gel-X and tips. Use soft gel tips with a pre-colored edge or paint the French on the cured tip with white gel. Pre-colored tips save time. We stock a French white tip box in the acrylic tips range.
If you are comparing soft gel to builder for a French set, our builder gels and Gel-X pages have the full range.
Choosing the method by client, shape and time
The best French method is the one that fits the booking. Use these rules when you decide.
- Short nails: a thin, shallow smile line looks best and keeps the nail looking longer. Freehand or a micro-French guide works well. Avoid a deep, thick tip on a short nail, because it makes the nail look stubby.
- Long almond or coffin: follow the shape of the tip with the smile line. Freehand or a flexible guide follows the curve better than a rigid one.
- Square tips: a straight line is easy with a guide. The corners are where the white needs the most care, so clean them with a clean-up brush.
- Very busy salon day: use dip with a French guide or pre-colored tips. The result is uniform and quick.
- Client who wants the nails to last: sculpt the tip in acrylic or hard gel, since the white is part of the structure and can't chip off like a painted line.
- Beginner learning at home: guides with gel polish. They teach you the layout and the timing without needing a steady hand.
Matching the base to the client
The pink or nude under the white matters as much as the tip. A base that is too pale makes the white look flat. A base that is too dark makes the white look gray. Hold the bottle against the client's nail bed or fingertip in daylight and pick the shade that disappears into it. Sheer pinks suit most skin tones. Beige and peach bases suit warmer undertones, and cool pinks suit cooler ones. Our gel colors and lacquer colors include many sheers, and our duo sets give you the matching lacquer for toes.
When you are not sure, apply the color to one practice tip and look at it next to the hand. It takes a minute and saves redoing a full set.
French tips with regular nail polish
You can do a French manicure with regular lacquer. Apply a base coat and a sheer pink or nude lacquer. Let it dry. Use a French tip guide or a thin brush to paint the tip in white, and let it dry. Finish with a top coat.
The challenge with lacquer is the drying time. Wet white lacquer smears. Wait until the tip is dry to the touch before you cover it with a top coat, and use thin coats. Our guide to bubbles and slow drying has fixes if lacquer is giving you trouble.
Modern French variations
- Micro French. A very thin white line, usually done freehand or with a fine liner. See our guide to gel paint and liners.
- Colored French. Replace the white with any color: black, red, pastel.
- Double French. Two lines, one on the tip and one parallel.
- Reverse French. The smile line at the cuticle instead of the tip.
- Chrome French. A mirror or pearl line. Paint no-wipe top coat on the tip, cure, rub on the chrome. See the chrome guide.
- Rhinestone French. A row of tiny stones along the smile line. See how to make stones stay.
French tip troubleshooting
| Problem | Cause | Fix |
|---|---|---|
| Wobbly smile line | Painting back and forth | Use one smooth stroke or a guide. |
| White looks streaky | Layer too thin or a sheer white | Add a second thin layer, or use a dedicated French white. |
| Tips look uneven across the hand | No reference point | Check against the first nail and keep the height consistent. |
| White bleeds into the pink | Base not fully cured | Cure the base for the full time first. |
| Ridge at the line | Thick white or sticker edge | Level with a gel top coat. |
| White yellows over time | Old gel or a yellowing top coat | Use fresh gel and a non-yellowing top coat. |
Shop what's in this guide
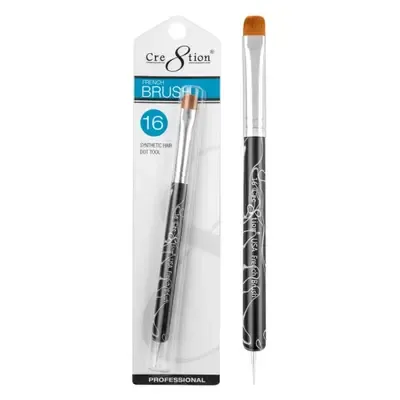
French Brush w/ Dotting Tool - #16 Black - 12128 1.0
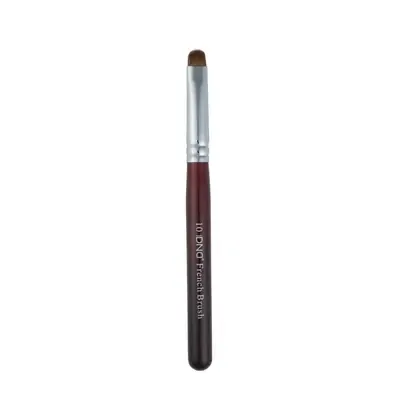
French Brush - 1 Head - Size 10
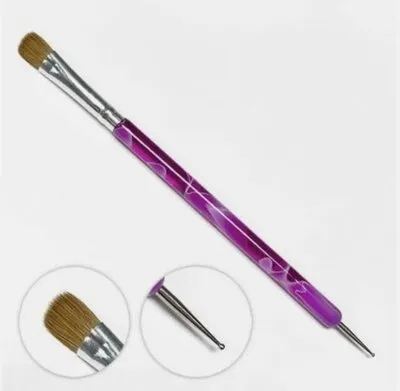
DL - French/Clean Up Brush - Kolinsky with Dotting Tool - #14 - Pink
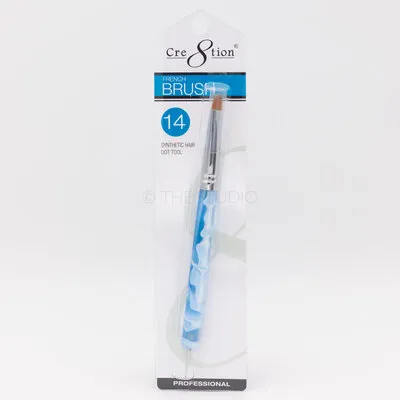
French Brush w/ Dotting Tool - #14 Blue - 12127
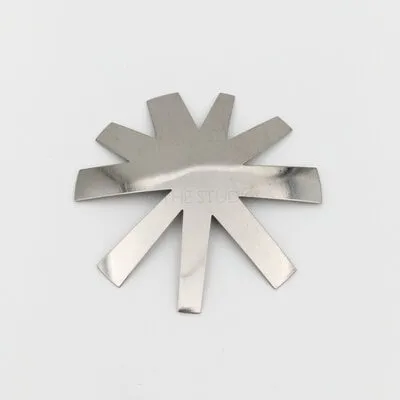
French Cutter - V Shape
 Sale
French Shaper/Cutter - Regular Curve C
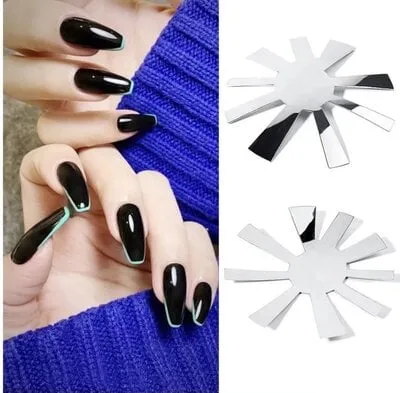
French Cutter - Square Shape - Silver