How to Do Baby Boomer (Ombre) Nails: Sponge, Brush and Builder
How to do baby boomer ombre nails with a sponge, an ombre brush or builder gel: colors to pick, exact steps, and a fix-it table for streaks and bulk.
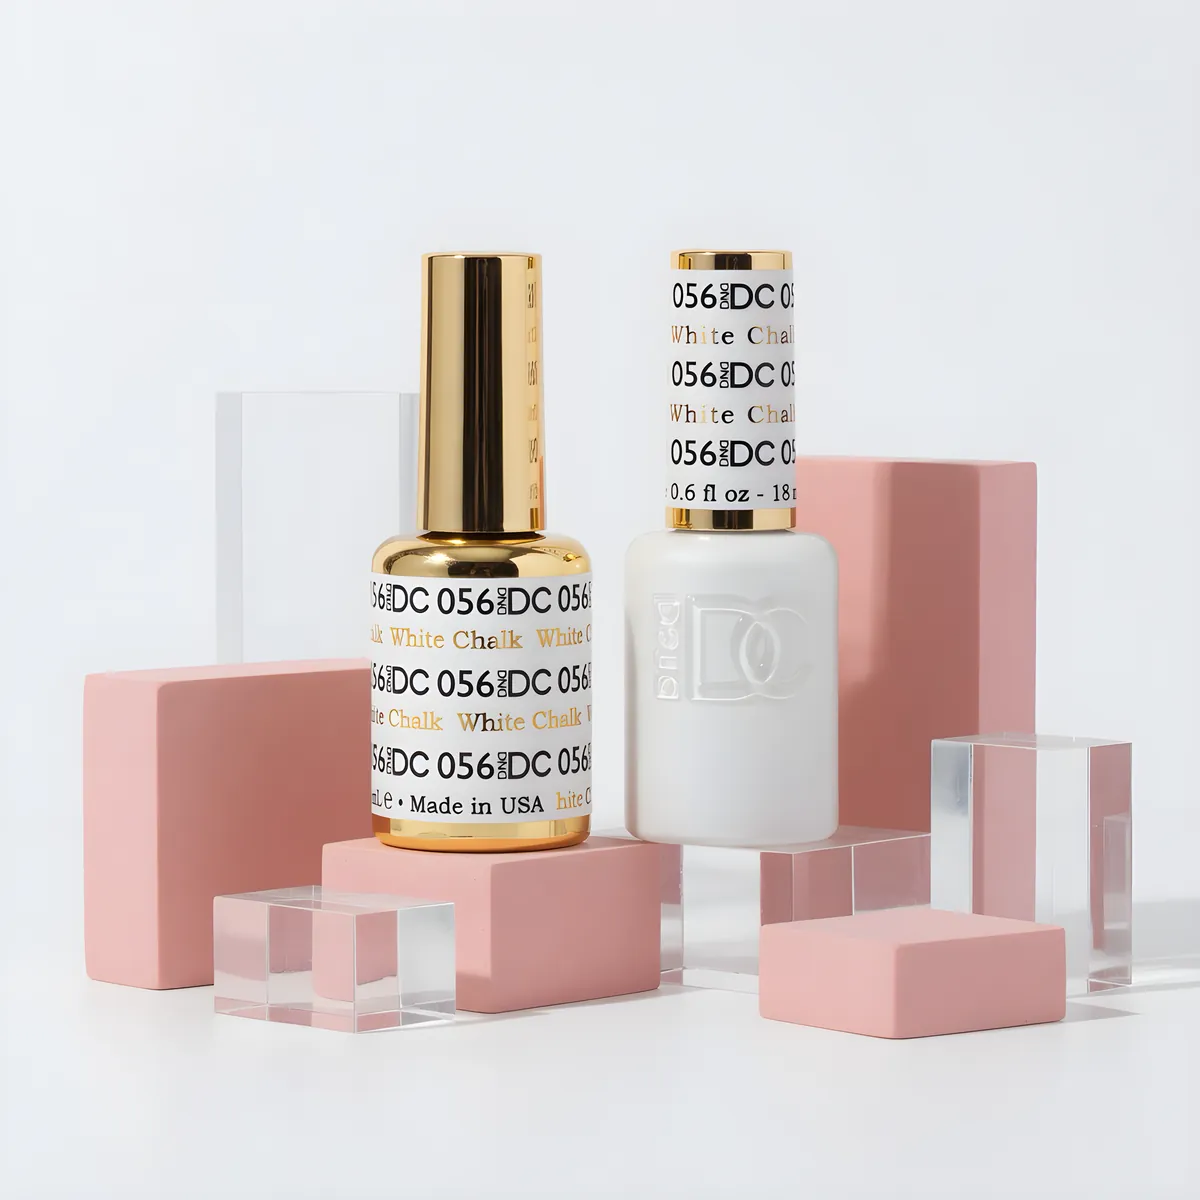
Baby boomer nails are a soft pink-to-white ombre. To make them, cure a sheer pink or nude base, then blend a milky white from the tip upward with a makeup sponge or a dry ombre brush, curing each thin layer. Finish with gel top coat.
What baby boomer nails are
Baby boomer nails are a soft ombre. The nail fades from a sheer pink or nude at the cuticle to a milky white at the tip, with no hard line in between. A French tip is a hard line of white at the edge. Baby boomer is the same idea, blended.
The blend is the whole technique. A smooth, even gradient with no visible dots, streaks or bumps is what separates a clean set from a muddy one. There are three ways to get there: a makeup sponge, a flat ombre brush, and a layered builder gel that you blend as you build. Each one works. Which one you choose depends on whether you are using gel polish, builder gel, or dip.
The look also has a practical side. When the nail grows out, the soft gradient hides the gap at the cuticle better than a solid color, which is why many techs sell baby boomer nails to clients who want longer time between fills.
Sponge, brush or layered: which method to use
| Method | Best for | Speed | Watch out for |
|---|---|---|---|
| Sponge | Gel polish and quick sets | Fast | Dotty texture and bulk if you add too many layers. |
| Ombre brush (fan or flat) | Smooth gradients, most control | Medium | Takes practice with a feather-light touch. |
| Layered builder gel | Long wear and strong nails | Slower | Needs good filing to finish smooth. |
| Dip or acrylic | Clients who wear powder | Fast for dip | Takes a sharper eye to blend two powders. |
If you have never done it, start with the sponge. It is cheap and quick, and it teaches you how a gradient builds. When you want a cleaner blend, move to a brush. Both are available here: see our sponges and dotting tools, the NotPolish ombre brush, and The Studio's pink-and-white ombre dust brushes for sweeping off powder.
Choosing your colors
You need two colors: a base and a fade color.
- Base: a sheer pink, peach or nude. Pick a shade that is slightly lighter than the client's natural nail bed. A very pink base looks sweet. A beige base looks more modern.
- Fade color: a milky white or soft white. Pure stark white can look harsh, so a creamy white or a milky white often blends better.
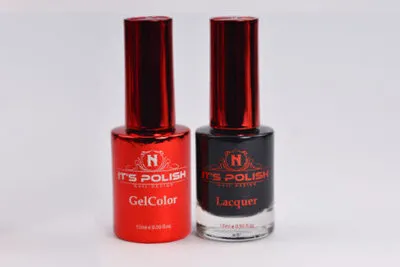
Lines of sheer pinks and whites are in our gel colors and duo sets, which pair a gel with a matching lacquer. Le Lilia's "Perfect Ombre White" comes in gel, lacquer and an all-in-one powder, which is handy if you want the same white in different systems.
A tip for choosing: put the two colors next to each other on a practice tip before you start. If the transition looks stark on the tip, the blend will look harsh on the nail.
Sponge method with gel polish, step by step
Cure times vary by gel and lamp. Use the times on your product label.
- Prep, base coat and cure. Prep the nail well, apply a thin gel base coat and cure it.
- Apply the pink or nude base. Use one or two thin coats, curing each one, until the base is even and slightly sheer.
- Put a small amount of white on a palette. Use a clean surface like foil or a mixing palette.
- Dab onto a sponge. Press a makeup sponge or a nail sponge into the white. Blot it on the palette first so it isn't wet with gel.
- Dab onto the tip. Start at the free edge. Lightly dab and move upward, sideways. Keep your touch light. Each dab leaves less white as you move down.
- Cure. Cure the first layer. Repeat the dabbing two or three times, curing between layers, until the white is smooth and soft at the tip.
- Fix the gap. If the blend looks stripy, dab a little base color over the line to soften it, and cure.
- Top coat. Apply a gel top coat. A thicker top coat helps level any texture left from the sponge. Cure.
The sponge builds up gel fast. A common fix is to use thinner layers and more of them, not fewer layers with more gel. If the nail feels bulky, a very light buff before top coat helps.
Brush method for a cleaner blend
- Prep and base coat. Same as above.
- Cure the pink or nude base. Make it opaque enough that the nail looks even.
- Apply a thin white band at the tip. Use a fine brush and leave it uncured.
- Soften the line. Use a clean, dry ombre or flat brush. Sweep it lightly back and forth across the line. Wipe the brush clean between sweeps. The white will drift into the pink without a hard edge.
- Cure. Check the blend, then cure.
- Repeat once more if needed to make the white softer or stronger.
- Top coat and cure.
Keep the brush dry and clean. If gel builds up on the brush, wipe it, because a dirty brush drags streaks. You can find art brushes and gel brushes in the shop.
Baby boomer with builder gel, dip or acrylic
Builder gel. Build the nail with a pink or nude builder gel, then add the white at the tip, blend with a brush, and cure. Finish with a final clear layer. File the surface smooth, then apply a top coat. Because the color is inside the build, the finish is smooth and durable. See our builder gels.
Dip and acrylic. The classic way is to dip the tip in white and the rest of the nail in pink, then overlay to blend, file the transition smooth, and finish with an activator and top coat. The look depends on how well you file the blend. Acrylic techs build white at the tip, then layer pink over it with a damp brush and file smooth.
With any system, finish with a high-gloss top coat or add a touch of shimmer or a thin line of chrome. For chrome over a baby boomer set, follow our chrome guide.
Prep and shape that make the gradient look right
A gradient exaggerates whatever is under it. A bumpy nail plate, a lumpy cuticle line or a crooked shape all show up through a sheer color. Spend the extra minute on prep and it pays back in the finish.
- Clean the cuticle area well. Any leftover cuticle under the gel shows up as a shadow through a sheer pink. OPI's own gel lessons say that skipped prep is why gel lifts, so this step does double duty.
- Buff the shine off the natural nail and remove dust, then use a dehydrator and bonder if your gel system calls for them. See dehydrators, primers and bonders.
- Even out the surface with builder gel if the nail has ridges. A thin layer of builder levels the nail so the gradient looks smooth.
- Shape first, color second. Almond, coffin and squoval are popular for this look because a soft fade follows the curve. On a square tip, the white has to meet the corner cleanly.
- Keep the sidewalls clean. A thin brush dipped in cleanser fixes color that touched the skin before you cure.
Stand back and look at the hand from arm's length when you are done. A gradient that looks fine up close can look uneven across all ten nails. Try to place the fade at about the same height on every finger, and match the amount of white from nail to nail. If one nail is whiter than the rest, add a thin layer of base color and re-blend before the final top coat.
Check the finished set near a window or under good light before the client leaves. Soft gradients are easiest to judge in daylight.
Troubleshooting your gradient
| Problem | Cause | Fix |
|---|---|---|
| Hard line between pink and white | White applied too heavy, or not enough blending | Use less white. Sweep the line softly with a dry brush. |
| Dotted or speckled look | Sponge too wet or too much pressure | Blot the sponge first and use a light tap. |
| Bumpy surface | Too many sponge layers | Use thinner layers and a thicker gel top coat to level. |
| Looks chalky | White is too opaque | Choose a milky white and build it in sheer layers. |
| Wrinkling after cure | Gel layer too thick | Thin layers cure better. Follow your lamp's cure times. |
| Gradient yellows | Old gel or a yellow-tinted top coat | Use a fresh, clear top coat. |
Making it last
Baby boomer nails are as strong as the gel they are made with. Prep well, cap the free edge, and keep gel off the skin. The AAD recommends not picking or peeling gel and soaking only the fingertips in acetone during removal. It also suggests a break of one to two weeks between gel sets so nails can recover.
Because the color is soft, a fill or rebalance is simple. Grow-out shows less than with a solid color. Many clients choose baby boomer nails so they can stretch the time between visits.
Shop what's in this guide
M92 - Intelli-Gel - Mi Casa Es Blue Casa
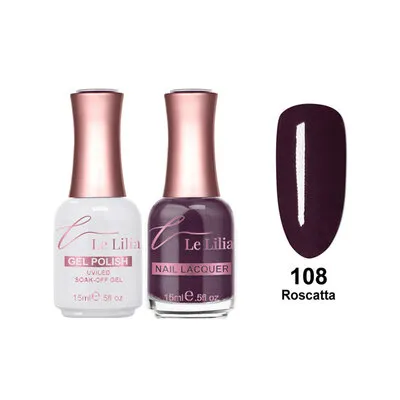
108 - Roscatta - Gel - 0.5 oz
Gel Polish - Foundation Shade 12
Jelly - 025 - Storm
3456 (8686) - Pink Bubble - DUO Polish

2471 - Lilac Clouds - DUO Polish
244 - Emerald Meadow - AIO Powder