How to Apply Rhinestones on Nails So They Actually Stay
How to apply rhinestones so they stay: gel glue vs nail glue, a bead-size rule, edge locking, stone sizes, and a table for lost or cloudy stones.
Rhinestones stay when each one sits in a bead of cured gel rhinestone glue or builder gel, then gets a thin ring of glue around its base. Never cover the top of the stone with top coat, and don't rely on wet gel polish alone.
Why rhinestones fall off
Almost every lost stone comes down to one of four things: the wrong adhesive, too little adhesive, stone and adhesive that were never locked in, or a nail that flexes more than the glue can handle. Fix those four and rhinestones last as long as the manicure.
The most common mistake is pressing a stone into wet gel polish and hoping. Gel polish is a color coat, not an adhesive. It can hold a tiny stone for a short time, but it has no body to grip the stone's sides, and it moves. A stone needs a thicker, sticky medium to sit in, and it needs a seal around its base that keeps it from catching on hair and clothing.
The second most common mistake is covering the top of the stone with top coat. That kills the sparkle and, on a stone with a foil back, it can also cloud the stone. Seal around the base. Leave the facets bare.
Which adhesive to use
| Adhesive | Best for | Pros | Cons |
|---|---|---|---|
| Rhinestone gel glue (cured under a lamp) | Most stones, from tiny to large | Thick, won't run, gives you time to place and adjust, cures hard when you want it to. | Needs a lamp. Stones can't move after cure. |
| Builder gel (small bead) | Large stones, charms, stacked designs | Strong, flexible, can be built around the base. | More product and more filing if you misplace a stone. |
| Resin nail glue (cyanoacrylate) | Quick fix on acrylic or press-ons | Fast and cheap, no lamp. | Sets in seconds. Hard to adjust. Brittle on flexible nails. |
| Wet gel polish | Tiny stones for a short-term look | Needs no extra product. | Stones slide and don't last. |
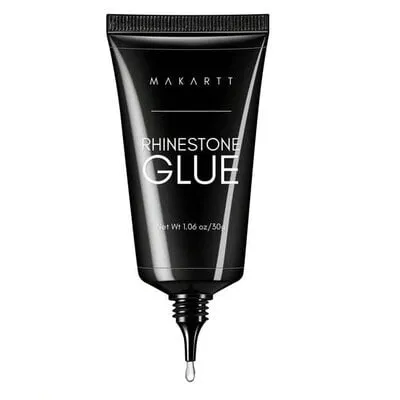
For salon work, use a gel glue made for stones. We carry rhinestone and charm gels from The Studio, V Beauty Pure and DND, including DND's no-cleanse rhinestone adhesive gel. They come in small pots or tubes, which makes it easy to dot out only what you need.
If you need a stronger hold on a big stone, put a small bead of builder gel on the nail, set the stone in it and cure. Then add a thin ring of builder or gel glue around the base.
Placement tools that make it easy
- Rhinestone wax pencil. The tip is sticky, so you tap a stone and set it where you want it. We stock black and white wax pencils and pickers.
- Rhinestone picker. A pen-style tool that holds a stone with a sticky tip. Great for small stones.
- Dotting tool. A fine dotting tool puts the right size bead of glue on the nail. A bead roughly half the stone's width is a good start.
- Fine tweezers. Good for charms and larger stones.
- A clean-up brush. A small brush lightly wet with cleanser for gel glue that doesn't need a no-cleanse formula.
Don't use your fingers. Skin oil on the back of the stone weakens the bond, and a stone stuck to your finger is more likely to land crooked.
Step by step: stones that stay
- Finish the color and cure it. Apply your gel color and a gel top coat, and cure both. You want a smooth, fully cured surface. If you use a no-wipe top coat, rough up the area where each stone will sit with a light buff so the glue can grip. Some gel adhesives also work on a non-wiped top coat, so follow the maker's directions.
- Plan the layout. Mark the spots with a dotting tool or pencil. For a cluster, start with the largest stone and work down in size.
- Dot the glue. Put a small bead of gel glue where each stone goes. The bead should not be wider than the stone. Too little won't hold, and too much will flood over the facets.
- Set the stone. Pick it up with the wax pencil or picker and press it into the bead. Press so the glue rises a little around the stone's base.
- Adjust. Gel glue stays workable until you cure, so move or straighten stones now.
- Cure. Cure for the time on the glue's label.
- Lock the edges. Take a tiny amount of glue or builder gel on a fine brush and run it around the base of the stone, not over the top. Cure again. This is the step that stops a stone from being popped off by a hair or a sleeve.
- Protect the nail around them. Apply top coat around the stones, not over them. Cure.
Flat-back, pointed-back and pixie
Flat-back stones have a flat bottom that sits against the nail. These are what you want for nails. They lie close, so they catch on less.
Pointed-back stones have a cone shape on the bottom. They are made to be set in a mount, and they sit tall and wobble on a flat nail surface. Skip them.
Size. Rhinestone sizes are often given as "SS" numbers. A smaller number is a smaller stone. SS6 is a tiny stone of about 2 mm, and SS20 is around 5 mm. Check the chart that comes with your stones, because makers measure slightly differently.
Pixie and crystal chips. Crystalpixie is a mix of tiny crystal chips that you press into a thin layer of gel to make a sparkle sheet. Swarovski's Crystalpixie range has a range of colors. Pixie and tiny stones are cured in tacky gel and sealed with a very thin coat.
Swarovski and Stardust stones are available in our rhinestones and pearls range. The Studio also makes assorted packs in different sizes and colors, so you can try a few before you commit to one.
Layouts that hold up in daily wear
Where you put stones matters almost as much as what you stick them with. Nails flex most at the free edge and the sidewalls, and things that stick out catch on hair, seatbelts and pockets.
- Cuticle arch. A curved row of small stones along the cuticle is the easiest and most durable placement. The nail flexes least here.
- One statement stone per hand. A single large stone on the ring finger is a safe way to get a bold look. Use builder gel to set it.
- Scatter. Mix two or three sizes in a loose cluster. Place the biggest one first, then fill gaps with smaller ones.
- Along a French line. A thin row of tiny stones along the smile line looks neat. Keep the row straight with a wax pencil and set each stone before curing.
- Avoid the very tip. Stones right on the free edge are the first to snag. If a client types a lot or works with her hands, keep stones off the tip.
For a longer-wearing look on short nails, use fewer, smaller stones and spend your time on the edge lock. For a special-occasion set that only needs to last a few days, you can relax and use larger clusters.
Troubleshooting lost or cloudy stones
| Problem | Cause | Fix |
|---|---|---|
| Stone falls off in a day or two | Set in wet polish or too little glue | Use gel glue and a bead nearly as wide as the stone. |
| Stone pops off with a clean base | Slick no-wipe surface or oil on the stone | Lightly buff the spot and handle stones with a picker. |
| Stone looks cloudy | Top coat or glue over the facets | Seal around the base only. Wipe glue off the top before curing. |
| Stone sits crooked | Glue bead uneven, or pressed with an angle | Reposition before curing. Use a flat-back stone. |
| Glue yellows | Old glue or too thick a layer | Use fresh glue in thin amounts. |
| Stone catches on hair | Edge not sealed | Add a thin ring of glue or builder around the base. |
Removal and reuse
To save a stone, warm and loosen the glue. Gel glue softens when you gently file the gel around the stone. Lift it carefully with the tip of a pusher. Stones that were glued with gel can be cleaned with a drop of acetone and a soft brush, then reused. Stones set in resin glue may chip when you lift them.
If you are removing the whole set, follow the gel removal method the AAD recommends: do not pick or peel, and soak only the fingertips in acetone. The AAD also suggests moisturizing nails and cuticles several times a day during recovery.
For the color underneath, see our guides on chrome and encapsulated nails, both of which pair well with a few well-placed stones.
Shop what's in this guide
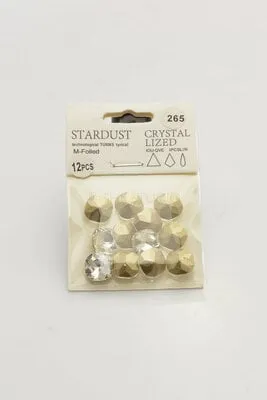
265 - Crystalized
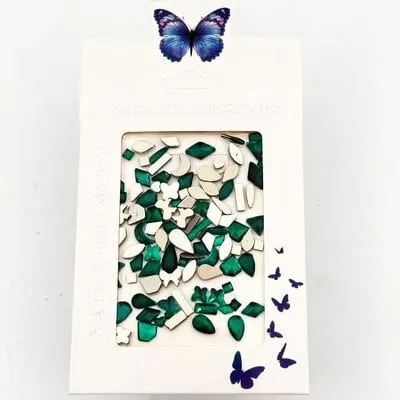
Art Pack #323 - Assorted Green Iridescent Rhinestones
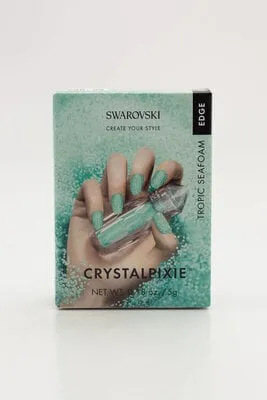 Sale
Crystalpixie - Edge - Tropic Seafoam - 5g
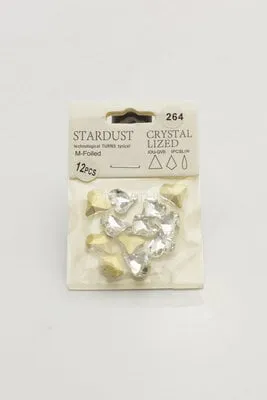
264 - Crystalized
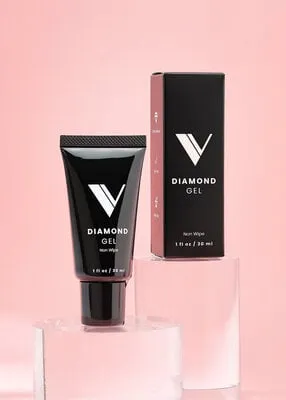
Diamond Gel Clear - 30ML
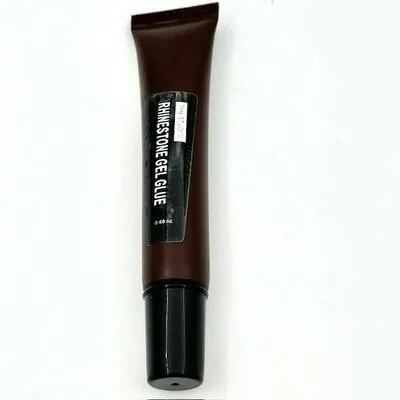
Rhinestone Gel Glue - .68 oz
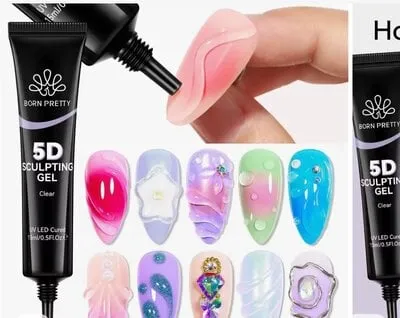
5D Sculpting Gel Clear - .5 fl oz