Encapsulated Nails: What They Are and How to Make Them
Encapsulated nails explained: what goes inside, acrylic vs builder gel, step-by-step for both, plus a fix-it table for bumps, cloudy spots, floating art.
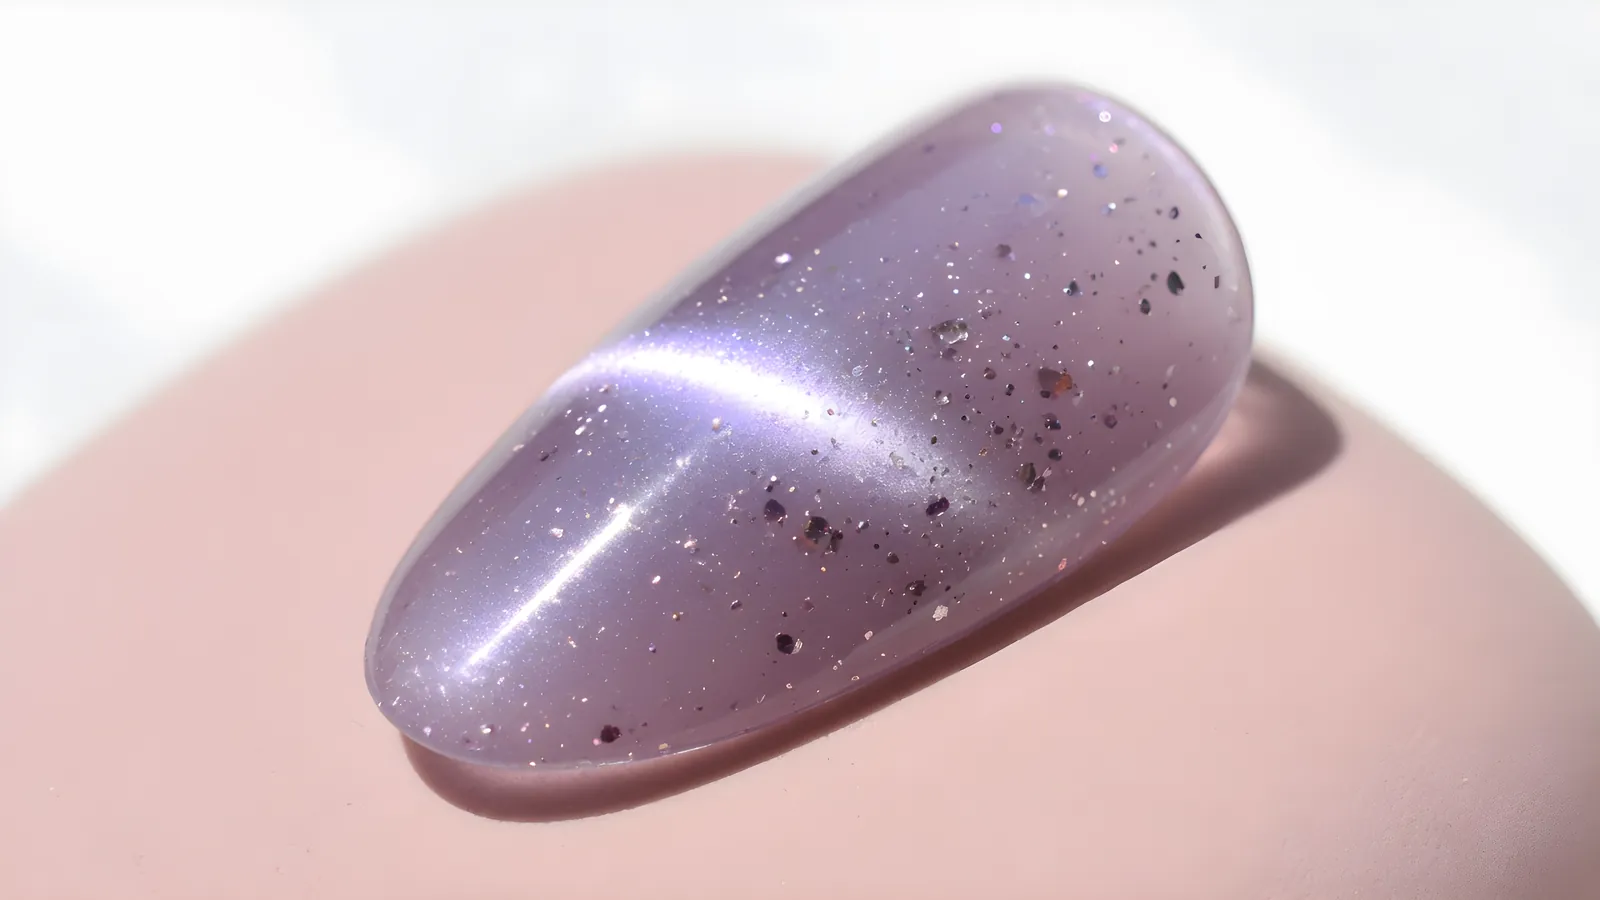
Encapsulated nails have decoration, such as dried flowers, foil or glitter, sealed inside a layer of clear acrylic or builder gel, so the art sits under a smooth surface instead of on top. To make them, place the art in clear product, cure or set it, cover it with more clear, then file and finish.
What encapsulated nails are
Encapsulation means the art sits inside the nail instead of on top of it. A tech places a dried flower, foil, glitter, a thin slice of shell or a bit of mesh into a clear layer of acrylic or builder gel, then covers it with more clear product. After filing, the surface is smooth and the art looks like it is floating under glass. That is why encapsulated nails show up so often in floral, "milk bath," marble, and glitter sets.
The big benefit is wear. Nothing sticks out to catch on hair or clothing, and you can't pick the design off. The trade-off is time. Encapsulation adds a build step, so it takes longer than painting a design, and it only works if the clear layer is thick enough to bury the art.
Encapsulation is different from a simple top-coat cover. If the art is under only a thin top coat, you can feel it. With encapsulation you build a full layer of clear product over it and file everything flat.
Acrylic vs gel encapsulation
| Acrylic (liquid and powder) | Builder gel | |
|---|---|---|
| Working time | Short. The bead starts to set, so you have to place the art fast. | Long. The gel stays soft until you cure it, so you can place and move the art. |
| Best for | Techs who already do acrylic and want a quick build with glitter or foil. | Delicate art such as dried flowers, where placement matters. |
| Clarity | Clear acrylic powder works, and many techs finish with a gel top coat for gloss. | Clear builder is very clear when applied in thin, even layers and cured as directed. |
| Fumes | Needs good ventilation (monomer). | Lower odor, but uses a lamp. |
| Removal | File and soak off with acetone, which takes longer. | Soft builder soaks off. Hard builder gel is filed off. |
If you are learning, start with builder gel. You can move a flower around while the gel is uncured, which is hard to do with acrylic. Our builder and solid gels include clear options from ibd, Love, Bella, Apres and Mia Secret.
What you can put inside
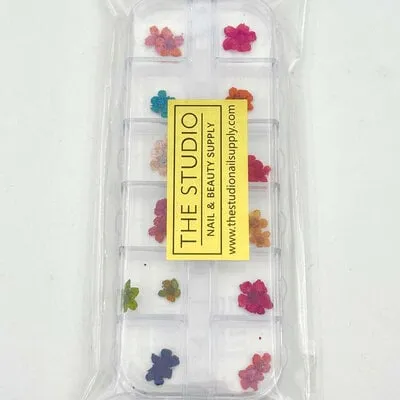
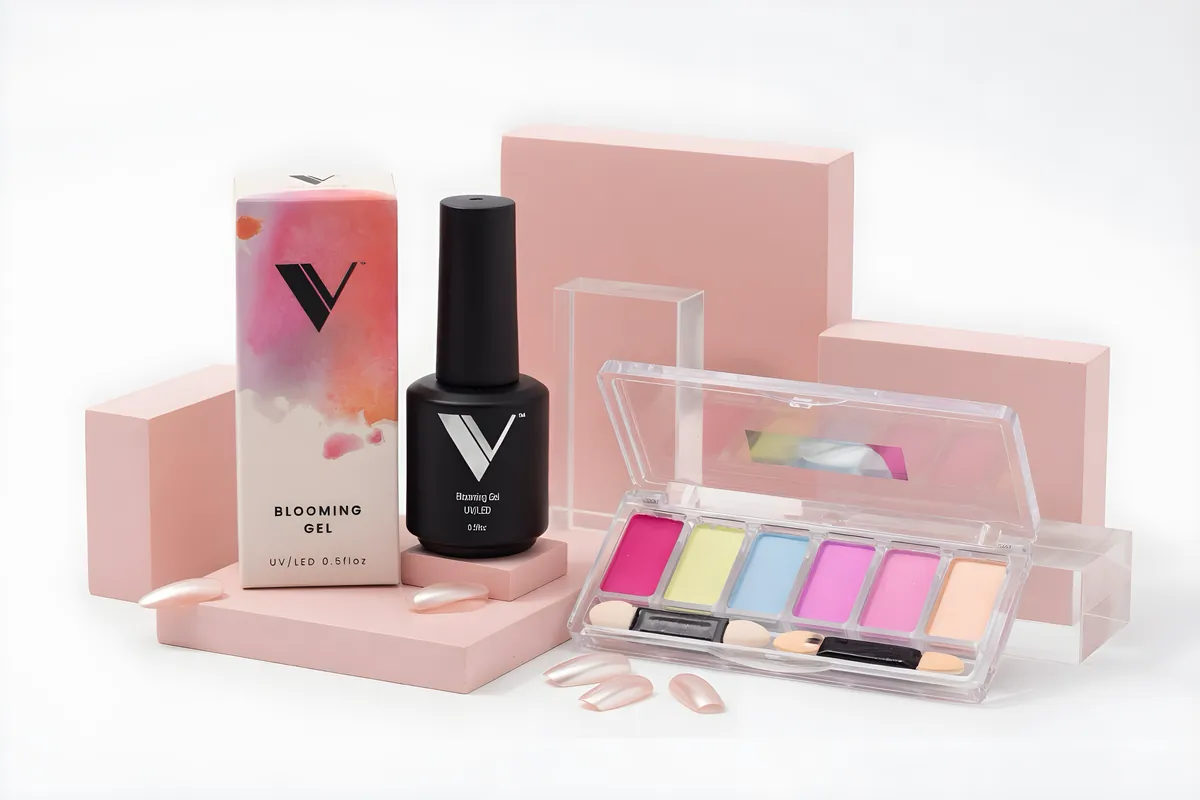
- Dried and pressed flowers. The classic. Pick thin, flat petals. Thick blossoms leave bumps. We stock a dried flowers category and blooming gels.
- Glitter and pixie. Easy and forgiving. Fine glitter encapsulates well in clear gel. Browse glitter and pixie.
- Foil flakes and mesh. Metallic mesh foils make a shimmery, "pressed gold" look. Our encapsulation category includes foil packs made for this.
- Small beads, caviar and shell. Use flat or thin pieces so the clear layer can cover them.
- Marbled gel ink and paint. A swirl of color under clear builder gives a stone look. See marble gel ink.
Use products made for nails. Craft foils and chunky craft glitter are often too thick to bury and file flat, and nail-grade products are made to sit in a thin clear layer.
Step by step: encapsulation with builder gel
This is a general method. Cure times depend on your gel and lamp, so follow the bottle.
- Prep and shape. Prep the nail or apply and shape a tip or form. Apply dehydrator and bonder if your system uses them.
- Build a thin clear base. Apply a thin layer of clear builder gel and cure it. This is the "floor" that the art sits on.
- Place the art in a fresh layer. Apply a small amount of clear builder gel where the art goes. Use a fine brush or a pair of tweezers to set the flowers or foil in the wet gel.
- Flatten and position. Press the art gently into the gel and spread it with a brush. The art should be flat and below the surface of the gel.
- Cure the art in place. A short cure holds the art. This also stops it from floating when you add more gel.
- Cover with clear. Add a bead of clear builder gel over the art and level it. Take the gel to the edges and the free edge. Cure.
- Build the shape. Add more clear until the apex and contour are right.
- File. File the surface smooth, taking care not to touch the art. Buff and wipe off dust.
- Finish. Apply a no-wipe gel top coat, cure it, and finish with cuticle oil.
Step by step: encapsulation with acrylic
- Apply the tip or form and prep. Make sure the nail is clean and dry.
- Build the base layer. Use a clear or pink powder with a controlled bead to build to a thin base layer. Leave the apex for after the art goes in.
- Pick up the art. Place glitter or foil on a bead of clear acrylic. Use a wet brush to press it into place.
- Cover quickly. Add one or two clear beads over the art before the base layer sets hard. This is why acrylic encapsulation needs a steady hand.
- Shape the apex and let the nail set.
- File and finish. Shape, smooth, and apply a top coat. Most techs finish with gel top coat for gloss.
Acrylic is a good choice for glitter and foil flakes that don't need careful placement. For flowers, gel is much easier. See our acrylic powders and monomers if you want to work in acrylic.
Plan the design before you open the gel
Encapsulation rewards planning. Once the art is under a layer of cured gel, you can't move it. Lay out the pieces on a spare tip or on the back of your hand first and decide where each one goes.
- Keep the art away from the free edge and the cuticle. Pieces that sit right at the edge get filed when you shape, and pieces at the cuticle make the thinnest part of the nail even thinner.
- Start small. One flower per nail looks cleaner than five tiny ones, and it is easier to cover.
- Think about color through the gel. Clear gel keeps the color true. A milky or pink-tinted builder softens it. A white or sheer base under the flowers makes them pop.
- Repeat a motif on every nail. Use the same flower, the same foil or the same glitter on each hand so the set looks planned. Vary the placement slightly.
- Build the apex last. The apex (the high point that gives the nail strength) belongs in the clear layer over the art, not under it. That way the strongest part of the nail is made of one clean layer.
Thickness is the main difference between a good set and a bulky one. A normal nail needs enough builder to make the nail strong, and the art takes up a bit of that room. If the art takes up too much, the nail ends up thick. Use the thinnest pieces you can find.
Finally, remember who is wearing it. Heavy encapsulation on a very short natural nail looks bulky. A thin layer of builder with a single flower or a sprinkle of foil flakes is more wearable day to day, and it costs less product and time.
Troubleshooting encapsulation
| Problem | Cause | Fix |
|---|---|---|
| Flower turns brown or fades under gel | Fresh or damp flowers, or the wrong type of petal | Use properly dried flowers made for nails and keep them dry. |
| Art floats to the surface or moves | Gel was too thin or the art was not flash-cured in place | Cure the art briefly before adding the cover layer. |
| Bumps over the art | Art is too thick or the cover layer is too thin | Use thinner pieces and build more clear over them. |
| Cloudy spots | Air bubbles or under-cured gel | Press out the air with a brush and cure for the full time. |
| File marks go through to the art | Too aggressive filing | Leave enough clear over the art and use a fine file. |
| Lifting at the cuticle | Prep or product on the skin | Keep gel off the skin and cap the edges. See our chrome guide for sealing edges. |
Supplies for encapsulated nails
- Clear builder gel (or clear acrylic powder and monomer)
- Art: encapsulation, dried flowers, glitter and blooming gel
- A fine art brush and a picker for placing flowers
- A gel lamp
- Files, buffers, a dust brush and a no-wipe top coat
Want the nails to have a different look? See how to add rhinestones that stay or use transfer foil on top of the build.
Shop what's in this guide
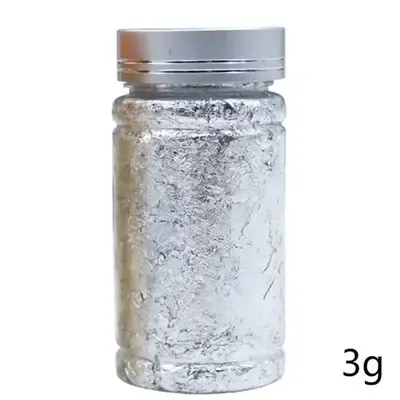
Foil Flakes - Silver - Large
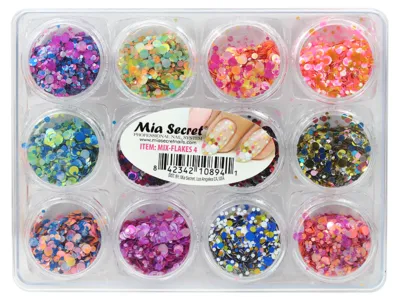
Nail Art Mix Flakes 4 - 12 ct
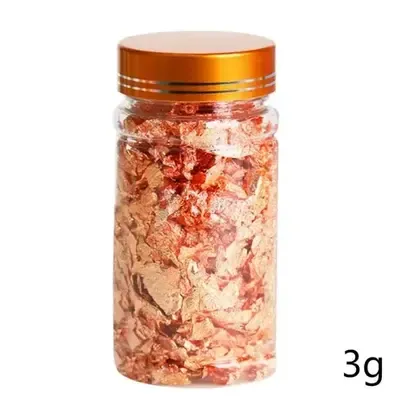
Foil Flakes - Rose Gold - Large
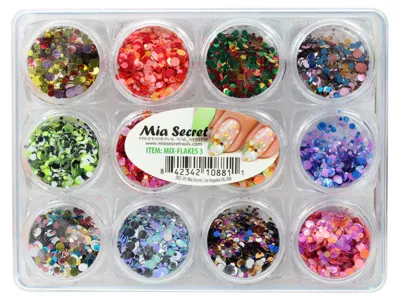
Nail Art Mix Flakes 3 - 12 ct
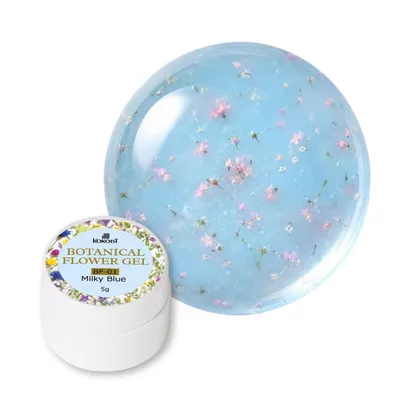
Botanical Flower Gel - Milky Blue - 5g
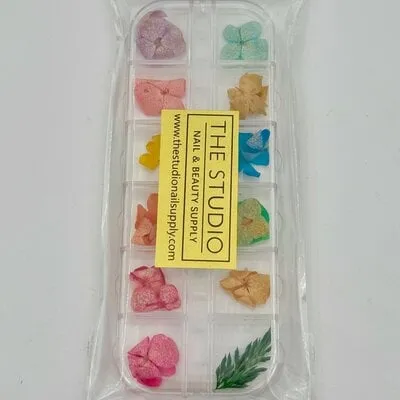
Art Pack #397 - Assorted Dry Flowers - 07
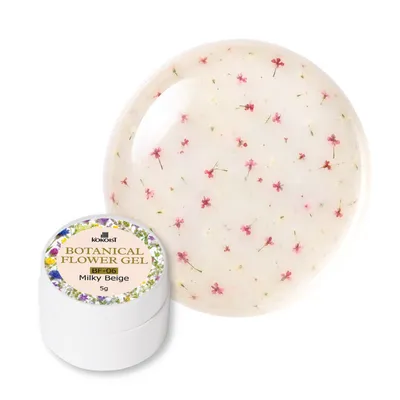
Botanical Flower Gel - Milky Beige - 5g