How Long to Cure Gel Polish: Times by Step and Lamp
Real cure times from OPI, Pink Gellac and Bluesky, why they differ, and how to tell if gel polish is fully cured under your lamp.
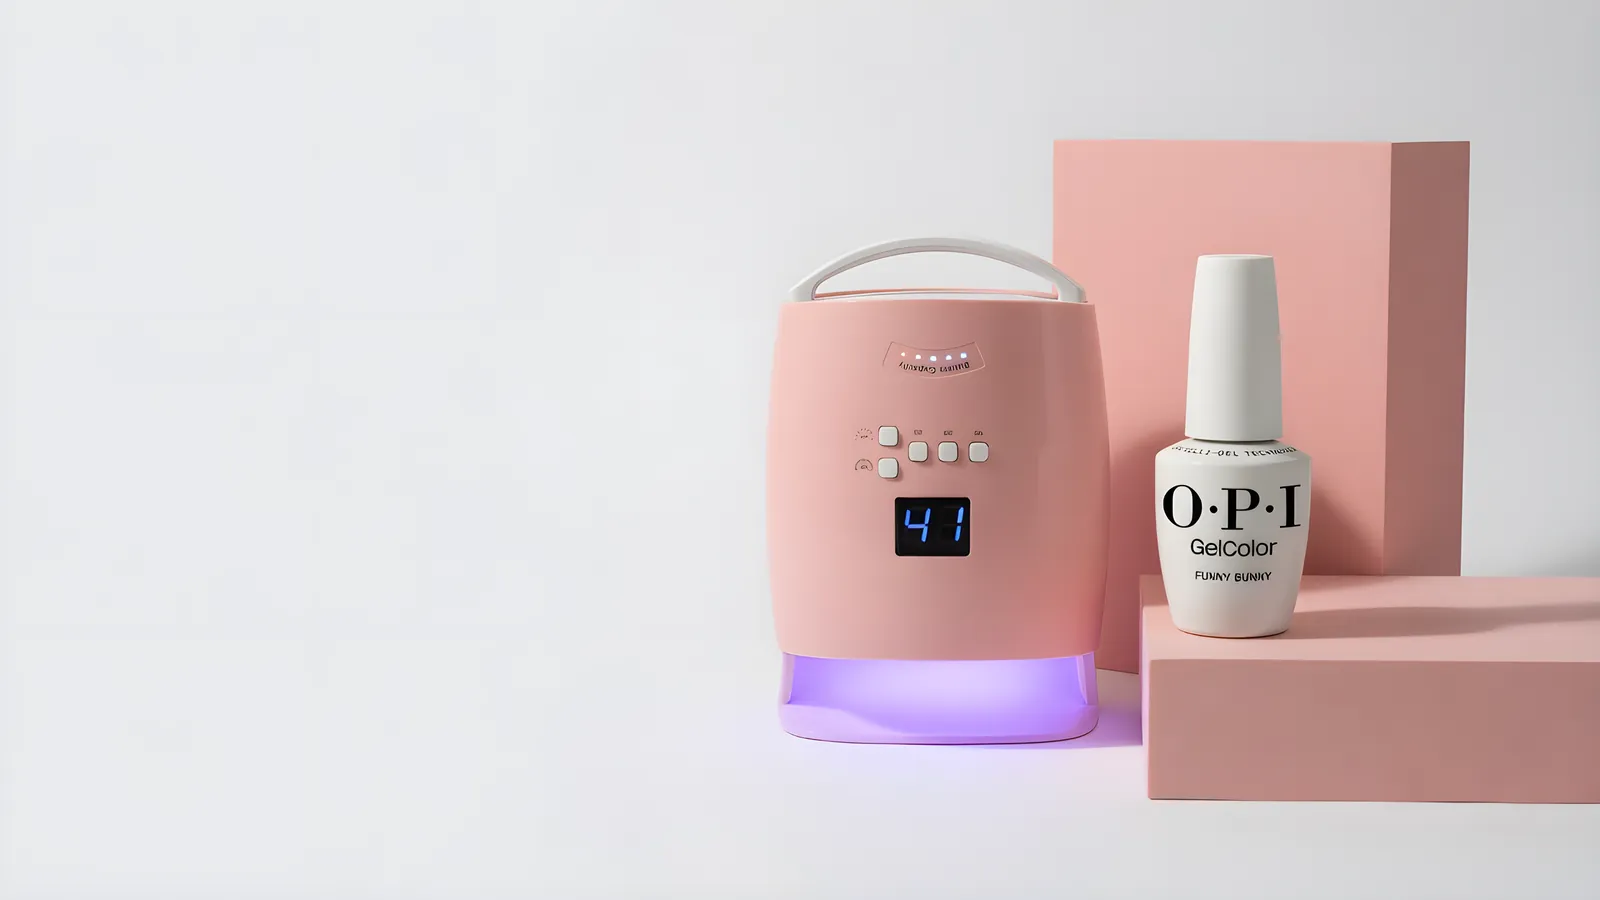
Use the time on your gel's label for your lamp type. OPI's GelColor steps are 30 seconds per layer under their LED lamp, Pink Gellac uses 60 seconds per layer, and Bluesky gives 30 to 60 seconds depending on the lamp. Cure each thin coat separately and do not add extra cycles to fix a weak lamp.
The cure time is on your bottle, and it changes by brand and lamp
There is no single number for every gel. The three brand pages we opened show why. OPI's GelColor steps call for 30 seconds under their LED lamp for the base coat, each color coat and the top coat. Pink Gellac's cat eye guide uses 60 seconds under an LED lamp for each layer. Bluesky's cat eye guide gives a range of 30 to 60 seconds depending on your lamp. Young Nails says to always follow the cure time your gel manufacturer gives, even if you are in a hurry.
So the rule is: read the label or the brand's instruction page, use the time for your lamp type, and do not change it unless the brand says so. The numbers below show typical patterns from those sources so you know what a reasonable range looks like.
| Step | OPI GelColor (OPI LED lamp) | Pink Gellac (LED) | Bluesky (UV/LED) |
|---|---|---|---|
| Base coat | 30 seconds | 60 seconds (base color layer) | 30 to 60 seconds |
| Color coat 1 | 30 seconds | 60 seconds | 30 to 60 seconds |
| Color coat 2 | 30 seconds | 60 seconds | 30 to 60 seconds (optional second coat) |
| Top coat | 30 seconds | 60 seconds | Per label, then cleanse if tacky |
Notice the pattern: every layer is cured separately, and the thin coat is what makes a short time work. Take away the thin coat and the time that worked no longer does.
Why times differ from brand to brand
Cure time is a product of the gel, the lamp and the thickness. NailKnowledge says the cure depends on whether the lamp's output falls inside the wavelength range the gel's photoinitiators need. A mismatched lamp can leave the cure incomplete or uneven even with longer exposure.
Three things move the number:
- Lamp type and strength. A strong LED can cure in 30 seconds what a weak one cannot cure in 60. Young Nails warns that lamps under 36W may not be powerful enough, and that bulbs fade with use.
- Pigment and thickness. NailKnowledge notes that pigment load and viscosity change how light penetrates. A dark color or thick layer needs more light, which is why thin coats matter. See thick vs thin coats.
- Formula. Polish, builder gel, rubber base and jelly gels differ. NailKnowledge says thick builder gels need more light penetration than thin polish, so the same lamp and time that cure polish may not fully cure builder gel.
For polish and builder gel on the same set, read each label instead of using one time for everything. Browse builder and solid gels if you work with thicker product.
A cure sequence you can copy
- Prep and cleanse. Remove shine and oil. Cure times assume a clean surface.
- Base coat. One thin coat. Cap the free edge. Cure for the label time. OPI's example is 30 seconds under their LED lamp.
- First color coat. Shake the bottle to mix the pigment, as OPI instructs. Apply a very thin coat. Cure for the label time.
- Second color coat. Another very thin coat, capped at the edge. Cure for the label time. OPI says this coat gives the full color.
- Top coat. OPI says to shake the top coat vigorously for one minute. Apply a very thin coat, cap the edge and cure.
- Wipe the tacky layer unless you used a no-wipe top coat. OPI wipes with a nail wipe saturated with N.A.S. 99. Young Nails removes it with a cleanser on a lint-free wipe.
A full set takes four cure cycles. If your hand sits in the lamp for the label time each cycle, it is about two to four minutes of lamp time in total, depending on whether you use 30 or 60 seconds. If you are timing a salon set, remember that a tech cures one hand while working on the other, as Young Nails notes. Doing your own nails means you wait.
Products for the sequence are in gel base and top coat and gel colors.
Cat eye, chrome, builder gel and jelly: different needs
Specialty products have their own rhythm.
- Cat eye: do not cure until the magnet has done its work. Pink Gellac says to hold the magnet about 3 mm from the nail while the polish is wet, then cure for 60 seconds under LED. They also describe a 10 second fast cure to lock the particles in place, working finger by finger, then curing the whole hand for 60 seconds. Bluesky says hold the magnet 5 to 10 seconds before curing. See how to do cat eye gel nails.
- Builder gel: thicker by design. Follow the specific label. NailKnowledge warns a lamp that is enough for thin polish may not fully cure builder in the same time.
- Jelly and sheer gels: built in layers, each cured. Translucent shades often need several thin coats. See jelly gels.
- No-wipe top coats: cure shiny without the tacky layer. Read the label. Some still want a full time, not a shortcut.
How to know it is fully cured, and what to do if not
| Sign | Meaning | Action |
|---|---|---|
| Hard, smooth surface that wipes clean | Fully cured | Move to the next step. |
| Wet, smearing, color moves on the wipe | Under-cured | Check lamp, bulbs and coat thickness before adding time. |
| Rubbery or soft under pressure | Cured on top only | Remove and redo thinner. |
| Wrinkles or ripples | Uneven cure | See wrinkling guide. |
| Whole nail tacky | Photoinitiators not fully activated (NailKnowledge) | See sticky gel guide. |
Do not mistake the thin tacky inhibition layer for under-curing. NailKnowledge says it is deliberate in many systems, and Young Nails says it helps the next coat adhere. Wipe it off and look at the nail underneath.
Should you cure longer to be safe?
It is tempting to add 30 seconds just in case. NailKnowledge says over-curing is largely a misconception: longer exposure usually does not damage gel, and the real problems come from lamps that are too intense or mismatched. So an extra few seconds will not wreck the polish. It also will not rescue a thick coat or an old lamp.
OPI's Geliversity lessons take a firm line on extra cure cycles, calling them manicure sabotage and urging a single cure per layer. Their advice is to fix the cause instead: thinner coats, a matched lamp, fresh bulbs.
There is one more reason to be careful. NailKnowledge warns that under-cured gel can stay partly liquid underneath while the surface looks set, and that can lead to lifting, discoloration and sensitization reactions on repeated exposure. Getting the cure right matters for your skin as well as your look. If you notice redness, swelling or nail bed pain, stop and talk to a doctor.
If you are ready for a better lamp, see our LED vs UV guide and shop Gel Lamps.
A five-minute test to see if your lamp and times work
Do this once on a practice tip or one nail, and you will know whether the label time works on your lamp.
- Cleanse a nail or a practice tip.
- Apply one very thin coat of a fresh, shaken color. Cap the edge.
- Cure for the label time for your lamp type, with the hand flat in the chamber.
- Press a lint-free wipe wet with gel cleanser onto the surface and pull it across.
- If the film is hard and the wipe comes away clean, your lamp and time work for thin polish.
- Repeat with a slightly thicker coat to see where the limit is. If that one is wet, you know how much margin your lamp has.
Keep notes on the brand, color and lamp. Dark pigments are the best stress test, since NailKnowledge notes pigment affects how light penetrates. If a navy or black cures cleanly in the label time, lighter colors will too.
Repeat the test every few months. Bulbs fade, as Young Nails explains, and a lamp that passed last spring may not pass now. If your results slip, shop a replacement in Gel Lamps.
Working fast without cutting cure time
Cure time is the one part of a gel set you cannot compress. You can save minutes elsewhere.
- Prep both hands first. File, buff and cleanse everything before you touch a bottle, so the lamp is the only waiting step.
- Do one hand at a time. A tech cures one hand while painting the other, as Young Nails notes. If you work alone, paint one hand fully, cure, then do the next.
- Keep the lamp clean and ready. Wipe drips off the chamber so the light is not blocked.
- Use thin coats. A very thin coat that cures in the label time beats a thick coat you have to redo.
- Set a visible timer. Most lamps have preset timers. If yours has a 30 and 60 second option, pick the one on your label and leave it.
For a salon, build the cure times into your booking. If a full set with gel polish takes you four cure cycles, that is two to four minutes of lamp time, plus prep and wipes. Do not borrow time from the cure.
Shop what's in this guide
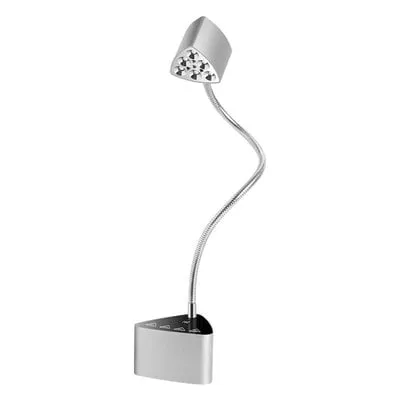
NAD - Flash Cure UV/ LED Mini Desktop Lamp
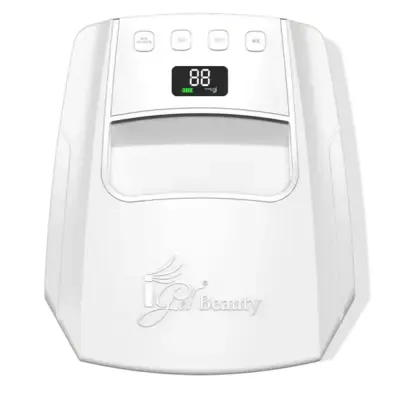
Hybrid Pro 3 - Wireless UV/LED Lamp - White
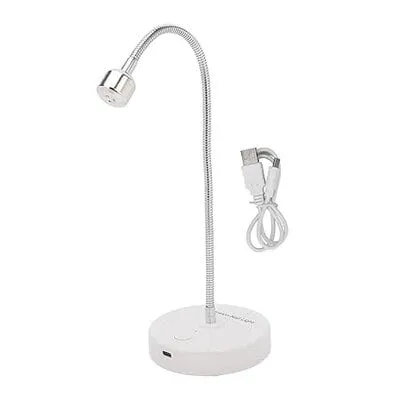
Flash Cure Light - White
 Sale
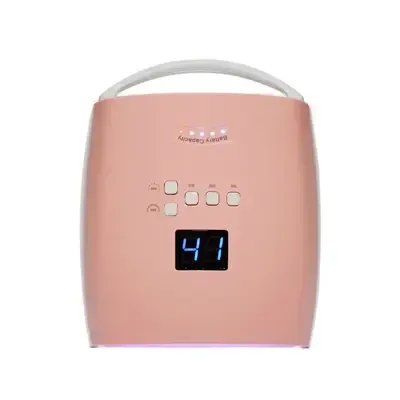
Gel Lamp - 48W Cordless UV/LED - Pink
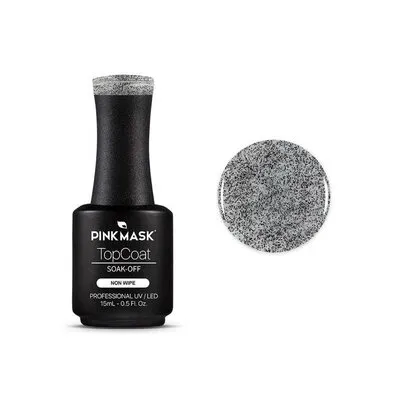
Gel Top Coat 020 - Matte Dots #2
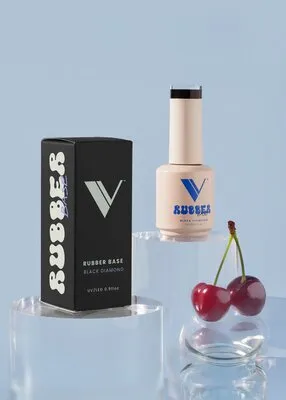
Gel - Rubber Base - Black Diamond
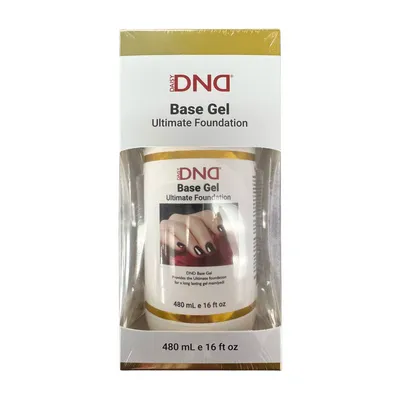
Base Gel - 8 oz