How to Do Cat Eye Gel Nails: Magnet Positions and Cure Tips
Cat eye gel step by step: thin coat, hold a magnet 5 to 10 seconds, cure one nail at a time. Looks, base colors and troubleshooting.
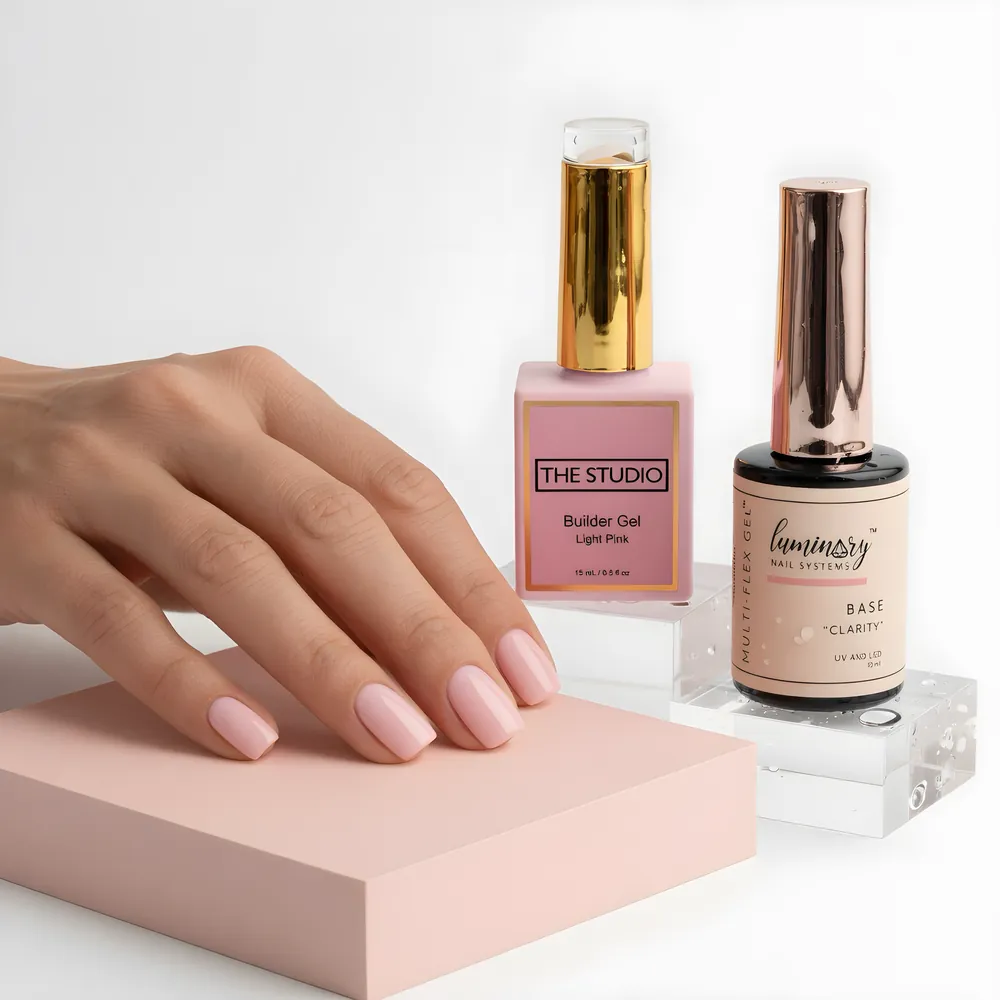
Paint a thin, even coat of cat eye gel and do not cure it. Hold a cat eye magnet close to the wet gel without touching the nail, for about 5 to 10 seconds, until the pattern forms, then cure that nail right away. Work one nail at a time.
How cat eye gel works
Cat eye gel is a magnetic gel polish. Bluesky describes it as gel infused with tiny metal particles: when you hold a special nail magnet over the wet polish, the particles move and create effects like lines, waves and 3D depth, mimicking the reflective gleam of a cat's eye. Pink Gellac puts it the same way: applying cat eye is very similar to regular gel, except a magnet lets you move the particles.
The key detail is timing. The particles can only move while the gel is liquid. Once it cures, the pattern is locked. So the sequence is always the same: paint, magnet, cure. Everything else in this guide is a way to control that moment.
Cat eye does not need a special lamp. It cures like any other gel, following the label for your lamp. If you are unsure about times, see how long to cure gel polish.
What you need
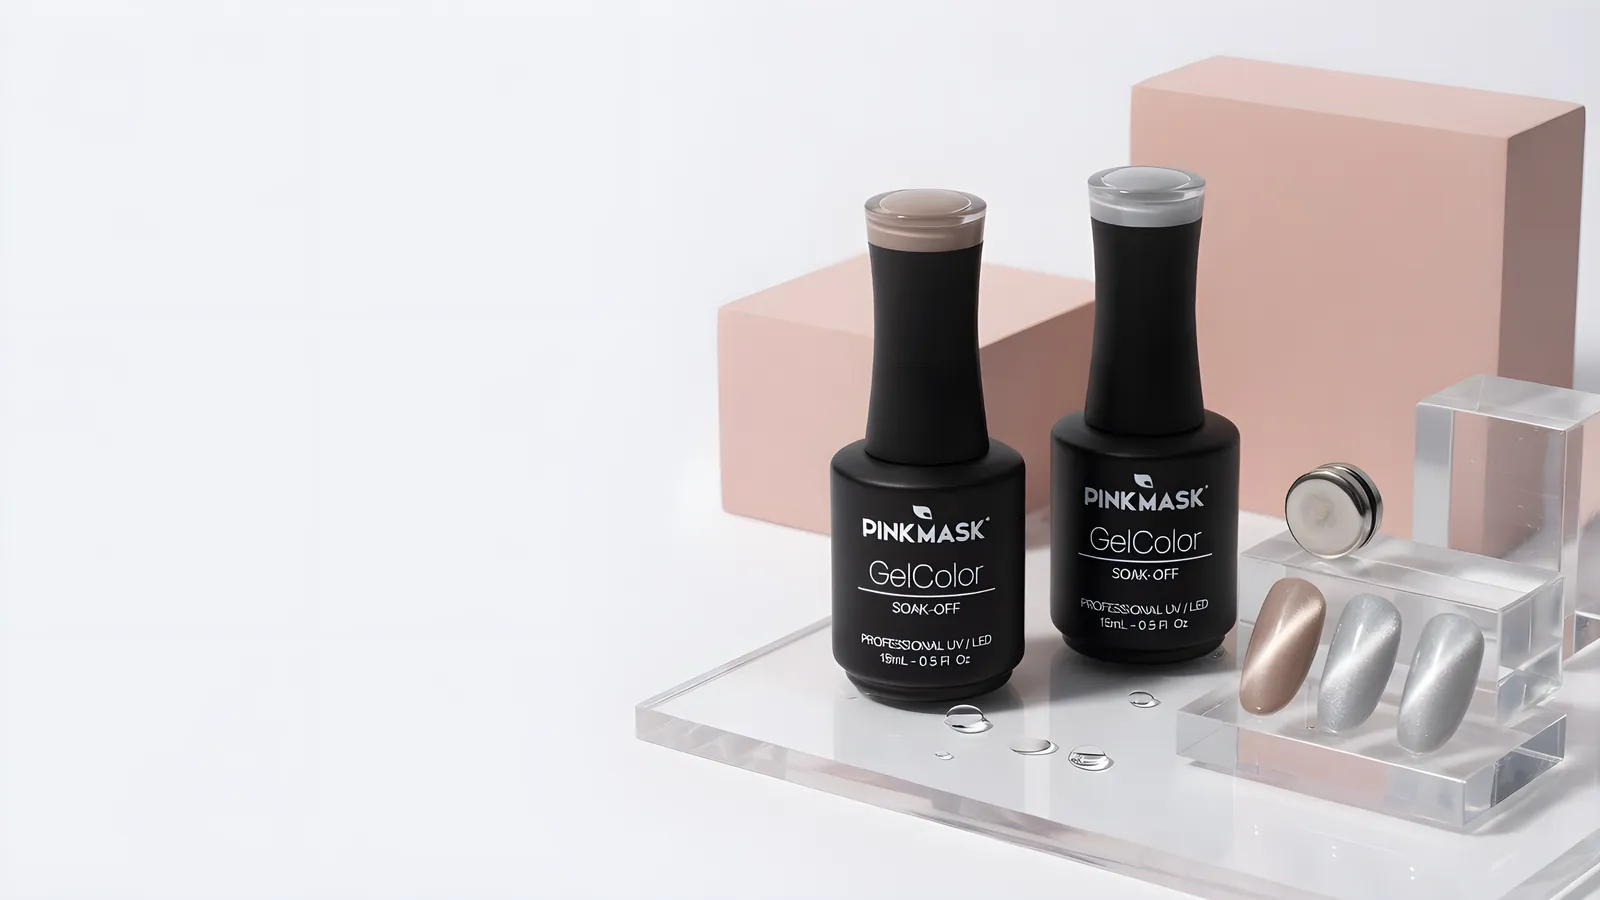
- Cat eye gel in your shade. Browse cat eye gel colors, including DND DIVA 9D Cat Eye, DC, Pink Mask and The Studio shades. See DND DIVA, DC and Pink Mask.
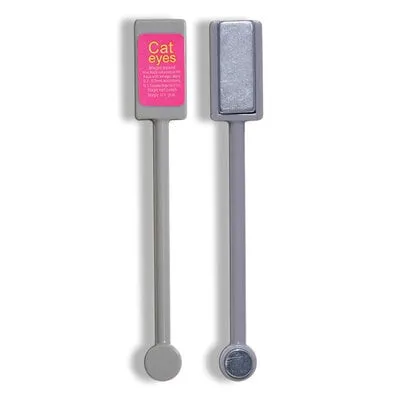
- A cat eye magnet. Pink Gellac recommends a magnet made specifically for cat eye, because these magnets are quite powerful. Browse cat eye magnets, which include DND and The Studio tools.
- A dark or matching base color. Pink Gellac explains that the moving particles create a clear space on the nail, so a base color underneath adds depth. Black is a bold choice, and a base that matches the cat eye shade gives a softer result.
- Base coat, top coat and a matched lamp. See gel base and top coats and gel lamps.
- Prep supplies. File, buffer, cleanser and wipes.
Roll the bottle between your hands before you start, as Pink Gellac advises, so the particles and pigment are spread through the polish.
Step by step: the classic cat eye
- Prep and base coat. Prep as for any gel set. Apply a thin base coat and cure it for the label time. Bluesky gives 30 to 60 seconds depending on your lamp.
- Base color (optional but recommended). Pink Gellac suggests one or two thin layers of your base color, each cured for 60 seconds under an LED lamp.
- Apply the cat eye gel. Roll the bottle. Paint a thin, even coat over the entire nail. Do not cure yet. If you want more coverage, Pink Gellac says you can add a second layer, and in that case cure the first layer for 60 seconds.
- Bring in the magnet. Hold the magnet over the wet gel. Bluesky says to hold it for 5 to 10 seconds, close but not touching the nail. Pink Gellac keeps a 3 mm distance and says the magnet should not touch the nail. Move it above, below or beside the nail depending on the effect.
- Cure straight away. When you like the pattern, cure that nail. Pink Gellac says 60 seconds under an LED lamp. Bluesky says 30 to 60 seconds depending on your lamp.
- Top coat. Apply a thin top coat, cap the edge, and cure. If you use a top coat that leaves a tacky layer, wipe it with a cleanser.
Not happy with the pattern? Pink Gellac says to swipe the brush over the still uncured polish and use the magnet again. Do this before you cure. Once it is cured, you have to remove the layer.
Magnet positions for different looks
The pattern comes from where you hold the magnet and for how long. Pink Gellac says to experiment with angles and movements, and Bluesky mentions straight-bar, round, wave and flower magnet shapes. Use these as starting points and adjust to your gel.
| Look | Magnet position | Notes |
|---|---|---|
| Classic single line | Bar magnet beside the nail, long edge parallel to the nail | The particles gather along the side nearest the magnet. |
| Center line | Bar magnet above the nail, held centered | Hold steady for a few seconds. |
| Diagonal | Hold the magnet at an angle across the nail | Use the same angle on every nail for a matched set. |
| Soft glow or velvet | Round magnet held flat over the nail, then pulled away | Gives a soft, glowing center. |
| Wave or flower | Wave or flower magnet shape | Match the magnet to the pattern you want. |
Layering matters too. A clear or sheer cat eye over a color base lets the color glow through, while a rich cat eye over black gives a deeper shimmer. Test on a practice tip before you try a client's set.
Work one nail at a time
The most common mistake is painting all ten nails and then trying to use the magnet. The gel is a liquid, and the particles drift while you wait. Pink Gellac recommends working finger by finger. Their tip is to use a 10 second fast cure after the magnet to lock the particles, then finish the whole hand with a full 60 second cure. Bluesky's guide says the same thing: hold the magnet, and once the design is set, cure.
Two ways to organize the work:
- Quick lock method. Paint one nail, use the magnet, give it a short flash cure or the full cure for that finger, then move on. If your lamp has a short cycle, use it.
- Full cure at the end. After locking each nail with a short cure, put the whole hand in for the full time.
If the particles creep into a different position while you work, you waited too long. Wipe it off, and repaint that nail before the gel starts to settle.
Keep your magnet away from electronics and other magnets. Pink Gellac points out these magnets are strong and should be kept away from electronic devices and other magnetic belongings.
Troubleshooting cat eye gel
| Problem | Cause | Fix |
|---|---|---|
| No pattern appears | Magnet too far, held too briefly, or polish too thick | Hold close without touching for 5 to 10 seconds. Apply a thinner coat. |
| Particles in the wrong spot | Magnet moved or cured too late | Redo before curing. Swipe the brush over the wet gel and try again. |
| Pattern looks muddy or flat | Base color too light or the layer too thin | Use a dark base, or add a second layer of cat eye. |
| Pattern drifted after the top coat | Cat eye not fully cured before top coat | Cure the cat eye layer fully, then apply a thin top coat. |
| Wrinkles or tackiness | Coat too thick or a weak lamp | Thin the coat. See wrinkling guide. |
| Gel not setting | Lamp mismatch or old bulbs | See sticky gel guide. |
Old or separated bottles also cause trouble. If the bottle looks clumpy, particles cluster at the bottom, or it does not move under a magnet, it may be past its prime. See does gel polish expire.
Can you use cat eye gel without a magnet?
Yes. Without a magnet the particles stay scattered where the brush puts them, so you get a shimmery color without the line or glow. Pink Gellac says the magnet is what moves the glitters to create a 3D look. If you only have the polish, use it like any shimmer: thin coats, cure each one.
A cheap magnet is rarely worth it, though. A weak magnet moves the particles less, so you get a flat result. Use a tool made for cat eye, as Pink Gellac recommends. If you are a nail tech, get a set with several shapes so you can offer more than one look.
Questions about shades, lamps or magnets? Visit any of our four South Florida stores.
Choosing a shade and layering for depth
Cat eye shades work differently depending on what is under them. Particle-heavy shades show a sharp line on any base. Sheerer shades look best on a base color you choose on purpose. A few ideas to try:
- Same-family base. A red cat eye over a deep red base gives a rich, monochrome look. Pink Gellac pairs a red cat eye with a matching red base for a harmonious result.
- Black base. The classic. Black makes the particle line pop and gives the most contrast.
- Contrast base. A blue base under a gold cat eye, for example, lets the line shift color. Test before you commit to a set.
- Nude or sheer base. Softer and more subtle. The magnet effect reads as a faint glow.
For a second layer, repeat the coat, the magnet and the cure. Two thin layers usually give a more intense effect than one thick layer, which can wrinkle or stay soft. If you want a mixed set, use the same cat eye shade on every nail and change only the magnet angle, so the set looks planned.
Pair cat eye with a no-wipe top coat if you want a clean finish without a wipe step, or a matte top coat for a velvet effect. Check the label for the brand's instructions.
Shop what's in this guide
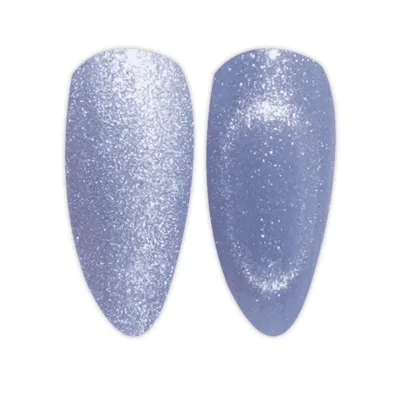
9D Cat Eye - 36 Daydream - Cat Nap
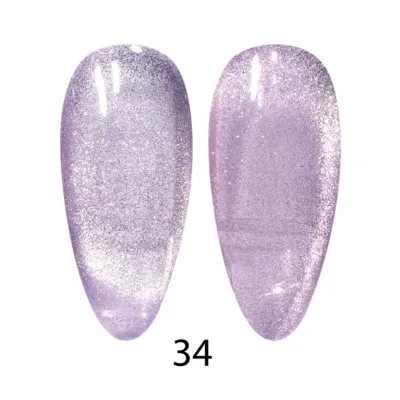
9D Cat Eye - 34 Creamy - Royal Paws
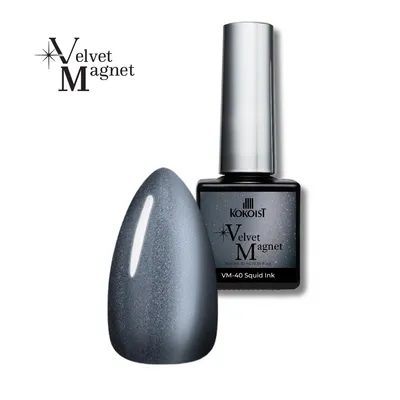
Velvet Magnet - 40 Squid Ink - 10ml
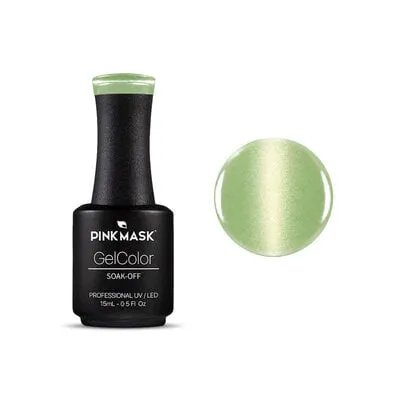
Gel Polish - Pastel Cat Eye - Pistacchio Glow

5 in 1 Cat Eye Magnet Tool - Black
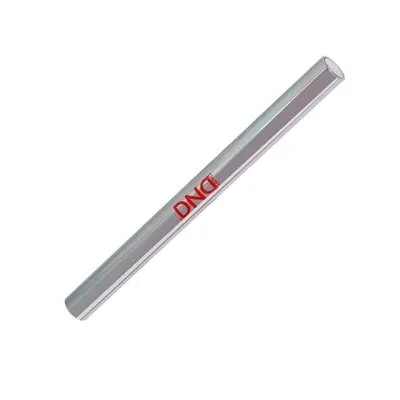
Cateye Magnet - Large
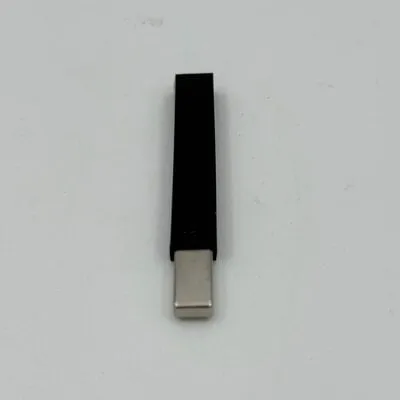
Cat Eye Magnet Tool - Stick (S)