Gel Base Coat vs Top Coat: What Each Does and How to Use Them
Base coat bonds, top coat seals. Learn wipe vs no-wipe top coats, rubber base, correct order and the mistakes that cause peeling and dull gel.
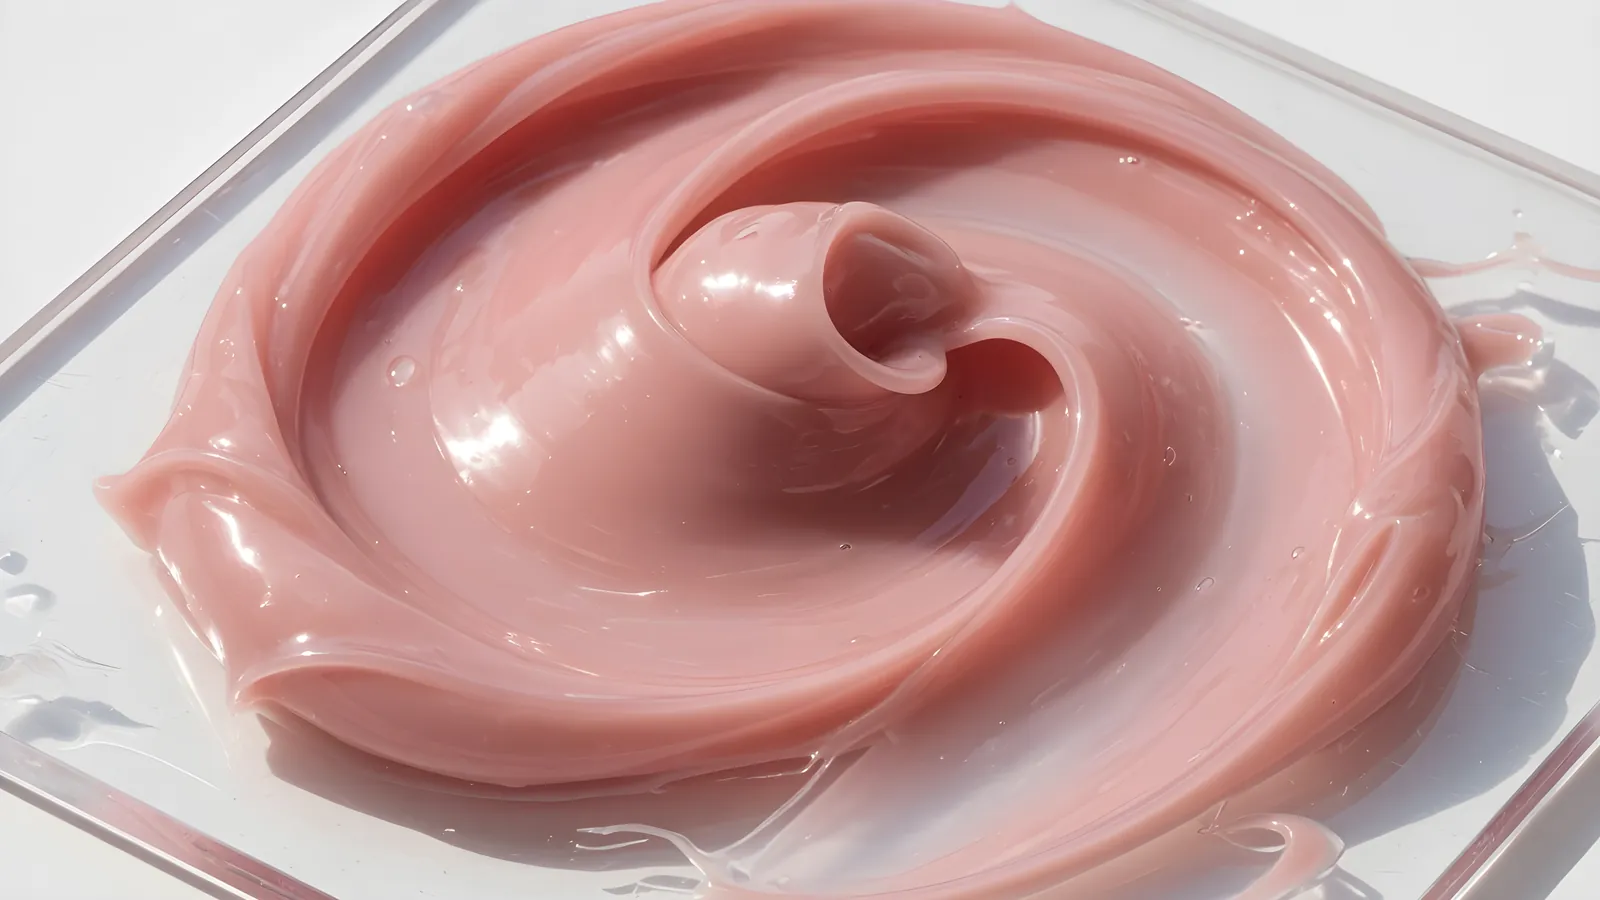
The base coat bonds the gel to your prepped nail and gives color something to grip, while the top coat seals the color, adds shine and takes the wear. Apply both in one thin coat, cap the free edge, and cure each fully. Never use lacquer base or top coat in a gel set.
Base coat and top coat do two different jobs
A gel manicure is a stack. The base coat is the layer that holds the system to your nail. The top coat is the layer that holds everything else together and takes the wear. They are not interchangeable, and they are not the same product in two bottles.
| Base coat | Top coat | |
|---|---|---|
| Job | Bonds to the nail plate and gives the color a surface to grip | Seals the color, adds shine and takes daily wear |
| Goes on | Directly on the prepped nail | Over the last cured color coat |
| Thickness | One thin coat, edge capped | One thin coat, edge capped |
| Surface after curing | Tacky on purpose, so color adheres | Tacky (wipe) or smooth (no-wipe), depending on the formula |
| If skipped | Color lifts and peels sooner | Color dulls, chips and can feel rough |
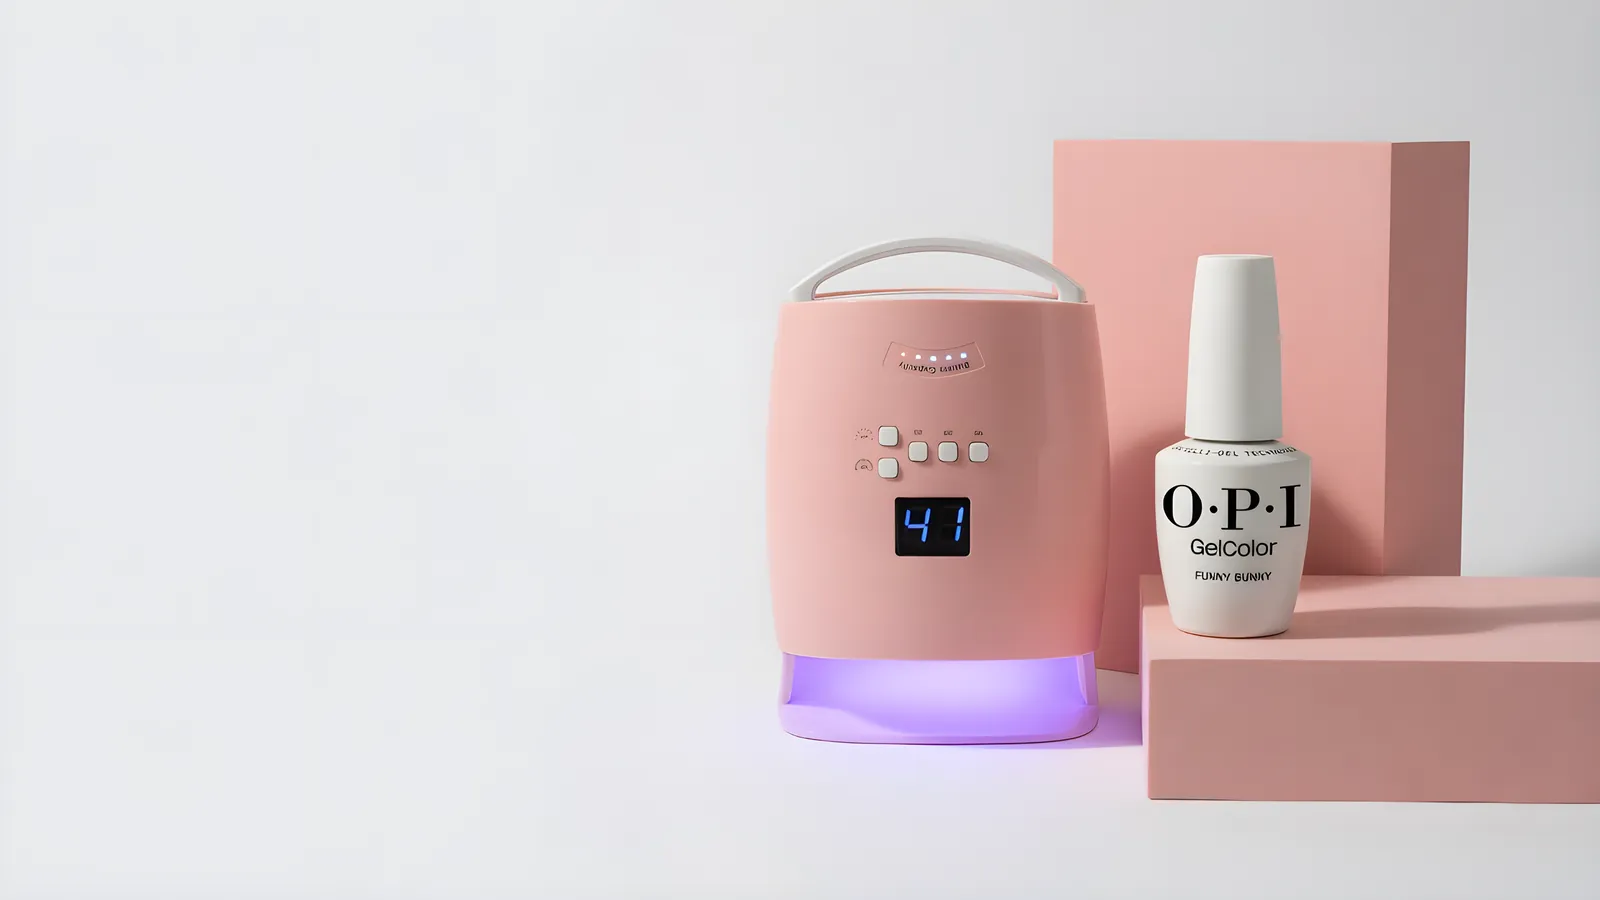
OPI's GelColor steps show the order clearly: shake the base, apply a thin layer, cap the free edge and cure for 30 seconds. After two very thin color coats, shake the top coat vigorously for a full minute, apply a very thin coat, cap the edge, cure and wipe the tacky layer. Thin and capped is the rule for both.
Base coat: what it does and how to choose one
The base coat is where adhesion is won or lost. OPI's Geliversity says skipping prep makes gel lift, and the base coat is the first layer that meets your prepped nail. Apply it thin so it does not flood the cuticles. A heavy base coat self-levels onto the skin and lifts from there.
Common base types:
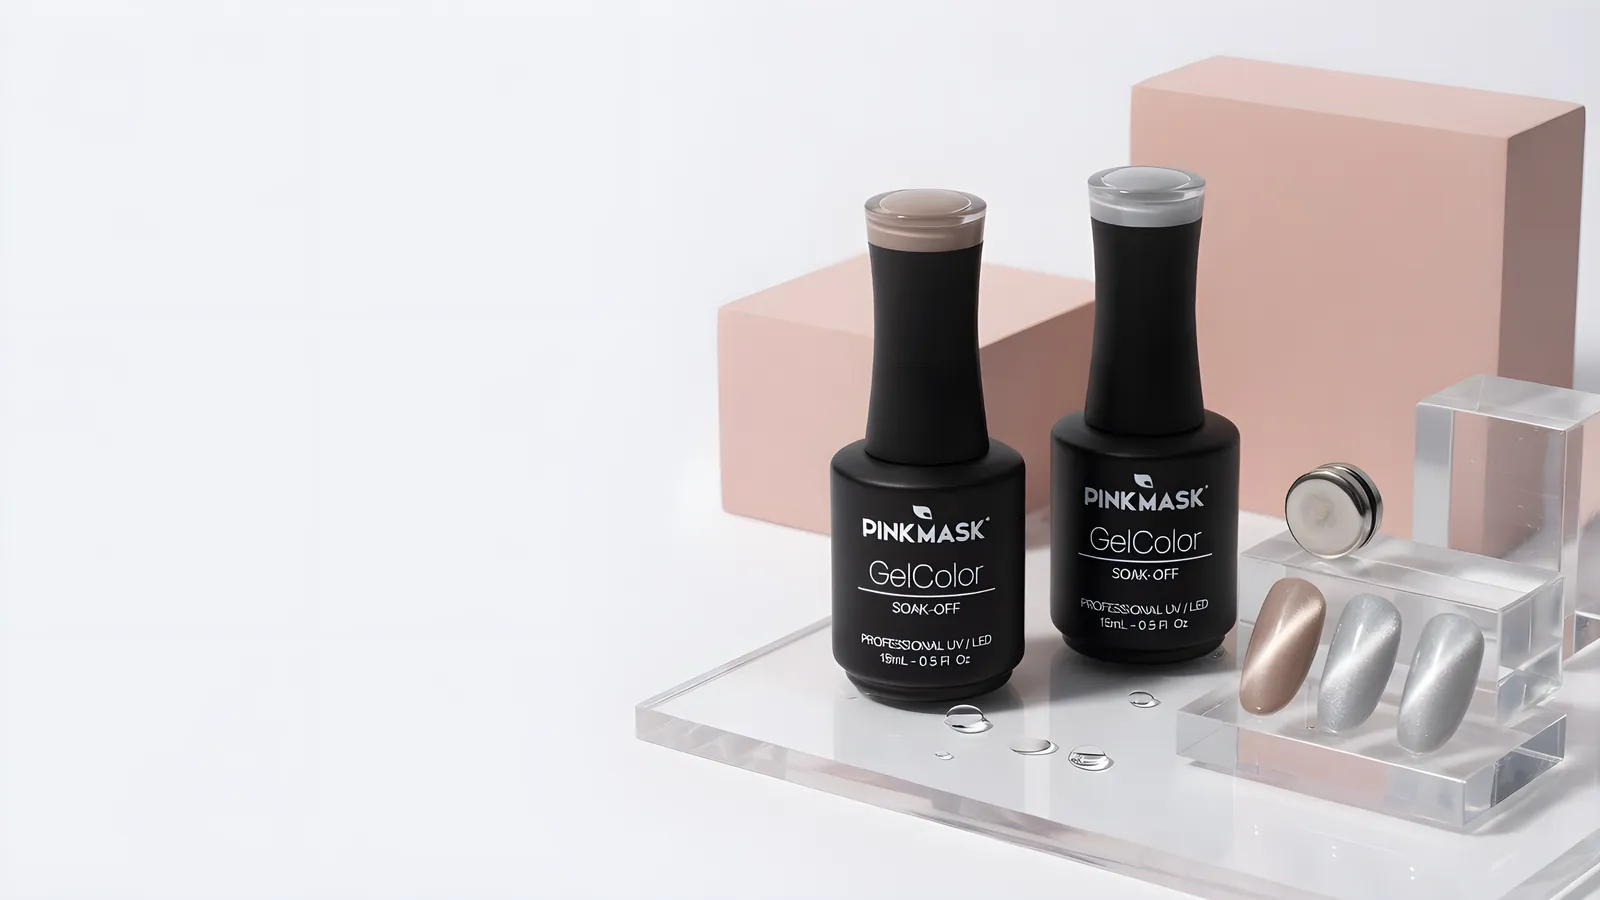
- Regular gel base. Thin, flexible and meant for polish. Examples in our catalog include DND Gel 500 Base Coat, OPI GelColor Stay Classic Base Coat and Pink Mask base coats.
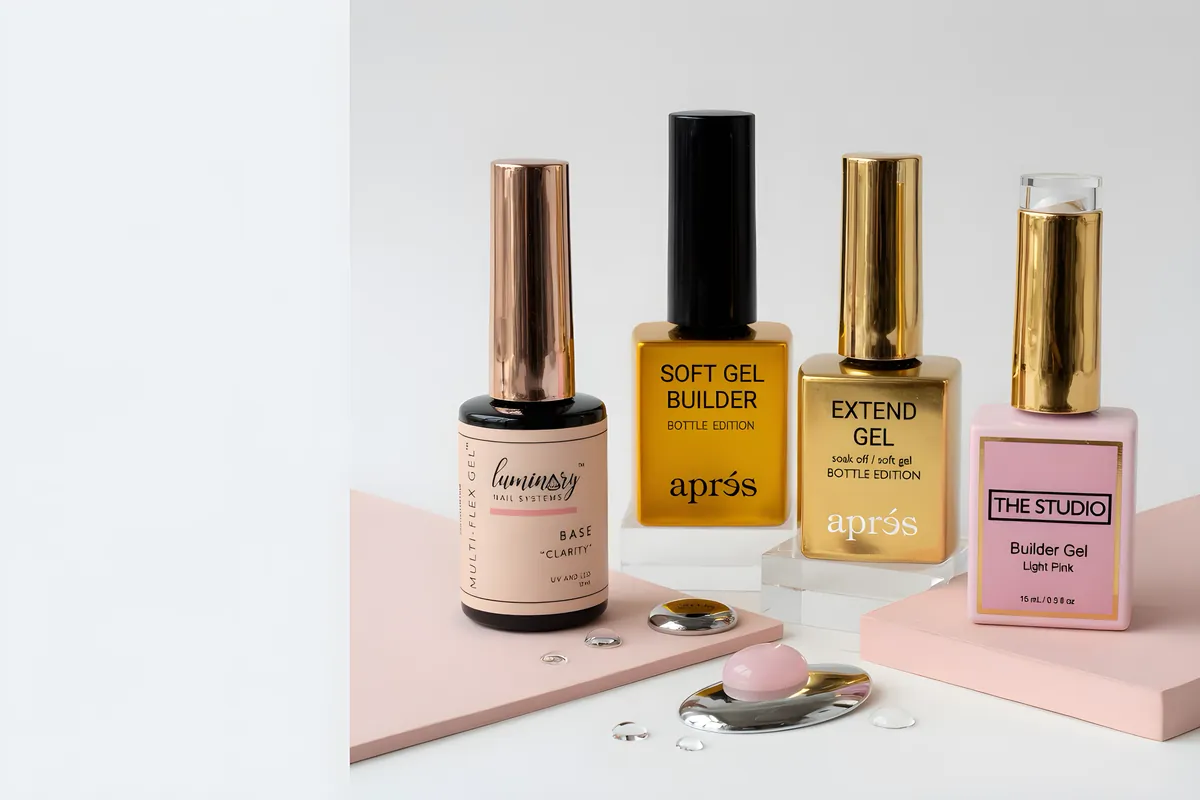
- Rubber base. Thicker and more flexible, used to add strength and level the nail. Apres Base Coat X Rubber Base and V Beauty Pure Rubber Base are in our catalog, alongside builder and solid gels. Because they are thicker, apply them in thin layers and follow the brand's cure time.
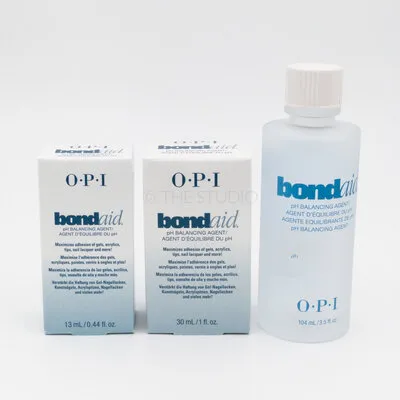
- Bond-style prep. OPI uses Bond-Aid pH Balancing Agent before the base. Dehydrators and primers do a similar prep job and are in dehydrator, primer and bond.
Use the base your color brand recommends when you can. Brand systems are tested together for cure and adhesion. NailKnowledge warns that mixing brands without checking compatibility is a common cause of home problems.
Top coat: wipe, no-wipe, matte and more
The top coat is the final cured layer, so it decides shine, wear and how the nail feels. Most top coats leave a tacky layer after curing. Young Nails explains that tacky inhibition layer does not mean the nail is uncured: it helps the next coat adhere. For the final coat, you remove it with a cleanser on a lint-free wipe, after which the top coat cures to a smooth, shiny finish.
NailKnowledge adds that in many systems the tacky layer is intentional, and that other gels are designed to cure fully without residue. That is the difference between wipe and no-wipe top coats.
| Type | After curing | Good for |
|---|---|---|
| Wipe top coat | Tacky layer you wipe off | Standard shine. OPI Stay Shiny Top Coat is an example. |
| No-wipe top coat | Cured, no sticky layer | Speed, and sets with chrome or art that you do not want to smear. Examples: Kupa No Wipe Top Coat, Mia Secret Glass Finish No Wipe. |
| Matte top coat | Velvet, non-shiny surface | A soft, flat finish. OPI and Kupa carry matte tops. |
| Chrome top coat | Designed to go over chrome powders | Cre8tion Chrome Top Coat No Wipe is one example. |
Browse the full range in gel base and top coats. If you do not know whether your top coat is wipe or no-wipe, read the label.
The order of a full gel set
- Prep and cleanse. Clean cuticle, light buff, dehydrate.
- Base coat. Thin. Cap the free edge. Cure.
- Color coat 1. Very thin. Cure.
- Color coat 2. Very thin. Cap the edge. Cure.
- Art or chrome. Apply art on a cured surface, then seal.
- Top coat. Thin. Cap. Cure.
- Wipe the tacky layer unless no-wipe.
- Cuticle oil. Last.
Cure times follow the label. See how long to cure gel polish for typical times. Every layer is cured separately.
Base and top coat mistakes
| Mistake | What happens | Fix |
|---|---|---|
| Skipping the base coat | Color lifts early | Always use a base made for gel. |
| Using lacquer base or top coat on gel | No bond, no cure, peeling | Gel needs gel base and top. Lacquer products are for lacquer. |
| Thick top coat | Wrinkles, heat spike, tacky mess | Thin top coat. See wrinkling. |
| Not capping the edge | Chips at the tip | Run the brush along the free edge on base, color and top. |
| Flooding the cuticle | Lifting at the skin | Leave a hair of space. See peeling guide. |
| Not shaking the top coat | Streaky, uneven shine | OPI says to shake the top coat vigorously for one minute. |
The lacquer and gel layers sometimes get mixed up at the shelf. We keep them in separate categories: gel base and top coats and lacquer base and top coats.
Which to buy
Start with the system your color belongs to. If you wear OPI GelColor, use OPI's base and top. If you wear DND, use DND's base and top. For a mixed collection, choose one base and one top that you trust and keep them for every color.
- For DIY. A matched base, top and color from one brand removes guesswork.
- For techs. Pick a base that suits your clients' nails (flexible for thin nails, rubber base for strength), and a top that matches your finishes (shine, matte, chrome-friendly).
- For chrome, cat eye and art. A no-wipe top is convenient because there is no wiping step to smear delicate designs. See our guide to cat eye gel.
Pair the coats with a lamp the brand recommends. See LED vs UV nail lamps, and shop Gel Lamps. If you want a lower-allergen system, see our HEMA TPO free range.
Choosing a base for your nail type
Nails are not all the same, and the base is where you adjust for that.
- Healthy, normal nails. A regular thin gel base is usually enough. Prep well, cap the edge and keep coats thin.
- Thin or bendy nails. A flexible base keeps the set from cracking when the nail bends. If the nail flexes more than the gel, the bond breaks. A rubber base adds a little structure.
- Uneven or ridged nails. Rubber base or a slightly thicker leveling layer smooths the surface. Apply in thin layers so it cures all the way through, because thick layers need more light, as NailKnowledge notes.
- Oily nails. The base cannot fix oil. Dehydrate and prime first, then use your regular base.
- Short nails. Keep the base thin so it does not flood the cuticle, since there is less nail to hold the gel.
If your gel keeps lifting on a particular nail, change the prep before you change the base. Our peeling guide has a table of causes.
What about lacquer, duo sets and mixing systems?
Gel and lacquer are separate systems. A gel base and top coat cure under a lamp, and a lacquer base and top coat dry in the air. They do not swap. A gel top coat does not belong over wet lacquer, and a lacquer top coat will not cure under a lamp.
Duo sets solve the matching problem differently. A DND Duo Polish, for example, pairs a gel and a lacquer in the same shade, so you can use gel for long wear or lacquer for a quick change. Use the gel half with gel base and top, and the lacquer half with lacquer base and top. We keep these in duo sets (gel and lacquer).
When you are working with art, keep the order in mind. Chrome powder goes on a cured, wiped surface and then gets sealed with a top coat made for it. Cat eye gel is cured before the top coat, as in our cat eye guide. In both cases the top coat is the last thing on the nail, so it must be the right type for the finish.
What thin looks like in practice
Everyone says thin, and few say how thin. OPI's steps use the words very thin for every layer. A useful picture: you should be able to see the base color or nail through the first pass of the brush, and the brush stroke should level out without a ridge. Wipe the brush on the bottle neck, keep the bristles flat, and drag instead of pushing.
Signs your coat is too heavy:
- A bead of gel at the cuticle or sidewall.
- A ridge along the free edge.
- Gel that moves when you tilt your hand before curing.
- Wrinkles, softness or heat during curing.
Young Nails says thick coats block light and can cause a heat spike on the nail. If you feel heat, lift your hand out of the lamp for a moment and thin your next coat. See thick vs thin gel coats for more.
Shop what's in this guide
Gel Top Coat 020 - Matte Dots #2
Gel - Rubber Base - Black Diamond
Base Gel - 8 oz
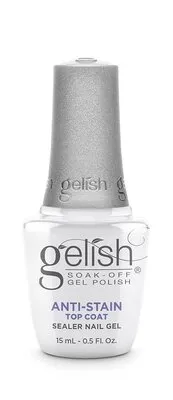
Anti-Stain Gel Top Coat
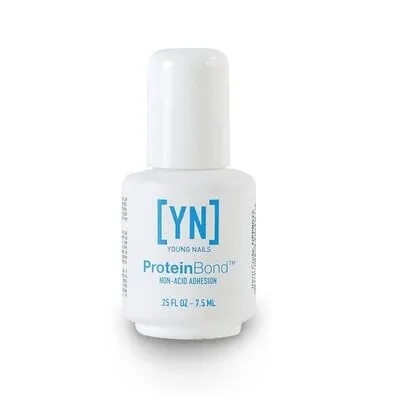
Protein Bond - Primer - 0.50 fl oz
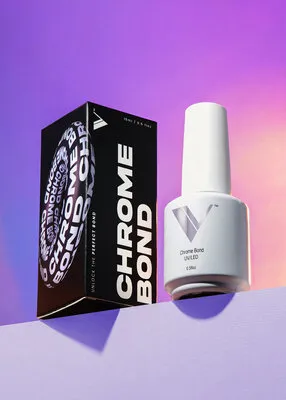
Chrome Bond
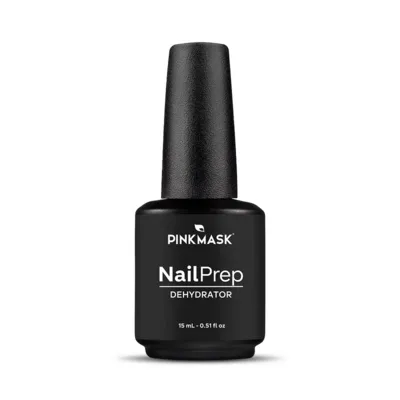
Nail Prep Dehydrator - 15 ml