Is Gel Polish Supposed to Be Thick? How Thin Your Coats Should Be
Gel is thicker than lacquer, but your coat should be thin. Learn why thick coats wrinkle and stay wet, and how to paint thin layers.
Gel polish is thicker than lacquer, and that is normal. The coat you paint should still be very thin. Thick coats block light, cure unevenly, wrinkle and flood the cuticle, so use one thin base, two thin color coats and one thin top coat, each cured separately.
Is gel polish supposed to be thick?
Gel is thicker than regular lacquer, and that is normal. It has to stay on the brush, level on the nail and then harden under a lamp. But thick in the bottle does not mean thick on the nail. The coat you paint should always be thin, even if the gel itself feels syrupy.
Gel changes with brand, color and formula. NailKnowledge notes that pigment load, viscosity and photoinitiator type all affect how light penetrates and how the cure progresses. A heavily pigmented black needs a thinner coat than a sheer jelly. A builder gel is thick by design and cures in a different way from polish.
| Bottle feels | Normal? | What to do |
|---|---|---|
| Syrupy but flows off the brush slowly | Yes, typical for gel | Wipe the brush and paint thin. |
| Thicker than when you bought it, stringy | No, may be aging (Young Nails) | Test a thin coat. See does gel polish expire. |
| Clumpy or separated | No | Shake. If it stays separated, replace the bottle. |
| Thick only when cold | Common in a cold room | Let it come to room temperature. |
| Thick builder in a pot | Yes | Follow builder gel directions and build in layers. |
Why thin coats matter: the science in plain words
Gel hardens only where light reaches it. Young Nails explains that curing needs even exposure, and that too much product blocks light from penetrating. That is why the bottom of a thick coat can stay liquid while the surface looks cured. Curing also creates heat, so a thick coat can cause an uncomfortable heat spike on your nail.
NailKnowledge describes the surface curing faster than the layer beneath, which leads to wrinkling, and notes that excessive shrinkage points to a curing imbalance. Après says the same about its Gel Couleur: a thick layer may impede proper curing and cause shrinkage, wrinkling and a tacky layer.
OPI's Geliversity lessons add another reason: thin coats reduce skin irritation. Thin coats flood less, so less uncured gel touches skin. That matters because repeated skin contact with uncured product is a route to sensitization.
In short, thin coats:
- Cure all the way through.
- Wrinkle less.
- Flood the cuticle less.
- Peel less.
- Look smoother after top coat.
How many coats, and how thin each one should be
Brands give specific layer counts. OPI's GelColor steps are a good model:
- One thin base coat, edge capped, cured for 30 seconds under their LED lamp.
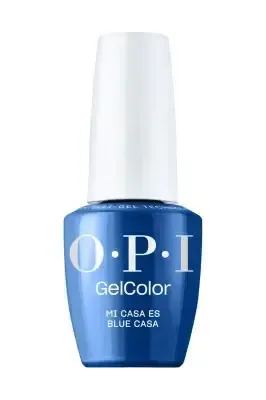
- One very thin color coat, cured for 30 seconds. OPI says shake the polish first to mix the pigment.
- A second very thin color coat, edge capped, cured for 30 seconds. This coat gives the full color.
- One very thin top coat, edge capped, cured for 30 seconds, after shaking the top coat for a minute.
That is four layers, not one thick one. Streaky or sheer shades may need a third color coat, but add it only if the nail still looks thin after two. Pink Gellac's cat eye guide also layers: one or two thin base color layers, then the cat eye layer. See the full cure times in how long to cure gel polish.
A nail that needs four heavy coats to cover usually has a problem elsewhere: a very sheer formula, a stale bottle, a pigment that settled, or too little shaking. Fix that before you add more product.
How to paint a thin coat
- Load the brush lightly. Dip once, then wipe one side of the brush against the bottle neck so a small bead remains.
- Start a hair from the cuticle. Set the brush down in the center, push back toward the cuticle without touching skin, then pull forward.
- Use three strokes. Center, left, right. Do not go back over wet gel more than once.
- Cap the free edge. Run the brush along the tip with the thinnest film of gel.
- Clean the sidewalls. A clean flat brush or orange wood stick removes any gel that touched skin. Do this before curing.
- Cure for the label time. Do not add extra cycles. OPI calls extra cure cycles manicure sabotage.
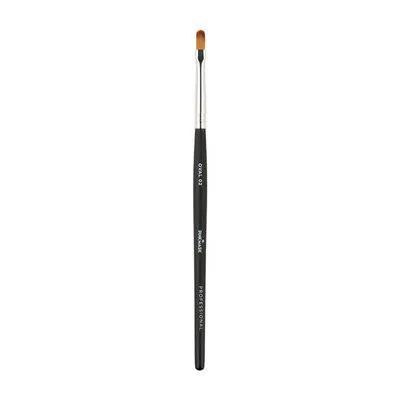
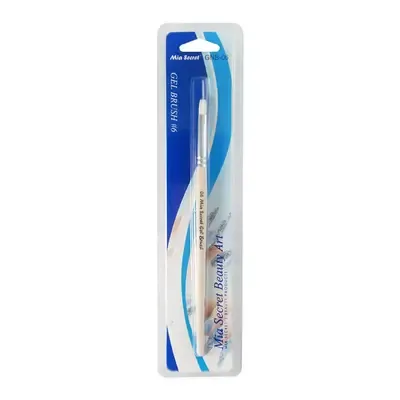
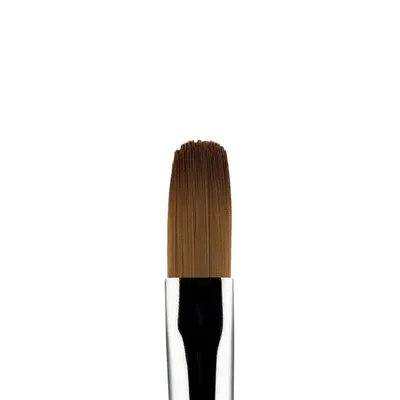
For streaky pastels, OPI's lessons say to shake the bottle for 30 seconds and hug the nail with the brush instead of hovering over it. A good brush also helps. Our gel brushes include shapes made for control near the cuticle.
What to do when your gel is too thick
If the bottle itself is thick or stringy, find the cause before you reach for a fix.
- Temperature. Cold gel is thicker. Let it sit at room temperature for a few minutes.
- Age. Young Nails says gel past its prime becomes thick, sticky or separated. If it also cures poorly, replace it.
- Light exposure. Gel exposed to light can start to cure in the bottle. Keep bottles closed and out of sun. See our storage guide.
- Thinner. Gel thinners exist for adjusting consistency. We stock thinners from DND, Cre8tion and Kiara Sky. Follow the maker's directions, add a drop at a time, and do not use a random solvent. A thinner will not rescue gel that has gone bad.
If the gel will not cure properly after thinning, stop using it. Under-cured gel can cause lifting and skin reactions, as NailKnowledge warns.
If thickness is a technique issue, use fewer dips and more wiping, not more thinner.
Thick on purpose: builder, rubber base and glitter
Some gels are thick by design.
- Builder and hard gel. These build structure and are applied in layers. NailKnowledge says thick builder gels need more light penetration than thin polish, so a lamp that cures polish may not fully cure builder in the same time. See builder and solid gels.
- Rubber base. Thicker and flexible. Apply in thin layers and follow the label.
- Glitter and chrome-effect gels. The particles can sit thick. Apply a thin coat, and smooth with a clear gel instead of piling on more.
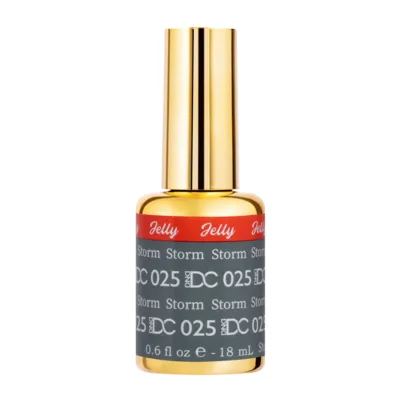
- Jelly gels. Translucent by design, so they are built from several thin layers. See jelly gels.
Even with thick products, the same rule applies: build up in thin, cured layers instead of one large layer. For help with wrinkles that show up in thick work, see the wrinkling guide.
Thick vs thin: what you actually get
| One thick coat | Two or three thin coats | |
|---|---|---|
| Cure | Surface sets, bottom may stay liquid | Light reaches each layer, so it cures through |
| Look | Ridges, wrinkles, uneven edges | Smooth, even, glassy after top coat |
| Cuticle | Floods onto skin, lifts there first | Stays clean, with a thin line of space |
| Comfort | Heat spike in the lamp | Gentle warmth |
| Wear | Lifts, chips, peels sooner | Bonds and lasts |
| Time | Looks faster, then needs a redo | More cycles, fewer fixes |
The "faster" thick coat is a false saving. A set that takes four cure cycles and holds for weeks beats a set that takes two cycles and comes back in three days. If you do clients' nails, thin coats also protect you from redo appointments and unhappy reviews.
Habits that make coats too thick
- Dipping the brush twice per nail. One loaded dip is usually enough for one nail on a normal length. Use a smaller bead for short nails.
- Not wiping the brush. The bottle neck takes the extra. Skipping that step is the number one reason people paint heavy.
- Pressing the brush down. Pressing squeezes gel off the bristles in a bead. Float the bristles and let them lay down the color.
- Going back over wet gel. Each pass moves product around. Make your pass, check, and cure.
- Chasing opacity with one coat. Sheers and pastels build in layers. Do not try to make a jelly opaque in one pass.
- Using a worn or splayed brush. A bent brush leaves heavy patches. Replace old brushes. See gel brushes.
- Not shaking the bottle. Pigment settles. A thick slurry at the bottom produces dense, heavy coats. OPI tells you to shake color to mix pigment evenly.
Fix one habit per set instead of all at once, and you will see the difference by the third manicure.
How thin to go for each kind of product
| Product | Coats | Notes |
|---|---|---|
| Base coat | 1 thin | Cap the edge. Avoid the cuticle. |
| Cream color (OPI pattern) | 2 very thin | The second coat gives full color. |
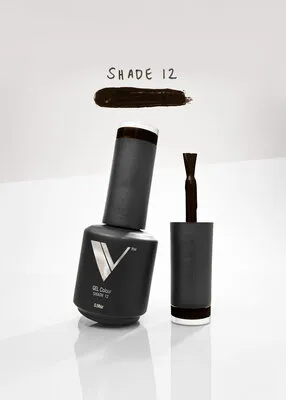
| Dark or heavy pigment | 2 to 3 very thin | Pigment blocks light, so keep each layer slim. |
| Pastel | 2 to 3 thin | Shake for 30 seconds and hug the nail (OPI). |
| Jelly or sheer | 3 or more thin | Build depth, cure each layer. |
| Cat eye | 1 to 2 thin | Magnet before cure. See cat eye guide. |
| Top coat | 1 very thin | Shake for a minute (OPI). Cap the edge. |
| Builder or hard gel | Layers per label | Needs a stronger cure, follow the product directions. |
These are starting points based on the sources above, not a promise for every brand. If the maker's label gives a different count, follow the label.