Gel Polish Wrinkling After Curing: Causes and Fixes
Why gel polish wrinkles under the lamp and how to stop it: thin coats, the right lamp, pigment tips and a cause-by-cause fix table.
Gel polish wrinkles when the surface cures before the gel underneath does, almost always because the coat was too thick. Use two or three very thin coats, cure each fully, and make sure your lamp matches the gel. Dark pigments and pooled gel at the sidewalls make it worse.
What wrinkling is, and why it happens
Gel polish wrinkles when the surface hardens before the layer underneath does. NailKnowledge explains it this way: the top cures faster than the gel below, the uncured layer moves, and the movement distorts the surface into ripples. Applying too much product is one of the listed causes.
Gel also tightens a little as it cures. NailKnowledge calls that slight shrinkage normal. When shrinkage becomes excessive, especially away from the sidewalls, it points to a curing imbalance. A heavy coat pulls harder than a thin one, so the thicker you go, the more likely the film buckles.
Après, the maker of Gel-X, says it plainly for its pigmented Gel Couleur: a thick layer may impede proper curing, and poor curing can lead to shrinkage, wrinkling and a tacky layer. The fix they give is thinner layers and a less-is-more approach for full opacity and a good finish.
That is the whole story in one line: light has to reach the bottom of the gel before the top locks up. Everything below is a way to make that happen, or a reason it did not.
Wrinkling troubleshooting: cause, sign and fix
| Cause | What it looks like | Fix |
|---|---|---|
| Coat too thick | Ripples across the whole nail, soft gel under the skin of the film | Strip it. Redo in two or three thin coats. See thick vs thin coats. |
| Product pooling at the sidewalls and cuticle | Wrinkles at the edges and near the cuticle | Leave a hair of space at the skin. Clean the sidewalls with a brush before curing. |
| Heavy pigment (black, navy, red, neon) | Wrinkles on dark colors only | Thinner coats, more of them. Pigment blocks light, so each layer must be slimmer. |
| Lamp too intense or mismatched | Surface sets at once, then buckles | Use a lamp the brand approves. Do not start with a stronger lamp than the gel expects. |
| Gel put on over uncured or wet layer | Wrinkles appear after the next coat | Cure every coat fully. Never stack on tacky, wet gel. |
| Gel over oil or lotion | Wrinkles plus lifting later | Cleanse the nail again before each step. |
| Thick top coat or builder over color | Ripples show after top coat only | One thin top coat. Cap the edge. |
Not sure which one is yours? Look at where the wrinkles sit. At the edges and near the cuticle means pooling. Across the middle only means a thick coat. On dark colors only means pigment and light. On every shade means check the lamp.
Thin coats and the light problem
Thin coats are the answer to most wrinkling because they solve the underlying light problem. Young Nails notes that too much product blocks light from penetrating, and that curing is a thermal reaction, so a thick coat can cause an uncomfortable heat spike on the nail. A thin coat lets light through and spreads the heat.
OPI's GelColor steps are a good model even if you use another brand. They ask for a very thin base layer, a very thin first color coat, a second very thin color coat, and a very thin top coat, each cured for 30 seconds under their LED lamp. Their Geliversity lessons also list thin coats as a core habit. Thin does not mean sheer. Two thin coats at the right cure time give the same opacity as one thick one, without the buckling.
How to get a thin coat:
- Wipe one side of the brush on the neck of the bottle so only a bead remains.
- Float the brush over the nail instead of pressing. Think of painting, not scooping.
- Pull the color in three strokes: center, left, right.
- For pastels or sheers that look streaky, OPI's lessons say to shake the bottle for 30 seconds and hug the nail with the brush rather than hovering over it.
Our gel colors and jelly gels behave differently. Jelly and sheers are translucent by design, so layering matters even more.
When the lamp is the cause
NailKnowledge points out that over-curing is largely a misconception. Longer exposure usually does not damage gel. The trouble comes from a lamp that is too intense or mismatched, which makes the reaction happen too fast. A surface that sets instantly can lock before the gel underneath has had its share of light.
Two practical rules help:
- Match the lamp to the gel. NailKnowledge says gels respond to specific wavelengths, about 365 nm for some and 395 to 405 nm for LED lamps. A mismatched lamp can leave the cure uneven, even with longer exposure. Our LED vs UV guide explains how to check.
- Do not stack extra cycles. OPI calls extra cure cycles manicure sabotage. If the nail wrinkled after the right time, a second cure will not flatten it.
If the same gel wrinkles on every nail but cures fine on a friend's lamp, your lamp is the suspect. Old bulbs, low power or poor positioning all matter. Look through Gel Lamps if you are ready to upgrade.
How to fix a wrinkled nail without ruining the others
- Check underneath. Press gently on a wrinkle. If it moves or feels soft, the gel below is wet. Remove the whole layer.
- Do not paint over it. A new coat on a buckled, under-cured base traps the problem and locks it in.
- If it is fully cured, you can buff the ridges flat with a fine buffer. Then cleanse, and recoat thinly. Wrinkles usually show through, so rebuild with a clear or builder base if it is deep.
- Start again from the base. Cleanse, apply a thin base, cure, then two thin color coats and a thin top coat.
- Cap the free edge every time and keep gel off the skin. Uncured gel on skin raises allergy risk.
Shake the bottle first. Pigment settles, and a thick slurry at the bottom produces heavy, wrinkle-prone coats. OPI tells you to shake color to mix the pigment evenly. Keep a roll-on or small mixing ball in the bottle and use it every time.
For files and buffers, see our files and buffers.
Wrinkles vs bubbles vs shrinkage: do not mix them up
| Problem | Usual cause (NailKnowledge) | What helps |
|---|---|---|
| Wrinkles | Surface cures faster than the layer below, or too much product | Thin coats, matched lamp |
| Micro-bubbles | Trapped air or uneven curing, influenced by thickness, pigment and light penetration | Paint thin, let the bottle settle after shaking, keep the brush from pumping air |
| Shrinkage at the sidewalls | Normal slight tightening; excessive when curing is out of balance | Cap the edge, avoid thick coats at the sidewall |
OPI tells you to shake color to mix the pigment, so shaking is not the enemy. If you see bubbles right after a shake, set the bottle down for a minute before you apply, and do not pump the brush in and out of the bottle.
The same pattern shows up with other gel products. Builder gels cure thicker by design and need lamps strong enough for the depth. NailKnowledge warns that thick builder gels need more light penetration than thin polish, so a lamp that handles polish may not fully cure them in the same time.
A wrinkle-proof routine you can follow every time
Wrinkling is easier to prevent than to repair. Use this order on every nail and it rarely comes back:
- Prep and cleanse. Remove oil and shine from the nail plate. If lifting also bothers you, a dehydrator and primer step helps. See dehydrator, primer and bond.
- Thin base coat. Cap the free edge. Cure for the brand's time.
- First color coat: very thin. It can look streaky. That is fine. Cure fully.
- Second color coat: still thin. Add a third only if the shade needs it, and check that the nail does not feel thick at the cuticle.
- Thin top coat. Cap the edge. Cure. Wipe the tacky layer if the top coat needs it.
- Check each coat before the next. The cured film should be hard, not rubbery, and the surface should be smooth.
That is four curing cycles on a full set, so budget the time. A rushed set with one thick coat looks worse after three days than a patient set with thin ones. OPI's steps include a 30 second cure per layer for a reason: more cycles, each easier on the lamp.
Special cases: dark colors, glitter, chrome and builder gel
Some products wrinkle more than others because of what is inside them.
- Black, navy, deep red and neon: heavy pigment. Use the thinnest coats you can control. NailKnowledge says pigment load and viscosity change how light penetrates and how the cure progresses.
- Glitter and chunky particles: they scatter light and can sit thick. Apply one thin coat and add a clear gel to smooth the surface instead of piling on glitter.
- Chrome and mirror powders: apply on a fully cured, wiped tacky layer, then seal. A thick top coat over chrome is a common source of ripples. See chrome.
- Builder and hard gels: thick by design. Build in thin layers and use a lamp the brand approves, because depth needs more light.
If the same shade keeps wrinkling despite thin coats, swap to a fresh bottle or a different shade as a test. If the second bottle cures cleanly, the first may be old or contaminated. Our gel shelf life guide explains the signs.
Shop what's in this guide
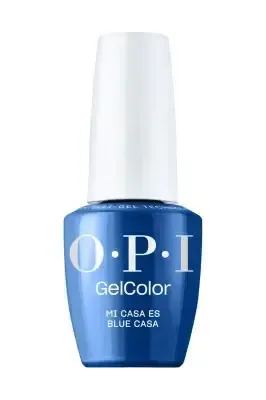
M92 - Intelli-Gel - Mi Casa Es Blue Casa
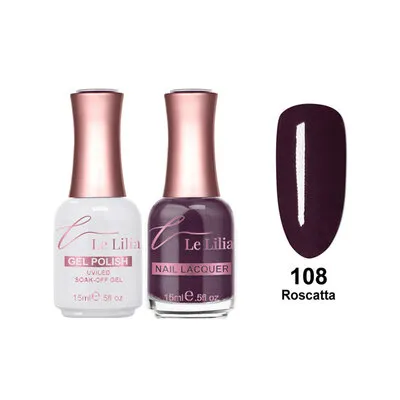
108 - Roscatta - Gel - 0.5 oz
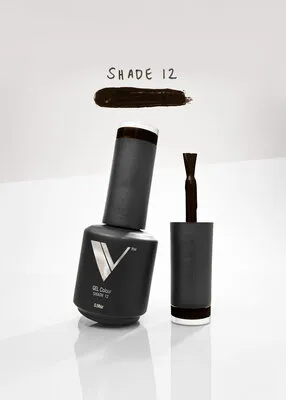
Gel Polish - Foundation Shade 12
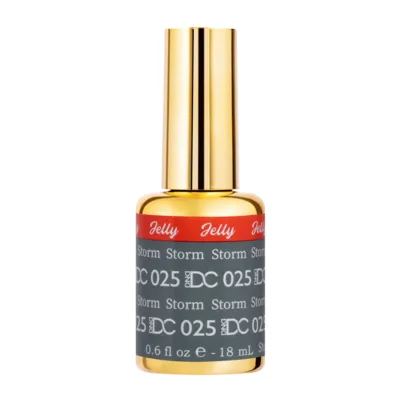
Jelly - 025 - Storm
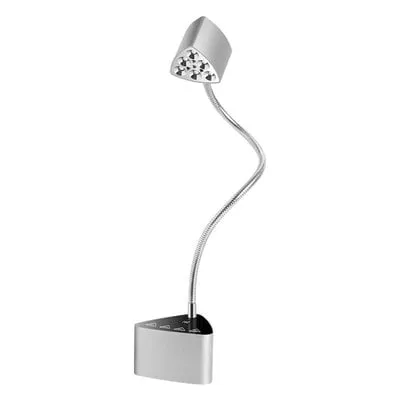
NAD - Flash Cure UV/ LED Mini Desktop Lamp
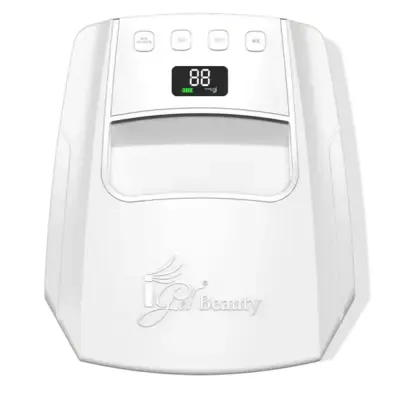
Hybrid Pro 3 - Wireless UV/LED Lamp - White
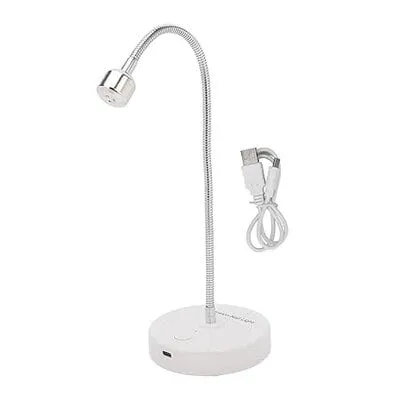
Flash Cure Light - White
 Sale