How to Do Acrylic Nails for Beginners: Powder, Liquid and Bead Control
Learn how to do acrylic nails step by step: the kit list, prep, bead control, three-zone placement, filing and safe ventilation for beginners.
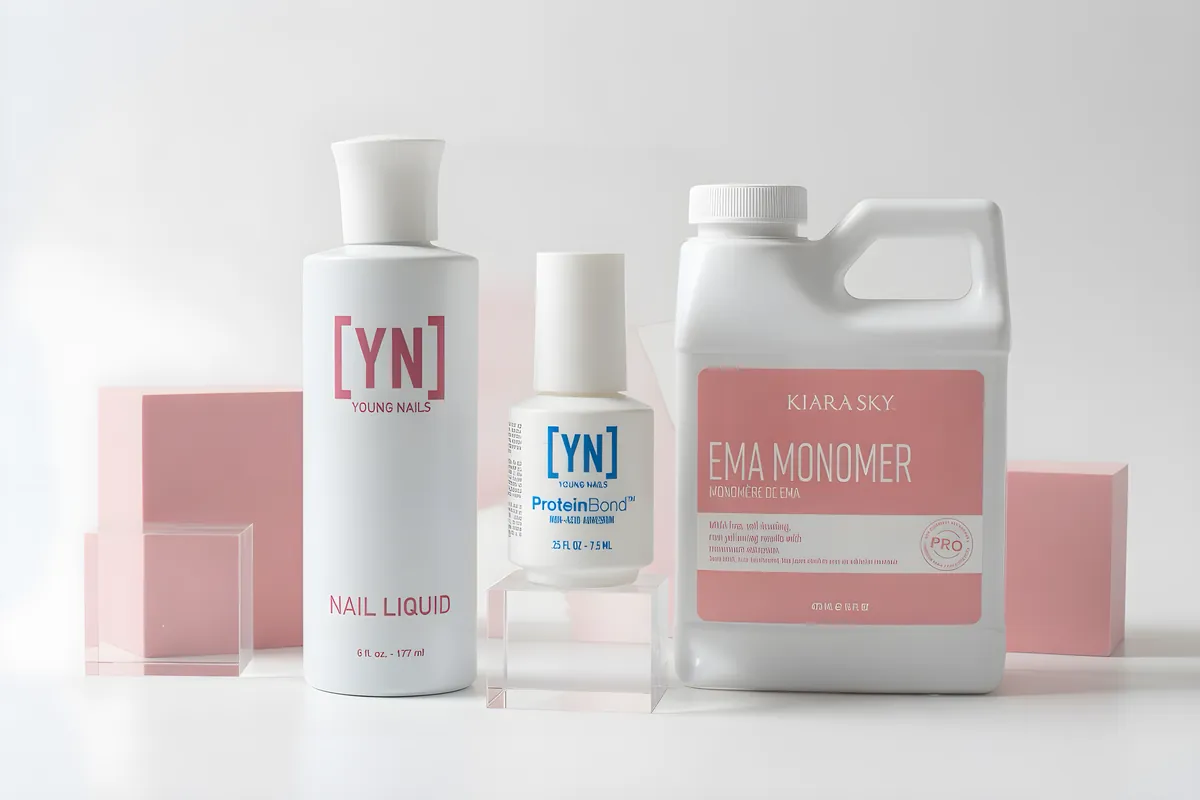
Acrylic nails are made by picking up a bead of polymer powder with a brush wet with EMA monomer, placing it on a prepped nail or tip in three zones (tip, middle, cuticle), pressing it into shape and letting it air-harden. It cannot be moved after about a minute and a half and is ready to file after about four and a half minutes. Good prep and a bead that is shiny but holds its shape matter more than any product.
What acrylic actually is (and why it hardens)
Acrylic nails are made from two parts that you mix on the nail: a liquid called monomer and a powder called polymer. You dip a brush in the liquid, touch it to the powder, and the brush picks up a small ball of wet product called a bead. The liquid wets the powder, a chemical reaction starts, and the ball hardens on its own in a few minutes. No lamp is needed.
The chemistry is simple once you picture it. The powder is made of tiny polymer beads. The liquid links into long chains that wrap around each bead, and those chains tangle together into a solid network. Educators at Katie Barnes Academy describe nail liquid as mostly ethyl methacrylate (EMA), usually tinted purple because it carries inhibitors that help stop yellowing, and the powder as a polymer made with benzoyl peroxide as the starter that heat breaks down. That is why heat speeds the set and cold slows it.
One safety fact to settle early: the liquid should be an EMA-based nail monomer, not methyl methacrylate (MMA). The FDA says it removed products containing pure MMA from the market in the early 1970s after complaints of nail damage, deformity and contact dermatitis. It also says no regulation specifically prohibits MMA in cosmetics, which is exactly why you have to read the label yourself. We cover this in detail in EMA vs MMA monomer.
In Florida, doing acrylic nails for pay requires a license. Practicing a specialty without an active license is a second-degree misdemeanor under Florida Statutes 477.0265. Everything below is written for students, licensed techs and people practicing on themselves.
What you need on the table before you start
Beginners lose the most time hunting for something mid-set. Lay everything out first. This is the working kit:
| Item | What it does | What to look for |
|---|---|---|
| Monomer (liquid) | Wets the powder and makes it set | EMA-based, labeled "no MMA", from the same brand as your powder if you can. Browse monomer. |
| Polymer (powder) | The product you sculpt | Clear, pink and white are the core three; cover shades hide the nail bed. Browse acrylic powders. |
| Acrylic brush | Picks up and places the bead | Kolinsky hair holds liquid and snaps back. A mid-range size is easiest to start with (see brush sizes). Browse acrylic brushes. |
| Dappen dish | Holds a small amount of monomer | A heavy glass or ceramic dish that will not tip. Pour a little at a time and keep it covered. |
| Primer, and a dehydrator if your system uses one | Helps the product bond to the nail plate | See primer vs dehydrator vs bond. Browse dehydrator, primer and bond. |
| Tips or forms | Add length | Tips (acrylic tips) are easier for a first set; sculpting forms take more practice. |
| 100/180 file or buffer, dust brush | Shape and clean up | A 100/180 file for shaping, the fine side for finishing, and a soft brush to clear dust. |
| Paper towel or lint-free wipes | Blots the brush and cleans it | Keep a clean stack at your hand. |
| Nitrile gloves, a dust collector, good airflow | Protects your skin and lungs | See the safety section below. |
If you want a package that already matches, a boxed set such as the Young Nails Pro Acrylic Kit or the Kiara Sky Acrylic Nail Kit gives you a powder, liquid and brush that were designed to work together, and beginner and student kits include more of the table above.
Choosing your first powder, liquid and brush
You do not need the whole shelf. Start with three powders (clear, a pink or natural, and white) and one liquid from the same maker. Matching a powder with the liquid it was built for takes one variable out of your learning.
Look at the setting speed. Regular-speed systems give you more time to place and blend, while fast-setting products have more starter in them and harden sooner. Beginners usually do better with the slower option because there is more time to fix a bead. In hot weather, a slower system also helps (more in acrylic in Florida heat).
Powder colors matter too. Clear lets you see the nail bed and is the most forgiving way to learn bead shape. Cover powders in nude and pink shades hide the nail bed and are what most clients ask for. White is for the smile line and for French sets. Katie Barnes Academy notes that colored powders may need a slightly wetter mix, so check the maker's instructions rather than assuming.
For brushes, start with one kolinsky acrylic brush in a middle size and learn it well. A cheap, flat-bellied brush will frustrate you with a bead that never rolls right. Brushes cost less than a ruined set, so buy a real one. Our brush size guide shows which size suits which job, and our best acrylic powder for beginners article walks through the lines we carry.
Prep: the step that decides how long the set lasts
Most acrylic that fails, fails because of prep, not because of the powder. Product cannot grip skin, oil or the thin shiny layer on the nail, so the plate has to be clean and dull. The full list of failure causes is in why acrylics lift. Here is the prep order that avoids them:
- Wash and dry hands. Oils and lotion are the quiet enemy.
- Push back the cuticle gently with a pusher and clear the thin film of dead skin that sticks to the plate near the cuticle. That film is the part that must come off, not living skin.
- Remove the shine. A few light passes with a 180-grit file or a fine buffer is enough. You want a matte, even surface with no deep scratches.
- Brush off the dust with a clean dust brush.
- Dehydrate or cleanse if your system calls for it, then apply primer only to the natural nail, in a thin coat, and let it dry to a chalky look as the maker directs.
- Fit the tip if you are using one: size it to the width of the nail from sidewall to sidewall, glue it on the free edge, hold it a few seconds, and blend the tip well so the seam does not show.
Keep your fingers off the prepped nail from this point on. A single touch transfers skin oil back to the plate.
Bead control in plain words
Bead control is the skill that separates a smooth first set from a lumpy one. The goal is a bead that is wet enough to flow a little, dry enough to hold its shape.
- Too wet: the bead is glossy, slides toward the cuticle and floods the skin. Extra monomer shrinks more as it sets, which makes the nail more likely to lift and break.
- Right: a soft, shiny pearl. It starts to flow when you place it but keeps its shape, with no dry powder around the edges and nothing sticking to the brush.
- Too dry: the bead looks crumbly and chalky and will not blend. There is not enough liquid for the powder to fully bond.
To control it, pour a little monomer in your dappen dish, set your brush in the liquid and press it gently so the belly of the brush fills. Press the back of the brush on a paper towel for about a second to remove the excess. Touch the flat tip of the brush to the powder and roll it back toward you. The longer the brush stays in the powder, the bigger and drier the bead.
No single ratio works for every product. Powders and liquids are balanced differently, and fast-setting products carry more starter, so do not add liquid to slow them down. Follow the brand's instructions first and use the bead description above as your check. The full breakdown is in acrylic bead consistency and liquid-to-powder ratio.
Step by step: your first full set on tips
A regular-speed acrylic typically cannot be moved after about a minute and a half and is ready to file after roughly four and a half minutes, according to Katie Barnes Academy. That means you place beads one nail at a time rather than a whole hand. Work in three zones.
- Zone 1, the tip (free edge). Pick up a slightly drier bead and place it at the smile line, where the tip meets the nail. Press and pat it thin toward the free edge. Keep the product clear of the sidewalls.
- Zone 2, the middle (stress area). Pick up a slightly wetter bead and place it at the center of the nail, where the tip and natural nail overlap. This is where strength lives. Build it a little thicker here, in a gentle arch from side to side.
- Zone 3, the cuticle. Use a small, slightly wetter bead and place it a hair away from the cuticle, then pat it toward the skin and stop before you touch it. Acrylic should be flush with the cuticle but never on the skin.
- Stop. Do not keep fussing once the bead starts to set. Over-working drags the product and makes bumps. Fix it in the file, not in the wet bead.
- Wait for the full set. Tap lightly with the back of the brush. A hard, clear click means it is ready. A soft dent means wait longer.
- Shape and file. Start with the 100 side to refine length and the sidewalls, then smooth the surface with the 180 side. File from the free edge toward the cuticle with the file flat, and keep pressure light near the cuticle where the nail is thin.
- Finish. Dust off, then wipe with a clean lint-free pad. Finish with top coat, gel polish or regular polish as you like.
Practice on a hand-sized practice finger before a real hand. The first twenty nails are about brush feel, not design.
Ventilation, gloves and skin contact
Monomer fumes and acrylic dust are normal parts of this work, so control them from day one. CDC/NIOSH recommends local exhaust ventilation at the workstation, either a portable unit that filters air or sends it outdoors, or a downdraft table, with general room ventilation added on top. It also lists gloves, an N95 respirator, and keeping chemical containers closed.
In a Florida salon this is not optional. Rule 61G5-20.002 requires nail services to be done in a separate area that is adequately ventilated for the safe dispersion of all fumes. A dust collector handles filing dust, and a tabletop exhaust or open window handles vapor.
Skin contact matters most for allergy. A British Association of Dermatologists audit patch-tested 4,931 patients and found 2.4% allergic to at least one (meth)acrylate. It says uncured product touching the skin is a key cause of sensitisation. The practical rules:
- Keep product and liquid off the skin. If it lands there, wipe it immediately.
- Use nitrile gloves when handling liquid, and change them regularly (the BAD advises about every 30 minutes). The BAD warns that gloves alone are not enough because methacrylates pass through many glove types, so the real protection is not getting product on the skin in the first place.
- Stop and see a dermatologist if you get a rash, especially on eyelids, neck or around the mouth, which are common places for acrylic allergy to show up away from the nails.
Troubleshooting a first set
| Problem | Likely cause | Fix |
|---|---|---|
| Bead runs into the cuticle | Too much liquid in the brush | Press the brush on a towel longer. Place the bead farther from the skin and pat toward it. |
| Rough, lumpy surface | Bead too dry, or product moved after it started setting | Pick up a slightly wetter bead and stop touching it earlier. |
| Gap or lift at cuticle within days | Product on skin, dirty plate, or skipped primer | Re-do prep. Read why acrylics lift. |
| Air pockets | Brush swirled in liquid or too much pressing | See acrylic bubbles. |
| Stiff or splayed brush | Product left to dry in the bristles | See how to clean an acrylic brush. |
When you are ready for your first maintenance visit, the process for filling grown-out nails is in how to do an acrylic fill. And if you live and work in South Florida, read acrylic in Florida heat and humidity before your first summer set.
The ten mistakes almost every beginner makes
- Too much liquid. The most common cause of flooded cuticles, shrinkage and lifting.
- Touching the skin. Product on skin hardens into a ledge that catches and lifts, and it raises the allergy risk.
- Skipping the dust brush. Dust left on the nail acts like a layer of powder under the product.
- Using a dirty or old dappen of liquid. Powder crumbs in the liquid change how it behaves. Pour a little fresh monomer each time and cover the dish.
- Not wiping the brush. A brush with hardened bits makes lumps and bubbles.
- Working on a whole hand at once. Do one nail from bead to placement, then the next.
- Patting after the set has started. That drags the surface and leaves ridges.
- Making the nail too thick at the free edge. It looks heavy and filing takes forever. Keep the tip thin and the middle strong.
- Filing the cuticle area hard. It is the thinnest part of the natural nail. Use light pressure.
- Working with the container open. Fumes build and the liquid evaporates, which changes your ratio. Close it when you are not dipping.
Aftercare, fills and removal
Tell the wearer to oil the cuticles daily, wear gloves for cleaning and dishes, and use nails as nails rather than tools. A new set grows out, and after a couple of weeks you will see a gap at the cuticle. That gap is filled in a maintenance visit, covered step by step in how to do an acrylic fill.
If a nail lifts, do not pick at it or fill over it. Trapped moisture under a lifted edge can lead to trouble. If you see color change, buildup or a brittle nail under a lift, stop and see a dermatologist rather than covering it or filing it away.
For removal, file down the surface and soak the nails in acetone until the product softens, then ease it away gently. Do not rip or peel acrylic off, because it takes layers of the natural nail with it.
A simple four-week practice plan
Week one: only bead control. Pick up beads, press them onto a practice surface and compare wet, medium and dry until you can predict what each does. Week two: place single beads on tips for one hand, filing nothing, just checking where the product sits. Week three: full sets on a training hand with all three zones, timed so you do not let beads start to set before you place them. Week four: file and finish, then cut the finished nail in half or hold it to the light to see the thickness. A good nail is thin at the free edge, strongest across the middle, and flush at the cuticle. Repeat until the first three weeks feel automatic, then move to a real hand with a licensed professional's supervision.
Keep a note of what you changed each time: brush size, how long you pressed the brush on the towel, and how long you waited before patting. Small notes beat guessing, and they will tell you whether a problem comes from your technique or from the product.
Shop what's in this guide
Cover - Forever-ish - 1.5 oz
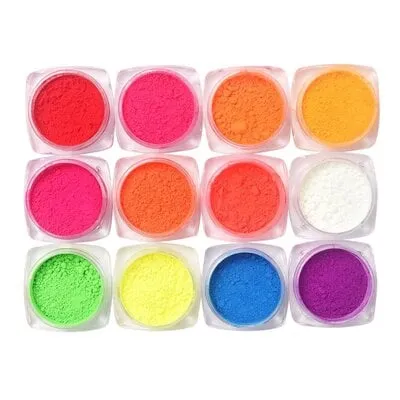
Pigment Powders #1 - 12 ct
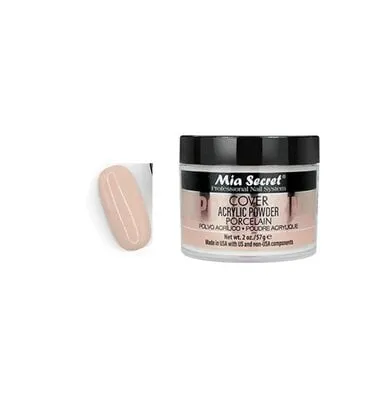
Acrylic Powder - Porcelain - 2.0 oz
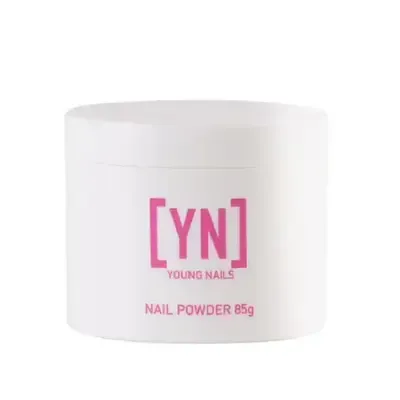
Acrylic Powder - Speed White
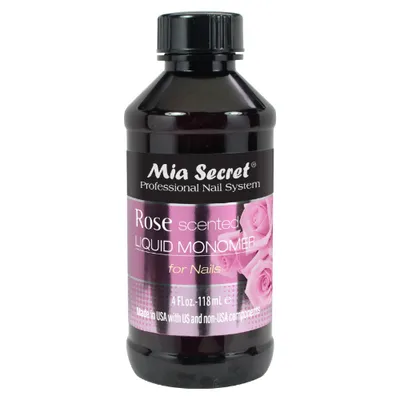
Liquid Monomer - Rose - 4 oz
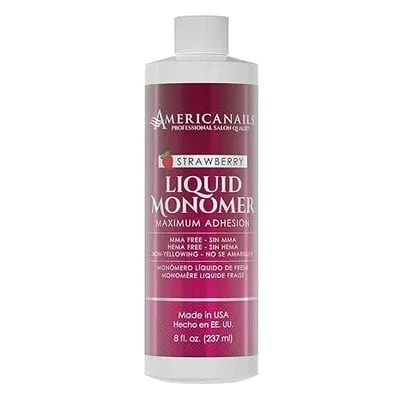
American Nails - Liquid Monomer - Strawberry - 8 oz
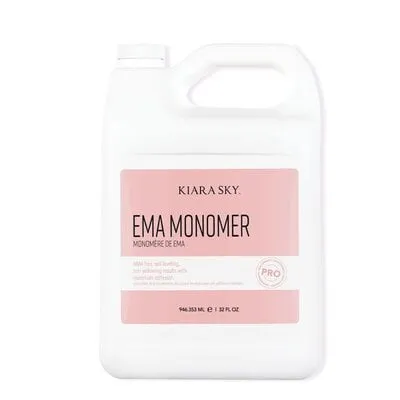
EMA Monomer - 32 oz
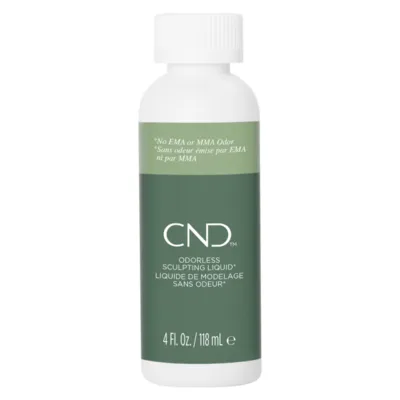
Odorless Sculpting Liquid (4 fl oz)
Questions we get at the counter
How long does it take to learn acrylic nails?
Do acrylic nails need a lamp?
What is the easiest way to start: tips or forms?
Do I need primer for acrylic?
Is acrylic liquid dangerous?
Why does my acrylic bead run?
Sources
- FDA, Nail Care Products (content current as of 10/15/2024)
- Katie Barnes Academy, Understanding Acrylic Chemistry & Mix Ratio
- CDC/NIOSH, Nail Technicians: Workplace Safety and Health
- Florida Administrative Code Rule 61G5-20.002, Salon Requirements (Cornell LII)
- British Association of Dermatologists, artificial nail allergy warning (2018)
- Florida Statutes 477.0265, Prohibited acts