How to Do an Acrylic Fill: Step-by-Step Rebalance for Grown-Out Nails
Learn how to do an acrylic fill: when to book, what to file, how to handle lifting, prep the new growth and rebuild the apex so the nail stays strong.
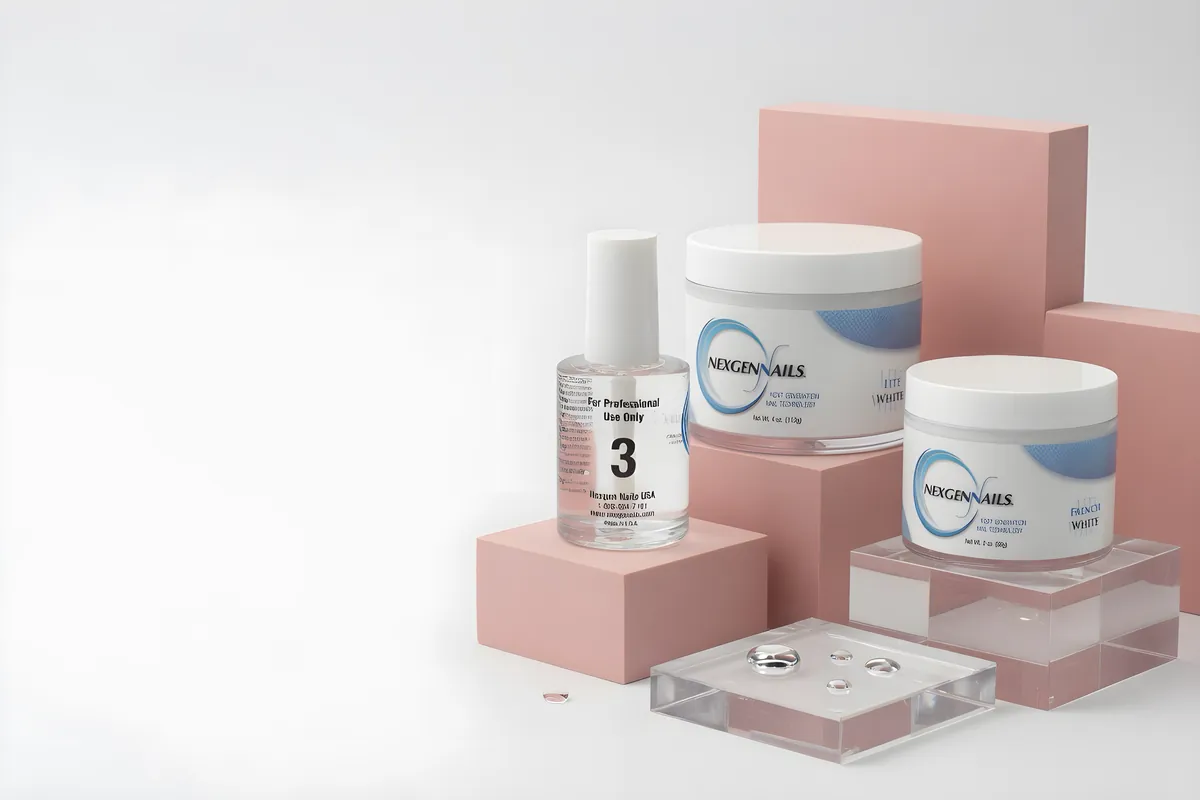
An acrylic fill replaces the product lost at the cuticle as the nail grows and rebalances the arch. Shorten and thin the old acrylic, file behind any lifting, blend the regrowth line, prep only the new growth, then add a fresh bead and rebuild the apex over the stress area. Never fill over a lift or discoloration.
What an acrylic fill is (and when to book it)
A fill, also called a rebalance or infill, replaces the acrylic you have lost at the cuticle as the nail grows out, and rebalances the nail so the strongest point sits over the stress area again. You are not simply adding product on top. You thin and reshape the old acrylic, remove anything lifted, prep the new growth and add fresh product where it is needed.
Most pros book fills every two to three weeks, but there is no fixed rule. Look for these signs that it is time:
- A visible gap between the cuticle and the acrylic that catches on clothing or hair.
- The nail feels top-heavy, because growth has moved the balance point toward the tip.
- Lifting at the cuticle or sides.
- Cracks or chips at the stress area.
Waiting longer increases leverage on the nail, which raises the chance of cracks and lifting. If a nail has lifted a lot, the fix is different from a standard fill; read why acrylics lift first.
What you need
| Item | Why |
|---|---|
| 100/180 file or e-file with a suitable bit | Thin the old acrylic and blend the line. A hand file works if you are not using a drill. See files and buffers and e-file drills. |
| Fine buffer | Lightly scuff the new growth |
| Cuticle pusher and nippers | Clear dead skin from the plate. Use a sharp, clean tool and a light touch. |
| Dust brush | Clear every bit of dust before you apply anything |
| Dehydrator and primer | For the new growth only. See primer vs dehydrator vs bond |
| Acrylic powder, EMA monomer, brush | The same system as the original set where possible. See acrylic powders and monomer |
| Dust collector, gloves | Filing makes a lot of dust. See the section on safety below. |
Acrylic fill, step by step
- Look first. Check every nail for lifting, cracks and discoloration. A fill is the right service only when the existing acrylic is firmly attached. If a nail has green or dark discoloration, stop and read the section on when to refuse a fill below.
- Remove old polish and wipe. Start with a clean surface so you can see what is under the polish.
- Shorten and thin the free edge. Bring the length back to what you want, then thin the free edge. A long edge puts leverage on the nail, so this step also helps prevent cracking.
- Thin the old apex. The apex (the highest point of the arch) has moved toward the tip as the nail grew. Thin the old arch so you can rebuild it over the current stress area. File only what you need to. You should not have to remove half the acrylic.
- Remove lifted product. File behind the lift so loose acrylic releases. Do not pry or nip it off, because it takes layers of the natural nail with it. Remove loose product back to an area that is firmly attached.
- Blend the regrowth line. File the ledge where old acrylic meets new nail until you can't feel the edge when you drag a fingernail across it. A smooth blend is what lets the new product sit flush.
- Prep the new growth. Gently clear the dead skin film from the new plate, lightly scuff the shine, brush the dust away, and apply dehydrator and primer to the new nail only if your system uses them. Keep primer off the skin and off the acrylic.
- Apply the bead. Use a medium bead at the regrowth area and blend it into the old acrylic. Place it a hair from the cuticle and sidewalls, pat toward the skin and stop. Regular-speed acrylic is typically set enough to file at about four and a half minutes, according to Katie Barnes Academy. See bead consistency.
- Rebuild the arch. Add a second bead over the stress area if the nail needs it so the apex sits in the right place.
- Shape and finish. Refine with the 100 side, smooth with the 180, check the side view and the cuticle line, then remove the dust and finish with polish or top coat.
Handling lifting during a fill
Lifting is the main complication in a fill. A small lift at the cuticle can be filed back and rebuilt. A big lift means the old product has lost its bond, and a new bead over it will not hold.
- Small, dry lift: file the loose edge thin, remove it, prep, rebuild.
- Large lift: remove the lifted area back to firmly attached acrylic and rebuild, or consider removing the whole enhancement and starting again.
- Frequent lifting on the same nail: look at the cause rather than just repairing it: prep, bead wetness, structure, or client habits. Our lifting guide walks through each.
Never fill over a lift. Product laid over a gap seals air and moisture inside. If you see green or dark discoloration, color change, buildup under the nail or a brittle nail, do not cover it. The American Academy of Dermatology lists those among the early signs of nail fungus and advises seeing a board-certified dermatologist and not scraping or filing the infection away.
Fill, rebalance or new set?
Not every grown-out set should be filled. Use this simple guide:
| Situation | Choice |
|---|---|
| Firm acrylic, a normal gap at the cuticle, no major lifts | Standard fill |
| A few nails with small lifts that can be repaired | Fill with repairs on those nails |
| Long overdue, top-heavy nails, multiple lifts | Heavy rebalance or new set |
| Product is cracked, bubbled or thick | Remove and rebuild |
| Signs of infection or discoloration | No service on that nail until a doctor clears it |
A fill that takes more than a standard amount of time is normal when the nails are overdue. Explain it before you start so the client understands what they are paying for.
Special cases: color, long nails and oily nails
Colored or cover-powder sets
If the original set used a cover shade to hide the nail bed, use the same cover powder in the same blend at the regrowth area so the color does not show a line. Match the shade by testing a bead on a practice tip. Colored powders may need a slightly wetter mix than clear, so check your maker's instructions and judge by the bead.
French and white smile lines
A fill on a French set often means moving the smile line forward as well. File the old white line thinner so it blends, then rebuild the smile line with a fresh white bead and cover it with clear or pink. Keep the line crisp with a small brush; see brush sizes for which one to choose.
Long nails
A long set that has grown out has the most leverage and the most lifting risk. Shorten before you do anything else. Cut or file the length back to a workable point, then thin the free edge and rebuild. The client may need to keep the length shorter for the nail to last.
Oily nails and hot, humid days
Oily nails and sweat bring oil back to the plate quickly, so do the prep as the last step before the bead and do not touch the nail afterward. Our Florida humidity guide has a working routine for South Florida days.
Aftercare to share with the client
Oil the cuticles daily, wear gloves for chores and water work, avoid using nails as tools, and book the next fill before the gap gets large. Explain that pain, heat or green color under the nail are reasons to come in or see a doctor, not reasons to wait.
Dust, fumes and safe working
A fill creates a lot of acrylic dust from thinning the old product. NIOSH recommends local exhaust ventilation at the table (a portable unit or downdraft table), plus general room ventilation, gloves, an N95 respirator and keeping chemical containers closed. A dust collector deals with filing dust, and a covered dappen dish keeps monomer fumes down.
In Florida, Rule 61G5-20.002 requires a separate, adequately ventilated area for nail extension services, and tools must be cleaned and disinfected between patrons and stored in a clean, closed container. Keep dust off the client's skin and wipe it away before applying any product. Dust under the new product weakens the bond.
Common fill mistakes
- Filing too aggressively at the cuticle. The nail is thinnest there. Light pressure only.
- Filing on top of a lift instead of behind it, which loosens the surrounding product.
- Leaving a ledge at the regrowth line. Any ledge catches, chips and lifts.
- Not moving the apex. If you skip the rebalance, the nail stays top-heavy and breaks.
- Priming the old acrylic. Primer goes on the natural nail only.
- Adding product over thick, old acrylic instead of thinning it first. The nail becomes heavy.
- Waiting too long between fills, then trying to fix everything in one visit.
If you are still building skills, practice the full process in the acrylic nails guide before attempting a heavy rebalance.
Shop what's in this guide
Cover - Forever-ish - 1.5 oz
Pigment Powders #1 - 12 ct
Acrylic Powder - Porcelain - 2.0 oz
Acrylic Powder - Speed White
Liquid Monomer - Rose - 4 oz
American Nails - Liquid Monomer - Strawberry - 8 oz
EMA Monomer - 32 oz