Why Are My Acrylics Lifting? The 5 Usual Causes and Fixes
Acrylics lift for five reasons: dirty prep, product on skin, a bead that is too wet or dry, skipped primer, or weak structure. Find yours and fix it.
Acrylics lift for five usual reasons: dead skin, oil or shine left on the nail plate, product touching the cuticle or skin, a bead that is too wet (or too dry), skipped or misused primer, and weak structure at the stress area. Check where the lift starts and how soon it appears, then fix one cause at a time.
Read the lift first: where and when it happens
Do not guess. Where the lift starts and how soon it shows up point at the cause. Use this table before you change anything.
| What you see | Most likely cause | Start by checking |
|---|---|---|
| Lift at the cuticle, within the first week | Product on skin, leftover dead skin on the plate, or product too thick near the cuticle | Cuticle prep and how close you placed the bead |
| Lift along one or both sidewalls | Bead too wet and ran, or sidewalls not cleaned, or product too thin there | Bead consistency and sidewall prep |
| Whole nail pops off in a sheet | Oil, moisture or shine left on the plate, or primer skipped | Dehydrating, primer and filing the shine off |
| Lift at the free edge or a crack at the stress area | Structure too thin or too long, or hard use | Apex and thickness, length, client habits |
| Lifting only after weeks | Fill interval too long, or normal growth | Time since last fill |
If you only change one thing per set, you will learn which cause is yours. If you change five at once, you will fix it and not know why.
Cause 1: the nail was not truly clean and matte
Acrylic grips the nail plate, not the skin and not the shiny surface. Anything between product and plate is a place for the bond to fail. The usual culprits:
- A film of dead skin on the plate. The thin layer of cuticle that sticks to the nail near the base needs to be cleared, not just pushed back. Use a pusher and a sharp, light touch. You are removing dead tissue from the plate, not cutting into living skin.
- Shine. A few light passes with a 180-grit file or fine buffer scuffs the surface. Over-filing thins the nail and can cause pain and flexing, so the goal is a uniform matte look, not a deep groove.
- Oil and lotion. Hands that were moisturized, or nails that got touched after prep, put oil back. Wipe or dehydrate right before the bead goes on.
- Moisture. Product applied to a damp plate (after washing hands, or in a humid room) can fail early. Let the nail dry fully and prep right before you start.
After scuffing, dust must be brushed away. Dust left on the plate behaves like a layer of loose powder under the product.
Cause 2: product too close to, or on, the skin
Cuticle lifting is the single most common complaint, and it usually traces to placement. If the acrylic touches skin, it hardens onto skin rather than nail. As the skin moves with every bend of the finger, it peels the edge up. The sidewalls work the same way.
Leave a hair's width of space around the cuticle and sidewalls, then pat the bead toward the skin and stop before it lands. The product should look flush without touching. Keep the thickness near the cuticle as thin as you can, because a thick ledge there catches on clothes and hair and pulls up.
Skin contact has a second cost: uncured methacrylate on skin can cause allergy. If you touch skin, wipe the area right away and redo the edge rather than leaving it. For the safety side, read EMA vs MMA monomer.
Cause 3: the bead was too wet or too dry
This one surprises people who think more liquid means better grip. Katie Barnes Academy explains that extra monomer flows onto the skin and cuticle, and that extra monomer knits more tightly as it sets, which causes shrinkage. Shrinkage pulls the enhancement and makes it prone to lifting and breaking. A bead that runs also carries product onto the sidewalls and skin.
A bead that is too dry has the opposite problem. There is not enough liquid for the powder to bond fully, so the product is weak and can come off in flakes or leave gaps. The target is a soft pearl that holds shape, with no dry powder around the edges. The full guide to this is in acrylic bead consistency and liquid-to-powder ratio.
If lifting is mostly at the cuticle and sidewalls, suspect a wet bead. If you see weak, crumbly or patchy product, suspect a dry one.
Cause 4: primer skipped or misused
Primer is the bonding layer between the nail and the acrylic. It is applied in a very thin coat on the natural nail only, never on skin, and the usual mistakes are on both sides: skipping it, or flooding it.
- Skipped: fine on some nails, a recipe for lifting on oily nails or when you work in heat and humidity.
- Too much: a wet pool of primer takes longer to dry and leaves a slippery surface. Use a barely-there coat and let it dry to the look the maker describes.
- On skin: primer is meant for the nail plate. Keep it off the skin and follow the label's warnings.
- Wrong order: dehydrator and primer do different jobs. Read primer vs dehydrator vs bond and follow your brand's order.
The Studio carries dehydrators, primers and bonders, including acid-free options such as The Studio Acidless Primer and Pink Mask Ultrabond (non-acid primer). Check each label for how it is meant to be used, since they are not interchangeable with every system.
Cause 5: structure, stress and habits
Sometimes the prep and bead are fine, and the nail still breaks away. That points to structure.
- Thin or flat structure. Acrylic needs thickness across the middle (the stress area) to resist bending. If the middle is as thin as the edges, it flexes and the bond fails at the cuticle.
- Too long. A long free edge acts like a lever. Every tap pries at the cuticle end. If lifting keeps happening on long sets, shorten them.
- Using nails as tools. Opening cans, peeling labels and scraping pry the product.
- Water. Long, hot dish and pool time followed by drying cycles stress the bond. Gloves for chores help a lot.
- Overdue fill. As the nail grows, the balance point moves forward and the nail becomes top-heavy. Schedule the fill; see how to do an acrylic fill.
- Mixing systems. Using a powder with a liquid it was not designed for can change set speed and bead behavior.
Why some people lift more than others
Two clients, same tech, same product: one keeps a set for weeks, the other lifts in days. The difference is often the nail, not the technician. Naturally oily nails hold a film that returns quickly after prep, so they need a tighter routine (dehydrate, prime and start immediately). Nails that flex a lot bend with every press and break the bond at the cuticle, so they need a stronger middle and a shorter length. People who work with their hands in water, such as hairdressers, dishwashers and swimmers, soak and dry the product constantly and will always lift sooner than someone at a desk.
Temperature and sweat matter in South Florida. Warm hands and a warm room speed the set, which shortens the time you have to place and pat a bead. If you are rushing, you place the bead before it is ready and miss the careful edge at the cuticle. Our Florida heat and humidity guide covers how to slow the set down without making the bead wetter, which is the wrong fix.
Keep a simple log for repeat problems: the client's name or initials, which nails lifted, how many days it took, and what you changed. Patterns show up in three or four visits, and they tell you whether to change prep, bead, length or structure.
What to do with a nail that has already lifted
Do not fill over a lift. Product laid over a gap seals the gap shut with air and moisture inside. Do this instead:
- Wash hands and look at the lifted area. If the nail underneath is clean and dry, you can repair it.
- File the lifted product thinner, working from the solid area toward the loose area. File behind the lift so the loose piece releases cleanly. Do not pry or nip it off, which takes layers of natural nail with it.
- Remove all loose product until you reach an edge that is firmly attached, then blend that edge smooth.
- Clean and prep the exposed nail properly (dead skin, shine, dehydrate, primer) and rebuild.
Stop if you see color change, buildup or a brittle nail under the lifted area. The American Academy of Dermatology lists a different color on part of the nail, brittleness that cracks or splits, and buildup under the nail as early signs of nail fungus, advises seeing a board-certified dermatologist, and warns not to scrape or file the infection away. Green or dark spots are not something to cover with more product.
A prevention checklist you can run before every set
- Hands washed and dry, nothing touched after prep.
- Cuticle film cleared from the plate, shine removed evenly, dust brushed off.
- Dehydrate or cleanse as your system directs, thin primer on the plate only.
- Brush pressed on a towel for about a second before touching powder.
- Bead placed a hair off the skin, patted toward it, then left alone.
- Middle (stress area) thick enough, edges thin, cuticle area thin and flush.
- Length matched to the wearer's habits.
- Fill booked on time.
If you run every item and lifting keeps happening on the same person, ask about oils, medications that change the nail, or frequent hand soaking. Nails vary, and a consistent problem on one client with a perfect routine is information, not failure.
Shop what's in this guide
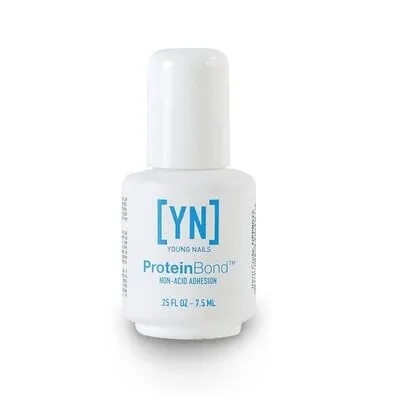
Protein Bond - Primer - 0.50 fl oz
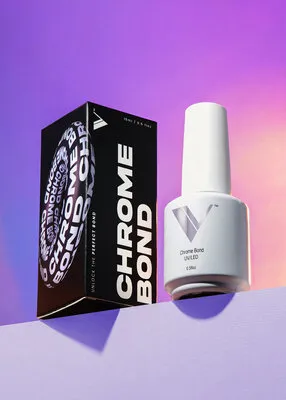
Chrome Bond
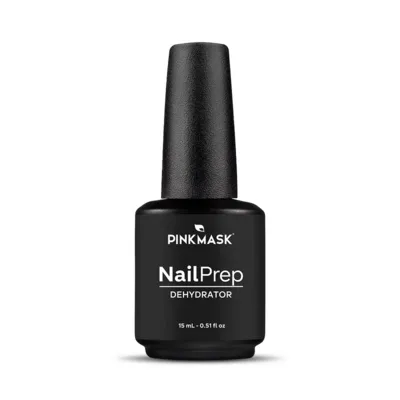
Nail Prep Dehydrator - 15 ml
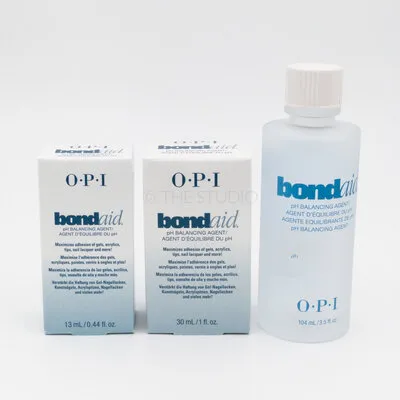
Bond Aid - pH Balancing Agent
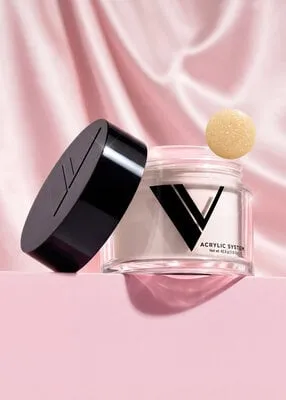
Cover - Forever-ish - 1.5 oz
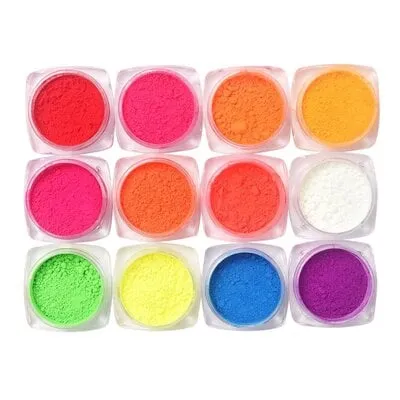
Pigment Powders #1 - 12 ct
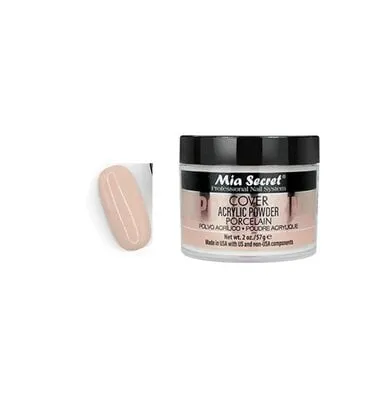
Acrylic Powder - Porcelain - 2.0 oz