Acrylic Liquid-to-Powder Ratio: How a Wet vs Dry Bead Should Look
No single ratio fits every acrylic. Learn how a wet, medium and dry bead look, why each fails, and how to blot and pick up a bead you can repeat.
There is no universal acrylic liquid-to-powder ratio, because powders, liquids and set speeds differ, so follow your brand's instructions and judge the bead by sight. A good bead is a soft, shiny pearl that holds its shape with no dry powder at its edges. Too wet runs into the skin and shrinks, causing lifting. Too dry is crumbly and does not bond fully.
There is no universal ratio, so learn the bead
People search for a number, like "2 parts liquid to 1 part powder." Educators do teach benchmarks like that, but they are starting points. Powders differ in particle size and pigment, liquids differ in thickness, and fast-setting systems are balanced differently from regular ones. The only reliable standard is how the bead looks and behaves, plus the maker's instructions for your system.
Think of the bead as a visual test with three questions. Does it hold its shape? Is there dry powder showing around the edge? Does it run toward the skin? A bead that holds its shape, has no dry rim and stays where you put it is in the right range for almost any system.
| Bead | What it looks like | What it does to the nail |
|---|---|---|
| Too wet | Glossy, slumps and flows, shiny with a puddle look | Runs into the cuticle and sidewalls, shrinks more as it sets, more likely to lift and break |
| Right | A soft pearl: shiny, round, holds its shape, no dry powder at the edges | Flows a little as you place it, then stays put and sets evenly |
| Too dry | Dull, grainy or crumbly, powder showing at the edges | Will not blend, leaves a rough surface, not enough liquid to bond fully so it is weaker |
Why wet and dry beads fail
Katie Barnes Academy sets out the chemistry plainly. Excess monomer floods the skin and cuticle, can overexpose the client to liquid, and knits tightly as it sets, causing shrinkage. Shrinkage leaves the enhancement prone to lifting and breaking and weakens the structure. Too little monomer is the reverse problem: the polymer does not bond fully. The educators compare it to baking a cake without enough milk.
So both extremes weaken the nail, just in different ways. A wet bead gives you lifting and shrinkage. A dry bead gives you crumbly, patchy product with weak spots. The right bead is the one where the liquid has wetted every powder grain but there is no extra.
The same wet bead is a skin-contact problem. A British Association of Dermatologists audit says sensitisation to (meth)acrylates happens when uncured product touches the skin, so a bead that floods the cuticle is a health issue as well as a quality issue. See EMA vs MMA monomer for more on that.
How to pick up a bead you can repeat
Consistency comes from doing the same thing every time. This sequence follows what educators teach and is easy to repeat:
- Load the brush. Place the brush in the monomer at an angle (an "L" shape) in your dappen dish. Katie Barnes Academy says this also removes air bubbles trapped in the bristles.
- Set the liquid level. Press the back of the brush on a paper towel for about a second to remove the excess. Pressing the tip against the side of the dish drains it. More liquid left in the belly of the brush gives a bigger, wetter bead.
- Touch, do not press. Touch the flat tip to the powder and roll the brush back toward you. Pressing into the powder takes in more powder and makes a drier bead.
- Judge the bead. You want the wet pearl described above. If it is runny, tap the brush on the towel again or touch the powder once more. If it is dry, dip the brush tip back in liquid.
- Place it quickly. A bead dries while it waits. Place it within a few seconds of picking it up.
Wipe the brush on a towel between beads. Hardened bits in the hair will change how much liquid it holds from one bead to the next.
When to adjust: powder color, set speed and room temperature
Three things shift the best ratio slightly. Always check the brand's instructions first.
- Powder type. Katie Barnes Academy says coloured powders may need a slightly wetter ratio. Clear and pink often feel different from cover and white.
- Setting speed. Fast-setting products have more starter (initiators or catalysts) in them. Do not make the bead wetter to slow them down, because that brings the wet-bead problems back. Pick a slower system instead.
- Temperature. Cold slows the set and makes liquid run, so press more liquid out of the brush. Heat speeds the set, and in warm rooms a little more liquid slows rapid polymerisation, according to the same source. In a hot room, the better fix is a slower product and a cooler room (see acrylic in Florida heat).
Regular-speed acrylic typically can't be moved at about one and a half minutes and is ready to file at about four and a half minutes; fast-setting is about a minute and four minutes. If you are consistently out of time before the bead sets, the ratio is not your only variable.
Different beads for different zones
Most techs do not use one bead from tip to cuticle. They shift the moisture a little as they build the nail, which is why many beginners are told to keep the brush slightly wetter at the ends of the process and drier in the middle. A common pattern is a slightly drier bead at the free edge (it holds a thin, clean smile line without running), a medium bead in the middle where you build strength, and a slightly wetter, smaller bead at the cuticle so it self-levels into a thin, flush edge. Treat this as a starting pattern, not a rule, and adjust to your product and the time you have before it sets.
Brush size changes the bead as well. A bigger brush holds more liquid in its belly and makes a bigger bead with the same blot. If you switch brush size, expect to re-learn your blot time. Our brush size guide explains which size suits which step.
Keep your ratio stable day to day
- Pour a small amount of monomer into the dappen dish and cover it between beads. Evaporation changes the liquid over time.
- Use fresh liquid for each client rather than topping up a dirty dish.
- Keep powder jars closed and free of liquid drips. A wet crust in the powder makes dry, lumpy beads.
- Clean the brush so it holds the same amount of liquid each time. A brush with product dried in the belly holds less and behaves unpredictably (see how to clean an acrylic brush).
- Keep the same room conditions where you can, because heat and cold shift the working time.
Fix it: troubleshooting by what you see
| Symptom | Cause | Fix |
|---|---|---|
| Bead slides into the cuticle | Too much liquid, or bead placed too close | Blot the brush longer, place the bead farther from the skin, pat toward it |
| Bead drags and will not smooth | Too dry, or you waited too long | Dip the brush tip back in liquid, place sooner |
| Grainy, rough surface | Dry bead or old liquid with powder in it | Use fresh monomer, a wetter pearl, and stop patting once it begins to set |
| Small bubbles in the bead | Air in the brush or overworking | See acrylic bubbles |
| Product keeps lifting | Often a wet bead plus placement near skin | See why acrylics lift |
| Different results every day | Mixed powders and liquids, dirty dappen, temperature changes | Use a matched system, fresh liquid, same routine |
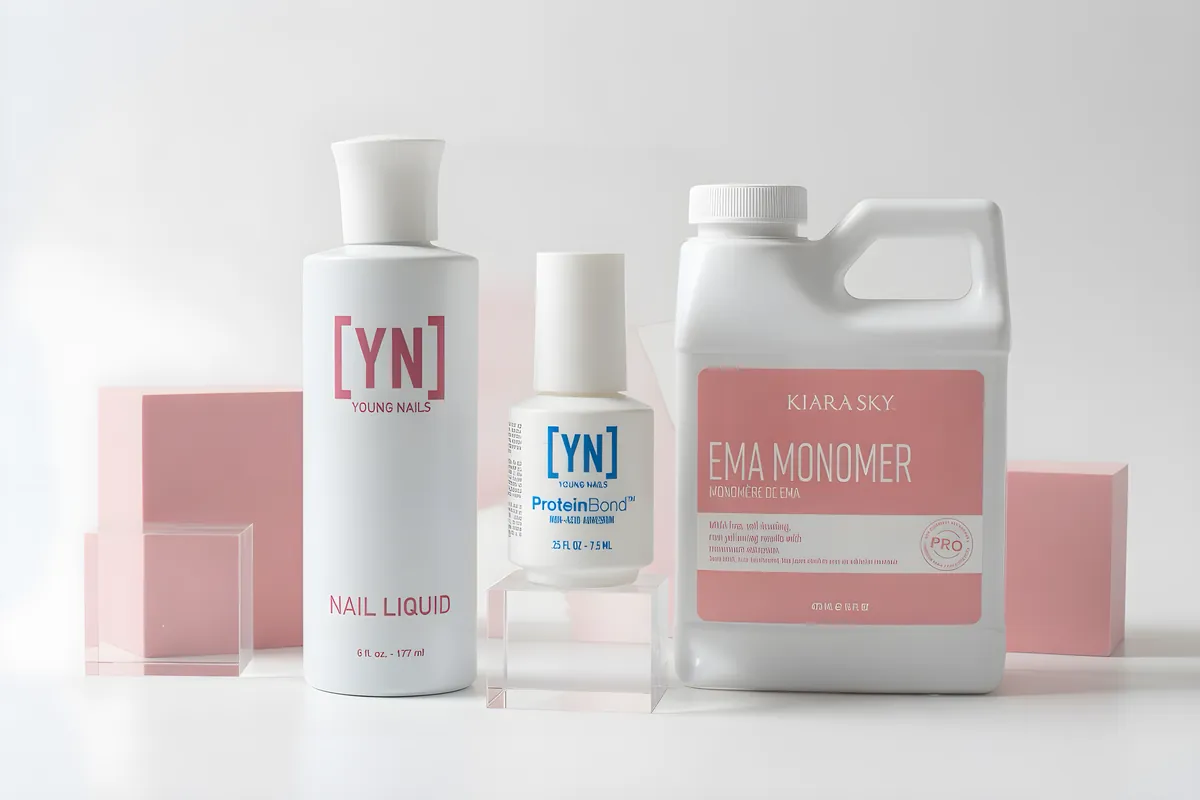
Keep your liquid and powder in matched brands where you can. The Studio carries acrylic powders and monomers from Young Nails, Mia Secret, Kiara Sky (monomer), and The Studio's own line.
Drills to build a consistent bead
Bead control is muscle memory. These short drills teach it faster than doing client sets.
- Wet, medium, dry on a practice sheet. Make three beads with different blot times on a plastic sheet. Notice how each flows, sets and feels. Do it ten times until you can predict the result.
- Timed blot. Count one second on the towel every time. Consistency in this single step fixes most wet beads.
- Same bead, three zones. On a practice tip, place the tip, middle and cuticle beads and compare thickness.
- Change one variable. If you want to try a different ratio, change only the blot time or the roll in the powder, not both.
Write down what you did. Over a week, you will see which setting gives you the soft pearl in your room, with your product and your hands.
If you still want a number
If a number helps you teach or learn, use the teaching benchmarks only as a first guess: a wetter bead has more liquid than powder, and a medium bead sits close to equal parts with a little more liquid than powder. Then test and adjust against the three-question check from the top of this page. A number that gives you a bead that runs or crumbles is the wrong number for your product, no matter where it came from. Write the version that works for you on a card inside your drawer and update it when you change brands.
New brand? Re-test from scratch. Even two powders from the same maker, in different colors or speeds, can ask for slightly different handling, so treat every new jar as a new test on a practice tip before you use it on a person.
Shop what's in this guide
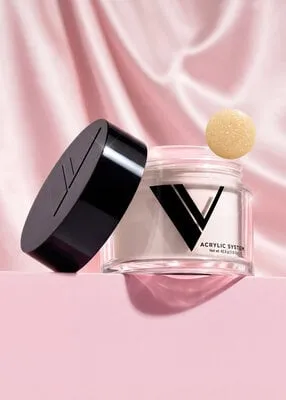
Cover - Forever-ish - 1.5 oz
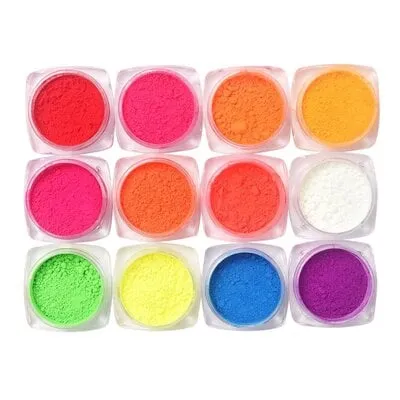
Pigment Powders #1 - 12 ct
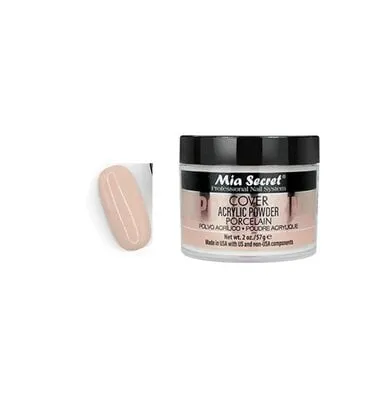
Acrylic Powder - Porcelain - 2.0 oz
Acrylic Powder - Speed White
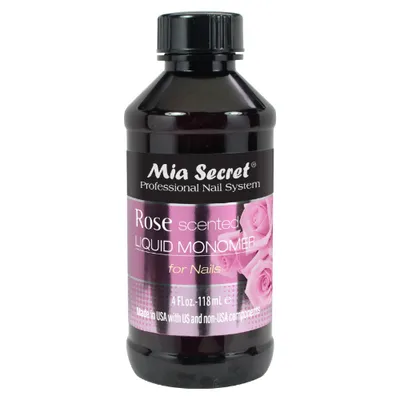
Liquid Monomer - Rose - 4 oz
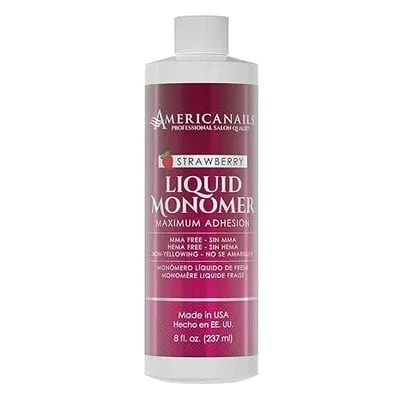
American Nails - Liquid Monomer - Strawberry - 8 oz
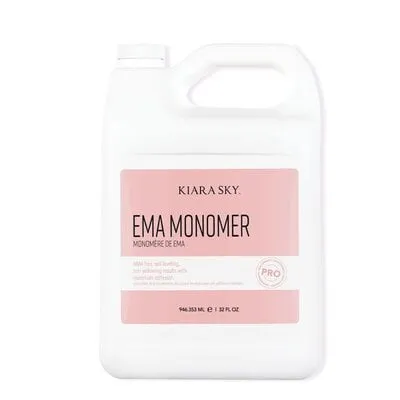
EMA Monomer - 32 oz