How to Clean an Acrylic Nail Brush (and Bring a Hard One Back)
Clean an acrylic brush with monomer after each set and store it covered. Learn to revive a hard brush, the acetone question and Florida disinfection rules.
Clean an acrylic brush by wiping it on a clean towel between beads, rinsing it in fresh monomer after each set, reshaping the tip and storing it covered. A brush with hardened product can sometimes be revived with a short monomer soak or a labeled brush cleaner. Avoid acetone on a good brush unless the maker says it is safe.
Daily cleaning: the routine that keeps a brush alive
An acrylic brush fails because product hardens in the hair, not because of age. The fix is a habit, not a product. Do these four things and a good kolinsky brush lasts a long time.
- Wipe between beads. After you place a bead, wipe the brush on a clean paper towel or lint-free pad. This removes powder and half-set product before it dries in the belly.
- Rinse in clean monomer at the end of each nail or set. Swirl the brush in a clean dish of monomer, then wipe it on a towel. Do not use the same monomer you mix with, because it now holds powder.
- Reshape to a point. While the hair is wet, press it gently on the towel and pinch it into its natural shape. Do not leave it splayed.
- Store it covered and dry. Put the cap on or keep the brush in a clean, closed container, flat or tip up. Never stand it tip-down in a dish and never leave it in liquid. The hairs bend and the glue in the ferrule can loosen.
Pour fresh monomer into the dappen dish for each client and cover it. A dish that has powder crumbs in it feeds product back into the brush. This also helps with acrylic bubbles and a consistent bead; see bead consistency.
A quick test for whether your cleaning is working: at the end of the day, press the brush gently on a towel. If the hair spreads evenly, springs back and no flecks come out, the brush is clean. If you see colored streaks, grit or stiff clumps near the ferrule, there is still product in the belly and it needs another rinse before the next client.
Can you clean an acrylic brush with acetone?
It is a common question and the answer from most nail pros is: avoid it on a good brush. Acetone is a strong solvent. It can dry out natural hair, make it brittle, and soften the glue that holds the hair in the ferrule, the metal band at the base. Brush makers differ in what they say, so read the instruction that came with yours. If the maker says not to use acetone, don't.
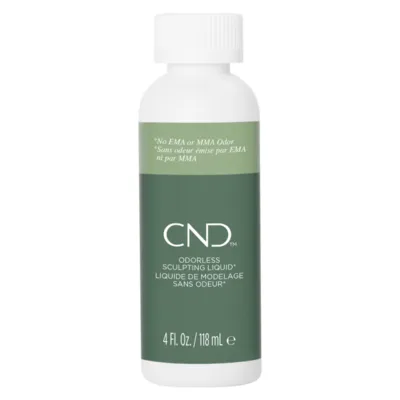
Monomer is the right cleaner for a brush in daily use because it is the same liquid that the brush works in. It dissolves unset acrylic. Once acrylic has fully hardened, it is polymer and a normal rinse in monomer will not remove it. That is when techs reach for a dedicated brush cleaner or a soak.
Never use acetone or monomer near open flame or heat, and keep containers closed. NIOSH recommends keeping chemical containers closed and good ventilation at the table. Clean brushes in a ventilated area.
Reviving a hard or stiff brush
A brush stiff with dried acrylic is not always lost. Try these steps, from gentlest to strongest, and stop as soon as it softens.
- Soak the hair only in clean monomer. Let the hair (not the metal band) sit in a small amount of fresh monomer for a short time. Remove it, then gently work the hair on a paper towel. If product is soft, it will come out in the towel.
- Repeat with fresh monomer. A second clean soak and wipe is better than one long soak. Long soaks bend the hair and loosen the ferrule glue.
- Use a labeled brush cleaner. Some products are made for acrylic brushes. The Studio carries brush cleaning products such as Mia Secret Brush Cleaner and a Total Immersion Brush Cleaner. Use them as the label directs, and make sure the product is made for the kind of brush you have.
- Comb out loose bits. Press the hair on a towel and pinch it gently. Do not scrape with a metal tool, which can cut the hair.
- Reshape and dry. Reshape to a point, let it dry, then test with a practice bead.
If the hair is still stiff after a couple of soaks, or comes out in clumps, the brush has served its time. Buy a new one rather than risking a bead with hard flecks in it, which cause rough surfaces and trapped air.
Brush problems: symptom, cause, fix
| Symptom | Likely cause | Fix |
|---|---|---|
| Hair stiff or crusty near the ferrule | Product dried in the belly because of a missed rinse | Short, repeated monomer soaks of the hair only, then wipe. Rinse fully after each set. |
| Tip splays out and won't point | Stored tip-down, left in liquid, or pressed too hard | Wet, shape to a point on a towel, store covered. Replace if it never recovers. |
| Beads come out dry or uneven | The belly holds less liquid because of buildup | Clean the belly thoroughly. See bead consistency. |
| Hairs shed into the product | Old brush, harsh solvent, or rough cleaning | Stop using acetone. Replace the brush. |
| Ferrule wobbles | Glue loosened from long soaks | Replace. A loose ferrule can drop hairs into a client's nail. |
| Bubbles in every bead | Air in a damaged or dirty brush | Clean, reshape, and see acrylic bubbles. |
If you get interrupted mid-set
The fastest way to ruin a brush is to put it down with product on it. Acrylic starts to set within minutes, and Katie Barnes Academy puts the "cannot be moved" point for a regular-speed product at about a minute and a half, with fast-setting about a minute. A brush with a half-set bead on it is a brush that will not be the same tomorrow.
- Stop and wipe. If the phone rings or a client needs to move, wipe the brush on a towel and rinse it in clean monomer before you do anything else.
- Don't leave a loaded brush on the table. Place it on a clean towel or in a holder only after you have wiped it.
- Cover the dish. An open dish loses liquid to evaporation, and the leftover liquid is thicker and holds more powder debris.
- Reshape before storage. The shape you leave it in is the shape it dries in.
Build the habit into the routine: finish the nail, wipe, rinse, reshape, cap. It takes about ten seconds and saves a brush that can cost a lot more than the time spent.
Disinfecting brushes in a Florida salon
Cleaning is not the same as disinfecting. Cleaning removes product and debris. Disinfecting uses an approved product to reduce germs. In Florida, Rule 61G5-20.002 covers salon disinfection:
- Using one brush, comb or other article on more than one patron without disinfecting it is prohibited.
- For combs and brushes, the rule says to remove hair first and immerse in a hospital-level or EPA-approved disinfectant. Metallic instruments are immersed. Instruments with a cutting edge are wiped.
- Disinfectants must be mixed and used according to the manufacturer's directions.
- After cleaning and disinfecting, articles must be stored in a clean, closed cabinet or container. Items that have not been disinfected must not be kept in the same container.
An acrylic brush is a natural-hair tool that does not tolerate long immersion, and the rule's wording was written broadly. How an acrylic brush fits into it is a question for the Florida Board of Cosmetology, and your disinfectant's label tells you what contact time it needs. A practical approach many salons use is a dedicated brush for each service, kept in a closed container between uses, with other tools handled as the rule says. Disinfectant jars and containers are in our disinfectants and sterilizers section.
When to replace a brush
A brush is a consumable. Replace it when:
- The tip won't come to a point after wetting and shaping.
- The belly holds less liquid than it did, so beads come out dry or inconsistent.
- Hairs fall out into the product.
- The ferrule is loose or twists.
- The hair has permanent bends after soaking.
Keep a spare in the same size so you can switch without relearning your blot time. If you are not sure what size to buy, read acrylic brush sizes. Browse the full range in acrylic brushes.
Storage and the rest of the table
Brush care is one part of keeping the table clean. A few extras help:
- Brush holder or cap. A holder keeps brushes upright and covered. The Studio carries brush holders.
- Separate dust brush. Never use your acrylic brush to sweep dust. Use a soft dust brush on the nail and the table.
- Fresh towels. Replace the wipe pad when it is soaked, so you are not putting dirty liquid back in the brush.
- Closed trash for wet towels. Liquid-soaked towels belong in a closed bin, and that keeps fumes down, too.
Finally, look at your habits when a brush fails early. Leaving the dish uncovered, letting product set in the hair, or storing the brush tip-down are the three most common causes. Fix the habit and a quality brush becomes a long-term tool. For the full step-by-step on how to use the brush from prep to finish, start with the acrylic nails guide.
Shop what's in this guide
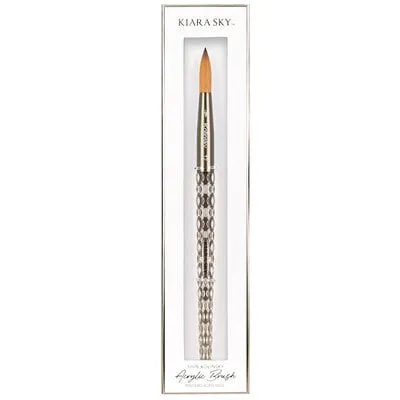
Acrylic Kolinsky Brush - Black - Size 12
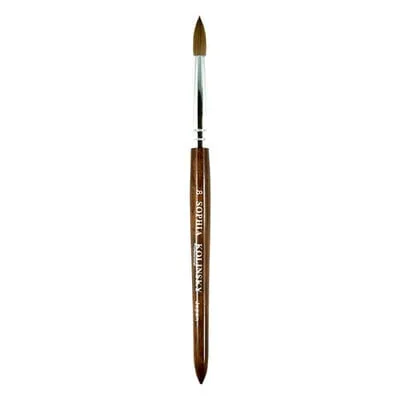
Kolinsky Acrylic Brush - Japan - Wood - #8
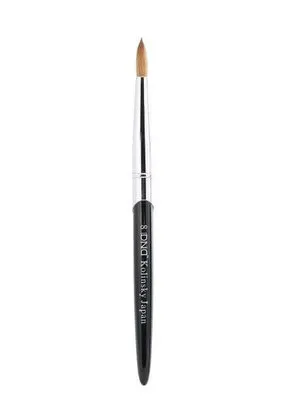
Kolinsky Acrylic Brush - Black - #8
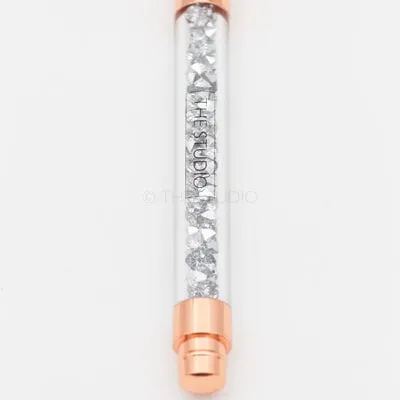
Kolinsky Acrylic Brush - Rose Gold - Silver Crystal - #10
Liquid Monomer - Rose - 4 oz
American Nails - Liquid Monomer - Strawberry - 8 oz
EMA Monomer - 32 oz