Bubbles in Acrylic Nails: Why They Happen and How to Fix Them
Bubbles in acrylic nails come from air in the brush, a swirled or overworked bead, or old liquid. Learn the cause by type and how to fix and prevent them.
Bubbles in acrylic nails are air trapped in the bead. It usually gets in from air in the brush, a swirled or overworked bead, a bead that is too wet or dry, or dirty liquid. Load the brush at an angle in clean monomer, roll (do not swirl) the bead, place it in one or two moves, and file out surface pits with a thin repair bead.
Two kinds of bubbles, two different fixes
When someone says "my acrylic has bubbles," they mean one of two things. Look closely before you change anything.
| What you see | Where it is | Usual cause |
|---|---|---|
| Tiny pits or pinholes on the surface | On top, visible after filing | Air trapped in the bead, or product pulled thin and overworked |
| Round pockets inside the nail, visible through clear or pink | Within the thickness | Air carried in by the brush, bead dragged or swirled, or a very wet bead |
| Small bubbles in the liquid or on the brush tip | Before the bead is picked up | Air in the bristles, brush shaken or stirred in the liquid |
| Bubbles that appear after the nail has set | Under or inside the product | Moisture or contaminated product, or lifted product |
The fix for each is different, so match the symptom first. In every case, the root idea is the same: air gets into the product while it is still wet, and the product sets before the air can leave.
Do bubbles matter?
Sometimes only for looks. A few shallow pits on the surface are removed by filing and a thin top layer. But air pockets inside the thickness take up space that should be solid product, so the nail is weaker at that point and more likely to crack or lift. That is why the repair-or-redo section below matters. If you are a student, treat any bubble as feedback about your brush handling rather than as a one-off bad luck event, because it almost always repeats until the habit changes.
Fix 1: stop air getting in at the dappen dish
Katie Barnes Academy teaches loading the brush by placing it in the monomer at an "L" angle in the dish, which also removes air bubbles from the bristles. Compare that with stirring or pumping the brush in the liquid, which beats air into the hairs. Air that is in the brush ends up in the bead.
- Set the brush in the liquid, do not whip it. Let it fill, then press the belly of the brush gently against the side of the dish.
- Use fresh, clean liquid. Powder and debris in used liquid can change how it mixes and foam.
- Never use a dirty dish. Wash the dish and dry it fully between clients.
- Do not shake the bottle before pouring. Pour slowly into the dish.
Fix 2: handle the bead gently
The bead is a ball of wet product. How you move it decides whether it holds air.
- Roll the brush back toward you in the powder rather than swirling it. Swirling folds air into the ball.
- Place, then press. Set the bead down and pat it into position in one or two motions. Dragging it back and forth drags air and makes ridges.
- Do not overwork. Pressing, dragging and re-patting a bead that has started to set folds air into it and leaves ridges. Place it, shape it, and leave it.
- Use a bead of the right wetness. A very wet bead puddles and traps air as it settles. A very dry one cannot flow to close gaps, so it leaves pits. Read acrylic bead consistency.
- Keep the brush in good shape. A brush with hardened product in the belly drags and holds air. See how to clean an acrylic brush.
Fix 3: repair what you can see
If bubbles show after filing, fix them by type:
- Shallow surface pits: file the surface smooth, brush off the dust, and apply a thin bead (or a coat of builder gel if you use it) over the area. Level it, set, then file again.
- A bubble in the middle of the nail: file down to open it, fill it with a fresh small bead, and blend. If it sits in the stress area, thin the area and rebuild so the structure is not weakened.
- Many bubbles through the whole nail: file the nail back and start over with the correct handling. Bubbled product is weaker, and it is better to rebuild than to cover it.
- Bubble under lifted product: this is a lift, not a bubble. Do not cover it. See why acrylics lift.
If you see discoloration (green, yellow-brown or dark) under the nail along with the bubbles, do not cover it with more product. Remove the loose product and see a dermatologist if the color stays.
Fix 4: check the room, the product and the powder
- Temperature. Heat speeds the set, and cold slows it, according to Katie Barnes Academy. A fast set in a hot room gives air less time to leave. Slow the work down with a slower product or a cooler room.
- Liquid age and storage. NIOSH advises keeping chemical containers closed. A bottle left open changes over time and takes in dust. Pour what you need and close it.
- Powder contamination. Dipping a wet brush deep into the powder jar leaves clumps. Pour a little powder into a separate lid or dish for the set.
- Mismatched products. A powder and liquid from different systems can behave unpredictably. Test the pair on a practice tip first.
- Rushing. A bead that sits waiting dries on the outside and traps air as you press it. Pick up and place within seconds.
Four bubble patterns and what each one tells you
Where the bubbles show up is a clue. Use these as a quick diagnosis, then work through the fixes above.
Pinholes only at the tip (free edge)
The tip is usually built with the driest bead. If the bead is too dry or you press and drag it at the edge, it cannot flow together and leaves pits. Use a slightly wetter pearl for the extension and press once.
Bubbles only in the middle
The middle is the thickest part, so it is where a big bead goes and where air has farthest to travel to leave. A very thick bead, or a second bead put over one that has already started to set, traps air between layers. Build in one clean bead at a time, and place the next while the first is still wet and blendable.
Bubbles near the cuticle
This is often a sign of a too-wet bead pooled against the skin, or a thin film patted repeatedly. Use a smaller bead, blot longer, place it a hair from the skin and stop. If product is pooling against the cuticle, you may also see lifting there, so check why acrylics lift.
Bubbles on every nail, every set
That is almost never a bead problem. Look at the liquid (old, shaken, dirty), the brush (stiff, damaged or overloaded) and the room (hot or drafty, which can speed the set). One change at a time, with notes.
Repair or redo? How to decide
Not every bubble needs a full rebuild. A good rule: repair when the problem is cosmetic and redo when it affects strength.
- Repair pits that are shallow and sit away from the stress area. They can be filed smooth and covered with a thin new bead.
- Redo the nail if bubbles run through the thickness, sit in the middle or at the cuticle, or if the product looks cloudy and weak. A nail with air pockets cracks sooner and lifts sooner.
- Tell the client. A quick explanation ("I want to redo this one so it lasts") is better than sending someone home with a nail that will fail in a week.
When you rebuild, do not just add more product over the top. Thin the problem area, clean the dust, and place a fresh bead with a clean brush. Two thin repairs are stronger than one thick patch. And remember to keep filings, wipes and any liquid-soaked towels in a closed container, because the same ventilation rules that protect you from fumes apply during repair work.
A short routine that prevents most bubbles
- Wipe and dry the dappen dish. Pour fresh monomer, cover it.
- Set the brush into the liquid at an angle and let it fill without stirring.
- Blot the back of the brush on a towel for about a second.
- Roll the tip into the powder to pick up a bead, no swirling.
- Place and pat in one or two moves. Leave it.
- Wipe the brush on a towel between beads.
- File only when the nail is fully set.
If bubbles keep coming back in the same pattern, look at the pattern: same nail, same hand, same time of day? A repeat pattern points to a specific habit or condition (heat, a certain brush, a particular powder). Change one thing at a time and write it down. Brush size and cleanliness are the next place to look; see acrylic brush sizes. For the whole routine, start with the acrylic nails guide.
Shop what's in this guide
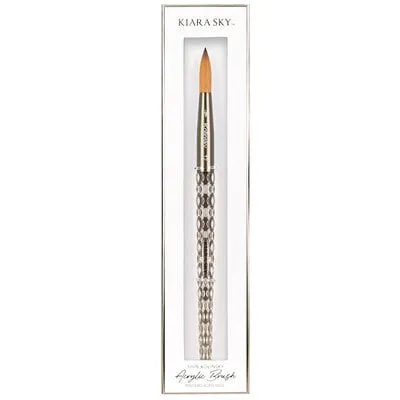
Acrylic Kolinsky Brush - Black - Size 12
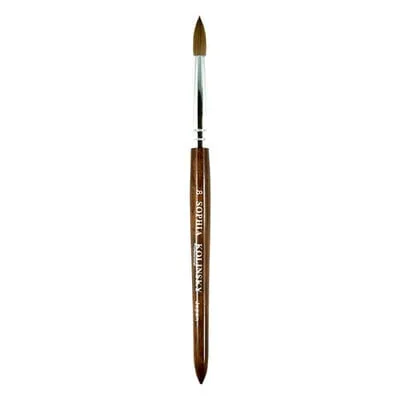
Kolinsky Acrylic Brush - Japan - Wood - #8
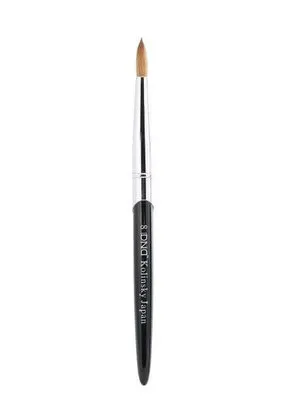
Kolinsky Acrylic Brush - Black - #8
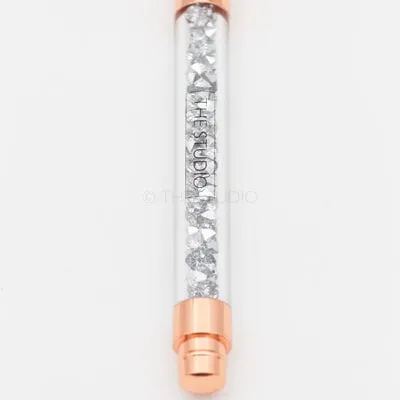
Kolinsky Acrylic Brush - Rose Gold - Silver Crystal - #10
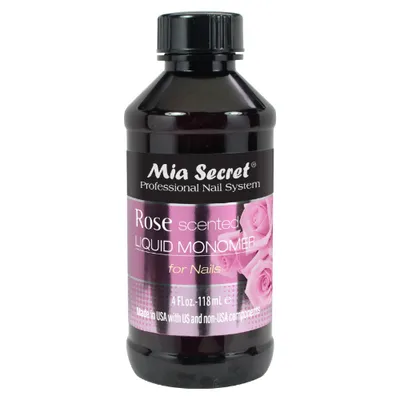
Liquid Monomer - Rose - 4 oz
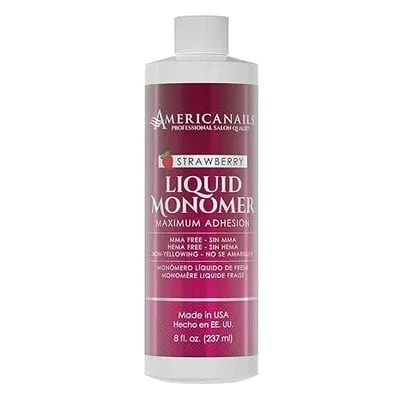
American Nails - Liquid Monomer - Strawberry - 8 oz
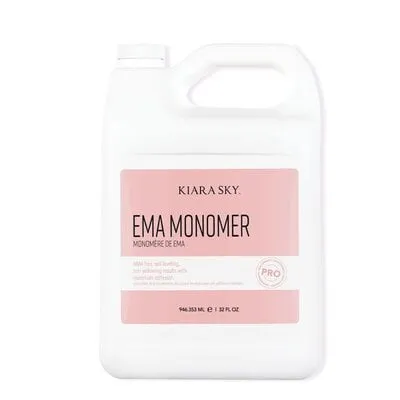
EMA Monomer - 32 oz