Primer vs Dehydrator vs Bond for Acrylic Nails: What Each Does and the Right Order
Dehydrator removes oil, primer bonds, and 'bond' is often a brand name. Learn the right order for acrylic, acid vs acid-free primer, and common mistakes.
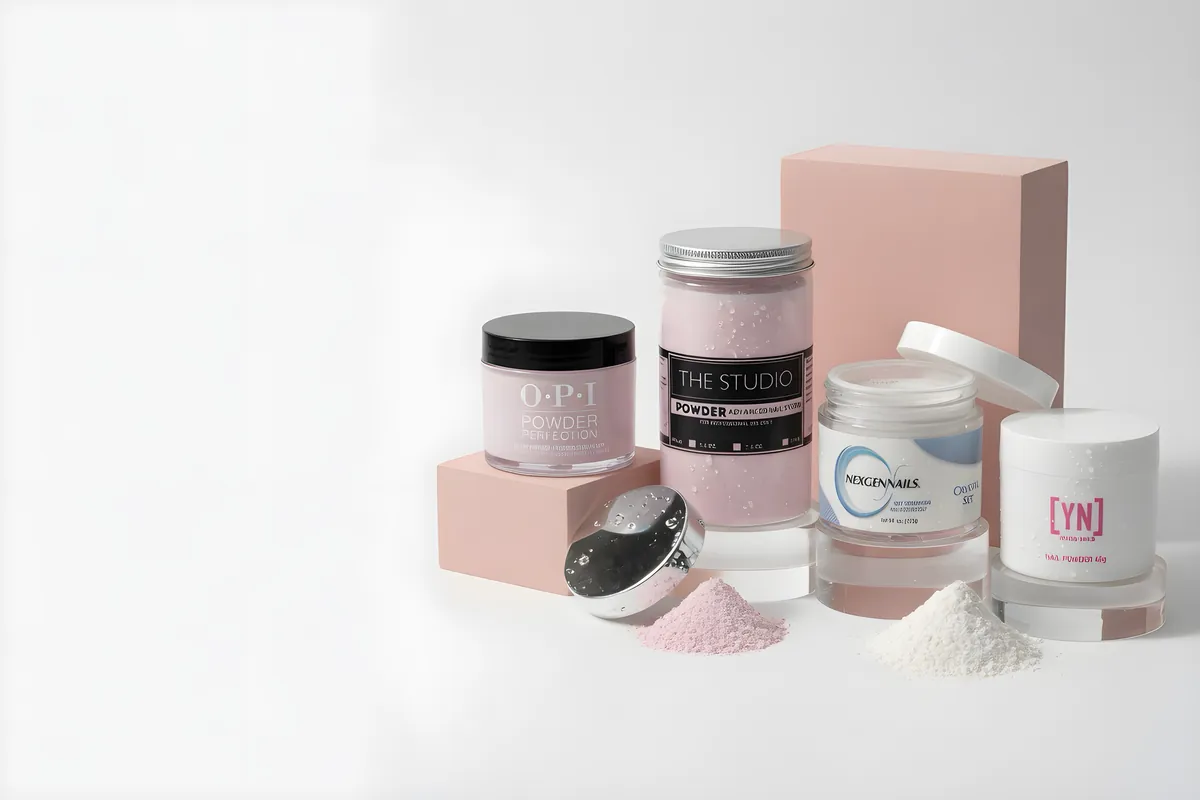
Use dehydrator first, then primer, if your acrylic system uses both. A dehydrator wipes oil and moisture off the nail plate. A primer is a thin bonding layer that grips the plate and the acrylic. 'Bond' is often just a brand name for one of the two, so read what the label says it does.
Three products, three different jobs
These words get mixed up because brands name them loosely. Here is what each one is supposed to do on an acrylic set.
| Product | Job | What it is not |
|---|---|---|
| Dehydrator (also called nail prep) | A quick-drying solvent wipe that removes surface oil and moisture from the nail plate | It does not bond product to the nail by itself |
| Primer | A thin bonding layer that grips the nail plate on one side and the acrylic on the other | It does not clean the nail or fix a wet bead or product on skin |
| "Bond" or "bonder" | A marketing word. Depending on the brand it can mean a dehydrator, a primer or a base for another system | It is not a third step that you add to every set |
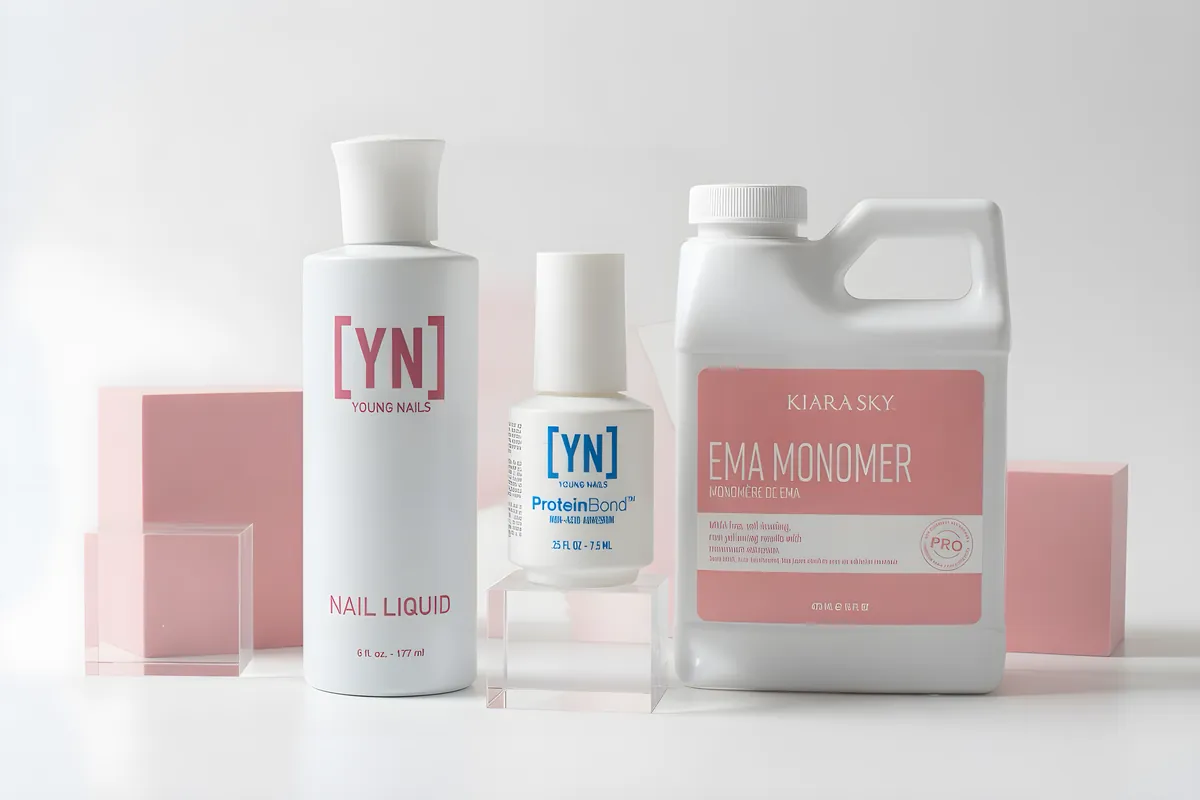
The catalog shows how loose the naming is. Gelish pH Bond is sold as a nail prep dehydrator. Young Nails Protein Bond is a primer. Apres Gel-X 1 is a pH bonder dehydrator and Gel-X 2 is a primer. Dip systems have "bond" steps of their own. So always read what the label says the product does, not just the name.
Primer or dehydrator first for acrylic?
Dehydrator first, then primer, if your system uses both. The dehydrator clears oil and moisture so the primer touches the nail plate itself instead of a film. The numbering in some kits shows the same order: Apres Gel-X lists the pH bonder dehydrator as step 1 and the primer as step 2, and Kiara Sky Gelly Tips sells a "1 Prep" and a "2 Primer".
The full acrylic prep order looks like this:
- Push back the cuticle and clear the dead skin film from the plate.
- Scuff the shine off the nail evenly, then brush off the dust.
- Apply dehydrator to the plate (if your system uses one) and let it dry.
- Apply a thin coat of primer to the nail plate only. Keep it off the skin and the cuticle.
- Let the primer dry to the look the maker describes, then build with your acrylic.
Some acrylic systems use only a primer, and many techs go straight from clean and scuffed to primer. Others use only a dehydrator and no primer. Your brand's instructions decide. The point of this article is to help you understand each step, not to override the maker.
Acid primer vs acid-free primer
Traditional primers contain methacrylic acid. NailKnowledge describes them as working like double-sided tape: one end of the molecule bonds to the nail plate and the other bonds to the enhancement product. The same source says acid primers are used less now because they are corrosive and can cause serious burns on accidental skin contact. It also says no primer opens the nail's layers, and that all professional primers work only on the surface of the plate. Newer acid-free primers do not use methacrylic acid and are not corrosive, and some form strong chemical bonds with the keratin of the nail.
| Acid primer | Acid-free primer | |
|---|---|---|
| Skin contact | Corrosive. Keep it off the skin and eyes, wear gloves, keep the cap on. | Not corrosive, but still a chemical to keep off skin |
| Typical use | Sometimes chosen for difficult, oily or flexible nails, per some makers | The common choice for general use and for sensitive skin |
| Examples in the catalog | Check each label | The Studio Acidless Primer, Gelish Pro Bond Acid Free Nail Primer, Pink Mask Ultrabond Non Acid Primer |
Treat any primer as something to keep off skin. If primer touches skin, wipe it off right away and wash. If it gets in an eye, flush with water and get medical help. Read the label and the safety data sheet of the exact product.
Match the primer to your system
The best primer advice is the simplest. NailKnowledge recommends the primer that was designed for use with the system you choose to use. Brands test their powder, liquid and primer together. A primer from one maker used under another maker's acrylic can work fine, but you have taken away the certainty.
The Studio carries primers and prep products from several brands:
- Young Nails Protein Bond Primer
- Tammy Taylor Nail Primer and CND Nail Prime
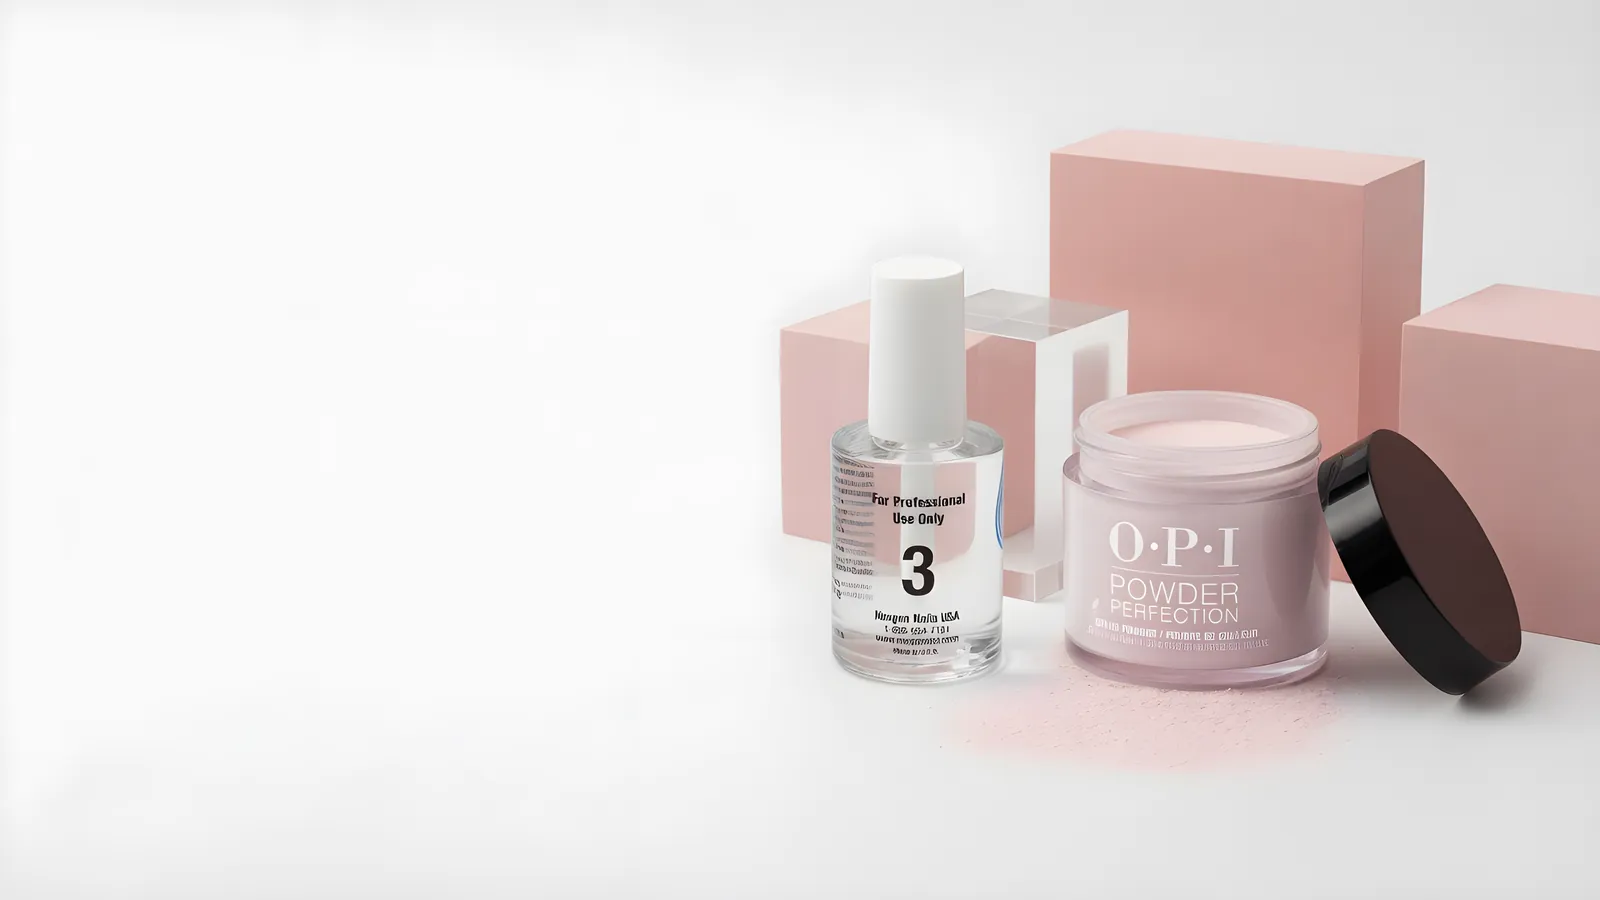
- OPI Bond-Ex acrylic bonding agent primer
- The Studio Primer and The Studio Acidless Primer
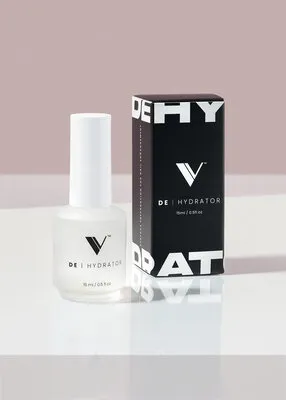
- V Beauty Pure Super Bond Primer and Nail Prep Dehydrator
- Pink Mask Nail Prep Dehydrator and Ultrabond non-acid primer
- Gelish pH Bond dehydrator and Pro Bond acid-free primer
- No Lift Nails primers
Browse all of them in dehydrator, primer and bond. Before you buy, note what each one says it is for. Some are made for acrylic, some for gel tips and some for dip.
Mistakes with primer and dehydrator
- Too much primer. A wet pool slows drying and leaves a slick surface. Use a thin, even coat on the nail plate.
- Primer on skin. It can irritate or burn. Keep it off the cuticle and sidewalls. If you slip, wipe it immediately.
- Touching the nail after prep. Oil from your fingers cancels the work. Don't touch.
- Waiting too long. Moisture and oil come back. Dehydrate and prime right before you apply the bead.
- Using primer to hide bad prep. If the nail has dead skin, shine or dust, primer will not help. See why acrylics lift.
- Using dehydrator as a primer. It does not bond product. Use each for its own job.
- Mixing steps from different systems without checking. A dehydrator from one brand and a primer from another usually work, but confirm that your acrylic accepts it.
How to apply primer, step by step
- Set up. Keep the primer bottle upright and the cap close. NIOSH advises keeping chemical containers closed, and primers evaporate fast. Work at your ventilated table.
- Check the nail. Matte, dust-free, dry. If you can see shine, scuff again.
- Wipe the brush. Take the brush out and wipe the excess on the neck of the bottle so it is damp, not dripping.
- Paint a thin coat across the nail plate only, from the middle toward the free edge, then once near the cuticle without touching skin. One coat is the standard for most primers, but follow your brand's directions.
- Let it dry. Many primers dry to a slightly chalky or matte look. Wait for that look before you place a bead. Do not blow on it or wave your hand over it.
- Apply the acrylic soon after. Katie Barnes Academy notes that regular-speed acrylic sets in about a minute and a half, so have your first bead ready once the primer has dried. See the acrylic nails guide.
Primer on tips: if you use plastic tips, prime the natural nail only. Primer is designed for the keratin plate, not for the tip or for skin.
Troubleshooting prep-related lifting
| What you see | Possible prep cause | Try |
|---|---|---|
| Whole nail pops off in a sheet | Oil, moisture or shine left on the plate | Scuff evenly, use dehydrator, prime thinly, work right away |
| Lift at the cuticle in a week | Primer on skin or heavy primer near the cuticle | Keep primer on the plate and thin; clear dead skin first |
| Lift only on some fingers | Oilier nails or missed fingers during prep | Prep all ten the same way and recheck the oily ones |
| Skin irritation or redness near the primed area | Primer on skin | Wipe immediately, keep off skin, switch to acid-free, see a dermatologist if it persists |
| Lifting despite perfect prep | Bead too wet, product on skin, structure | Read the lifting guide |
If you are sensitive to chemicals, remember that primers contain methacrylates or related ingredients. A British Association of Dermatologists audit found 2.4% of 4,931 patch-tested patients allergic to at least one (meth)acrylate, so a rash near the primed area deserves attention rather than a switch to a different brand and keep going.
Do you always need both?
No. Whether you need a dehydrator, a primer, both or neither depends on the nail and the system.
- Oily nails or humid weather: a dehydrator plus primer routine is the most protective. See acrylic in Florida heat and humidity.
- Dry, healthy nails in a cool room: a thin coat of primer after good prep may be all your system needs.
- Sensitive skin: acid-free primer and a tidy application.
- Difficult, flexible or very oily nails: some makers recommend a stronger primer. Check what yours suggests.
- Gel tips or builder gel: the steps and products are different. This article is about acrylic only.
If you are learning the steps, start with the acrylic nails guide. And if you are still getting lifting after a perfect prep, the cause is probably the bead; see acrylic bead consistency.
Shop what's in this guide
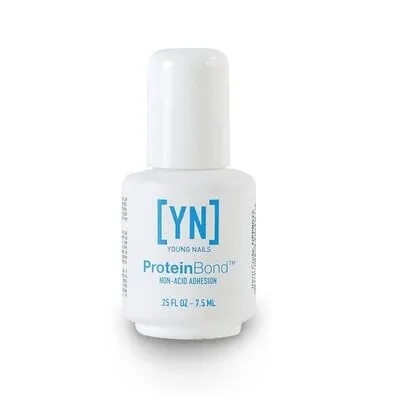
Protein Bond - Primer - 0.50 fl oz
Chrome Bond
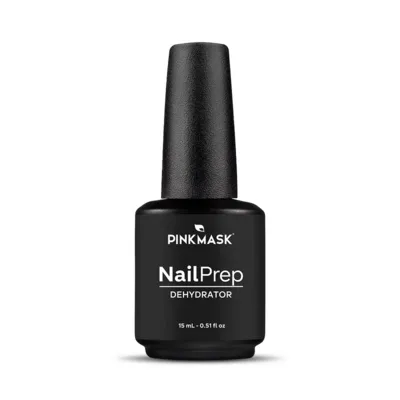
Nail Prep Dehydrator - 15 ml
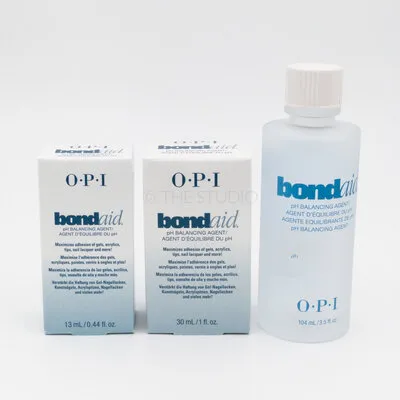
Bond Aid - pH Balancing Agent
Lash Primer - 10ml - Lavender
Lash Primer - 10 ml
Infinite Shine 1 - Primer Prostay Base Coat - .5 fl oz