Polygel vs acrylic nails: differences, pros and cons, and who each suits
Polygel is a premixed paste cured in a lamp. Acrylic is liquid plus powder that sets on its own. Compare cure, odor, skill, removal and allergy risk.
Polygel is a premixed paste that hardens only under a UV or LED lamp, while acrylic is a liquid monomer mixed with powder that sets on its own in minutes. Polygel gives you unlimited working time and less smell, and acrylic gives you speed and a long track record. Both use acrylate chemistry, so neither is safe for someone who is allergic to acrylates.
The difference in one paragraph
Acrylic is made at the table. You dip a brush in liquid monomer, pick up powder to form a bead, and place it on the nail. The two react and harden by themselves, usually within a few minutes, so you have to work quickly. The FDA describes artificial nails as made mainly from acrylic polymers, formed from reactive building blocks called monomers.
Polygel is premixed. It comes in a tube, and nothing happens until you cure it in a lamp. Gelish describes its polygel as a hybrid between hard gel and acrylic that "doesn't harden until cured in LED or UV lamp," with no liquid-to-powder ratio to manage. You shape it with a brush wetted with slip solution instead of monomer.
That one difference, self-setting or lamp-setting, drives most of the others: working time, smell, skill, and how you correct a mistake.
Side-by-side table
| Polygel | Acrylic | |
|---|---|---|
| Form | Premixed paste in a tube | Liquid monomer plus powder |
| How it hardens | Under a UV or LED lamp | Chemically, on its own |
| Working time | Unlimited until cured | Short, set by the chemistry |
| Brush liquid | Slip solution | Monomer |
| Smell | Gelish says no unpleasant odors | Strong monomer smell |
| Learning curve | Gentler once you handle the paste | Bead control and ratio take practice |
| Shape and length | Dual forms, nail forms or on-nail | Forms or tips |
| Removal | File off (Gelish) | File off, or soak with acetone as the system allows |
| Allergy risk | Acrylate family, check the label | Acrylate family, known sensitizers |
| Needs a lamp | Yes | No |
Ready to try the paste? Our how to apply polygel guide walks through dual forms and the brush method. For acrylic, see the acrylic nails guide.
Working time and learning curve
Acrylic rewards speed. The bead starts to set as soon as it leaves the bowl, and the tech has to place, shape and move on. A bead that is too wet runs onto the skin. A bead that is too dry looks lumpy and does not blend. That is why the liquid-to-powder ratio matters so much and why it takes months to master.
Polygel gives you time. You can place the product, look at the shape, push it into place, and fix it before the lamp locks it in. That makes it friendlier for beginners and for anyone who wants to build a careful apex. But the paste has its own skill: controlling the amount, wetting the brush with the right amount of slip solution, and keeping product off the skin.
A fair summary is that acrylic is fast and unforgiving, while polygel is slower and forgiving. Neither is automatically easier. A tech who has done acrylic for years may find polygel slow, and a student may find acrylic ratios confusing.
Smell, dust and ventilation
Acrylic monomer has a strong smell that most people notice immediately. Gelish says its polygel has no unpleasant odors, because there is no open monomer to evaporate while you work. That is a real comfort advantage at the table and for the client.
It is not a reason to skip ventilation. The FDA advises good ventilation when using nail products, and filing any enhancement makes dust. A dust collector at the table and an extraction fan help in both systems. Browse dust collectors.
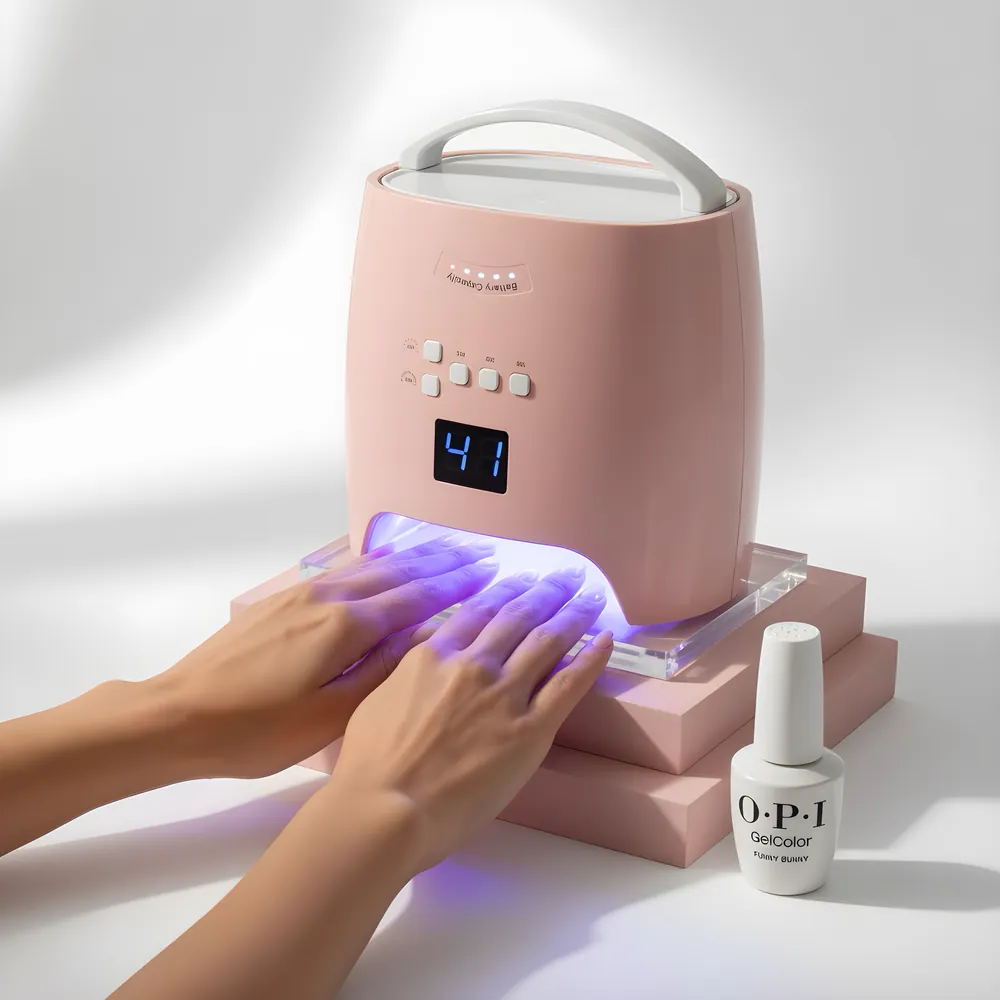
Lamps also deserve attention for polygel. Gels only cure properly if the lamp matches the product. NailKnowledge explains that gels respond to specific wavelengths and that a weak or aging bulb can leave gel hard on top and soft underneath. See LED vs UV nail lamps and our gel lamps.
Removal and fills
Gelish says to remove its polygel by filing: first file most of the product off with a 150 or 180 grit file, or an e-file with a medium to coarse carbide or sanding band, then buff it thin, blend with a finer buffer and cleanse. It is not an acetone soak-off product. Acrylic can often be removed by soaking in acetone, but many techs also file the bulk of it first.
Both systems can be filled as the nail grows. For either, the key is to file the regrowth area and the old product lightly, not to thin the natural nail. The American Academy of Dermatology notes that you should not pick at artificial nails or use tools to pry them off, because that tears the nail. That applies to polygel and acrylic equally.
Whichever system is on the nail, a client should never be told to peel it. If a set lifts at home, the safe move is to book a visit, not to pull at it. Pulling takes layers of natural nail with it, and a thin, sore nail is the most common complaint after artificial nails come off badly.
Whichever you choose, give nails a break when you can. The AAD suggests one to two weeks or longer between gel sets, with moisturizer on nails and cuticles several times a day.
Allergy and safety: what is the same for both
Both are acrylate products. The FDA notes that traces of reactive monomers can remain after artificial nails form, and these traces can cause reactions in people who have become sensitized, with symptoms including redness, swelling and pain in the nail bed. DermNet adds that acrylate allergy often shows up as fingertip dermatitis and also as a rash on the eyelids, ears, mouth and neck, and that it can begin one to two days after contact.
A 2025 study in Contact Dermatitis found 147 of 7,133 patients (2.1 percent) positive to 2-HEMA between 2019 and 2023, and artificial nails were the main source of exposure. HEMA is common in gel nail products.
What does that mean in practice? Do not assume polygel is a safe swap for someone who reacted to acrylic. Keep product off the skin in both systems. Cure gel fully, because under-cured product is a sensitization risk. Keep the nail clean at the cuticle. And if a client has itching, burning or a rash, stop and send them to a doctor or dermatologist. For HEMA-free options, see our HEMA and TPO free page and the HEMA allergy guide.
Strength, weight and feel
Clients ask which one is stronger, and the honest answer is that thickness and structure matter more than the label. A nail built with a well-placed apex, an even stress area and a thin cuticle blend will hold up in either system. A nail built too thin at the middle will crack in either system.
On feel, the brands make claims. Gelish describes its polygel as lighter than acrylic or hard gel. Apres, in its Gel-X material, describes acrylic as durable but rigid and heavy. Both are manufacturer statements, not independent tests, so treat them as marketing with a grain of truth. What you can check yourself is the finished nail: look at it from the side and feel the weight. Acrylic tends to feel firm and rigid, and gel systems tend to have a little more give.
That give is a plus for some clients and a minus for others. A client who types all day may like a flexible nail that does not snap. A client who wants a very long, very straight nail may prefer the stiffness of a traditional acrylic.
What you need to start each one
Polygel: tubes of polygel in your shades, slip solution, a gel brush, dual forms or nail forms, base gel, a top coat, files and buffers, and a lamp. Our polygel section has Gelish PolyGel in clear, pink and white shades, plus a trial kit and slip solution.
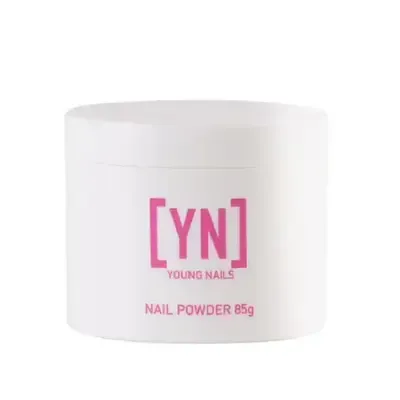
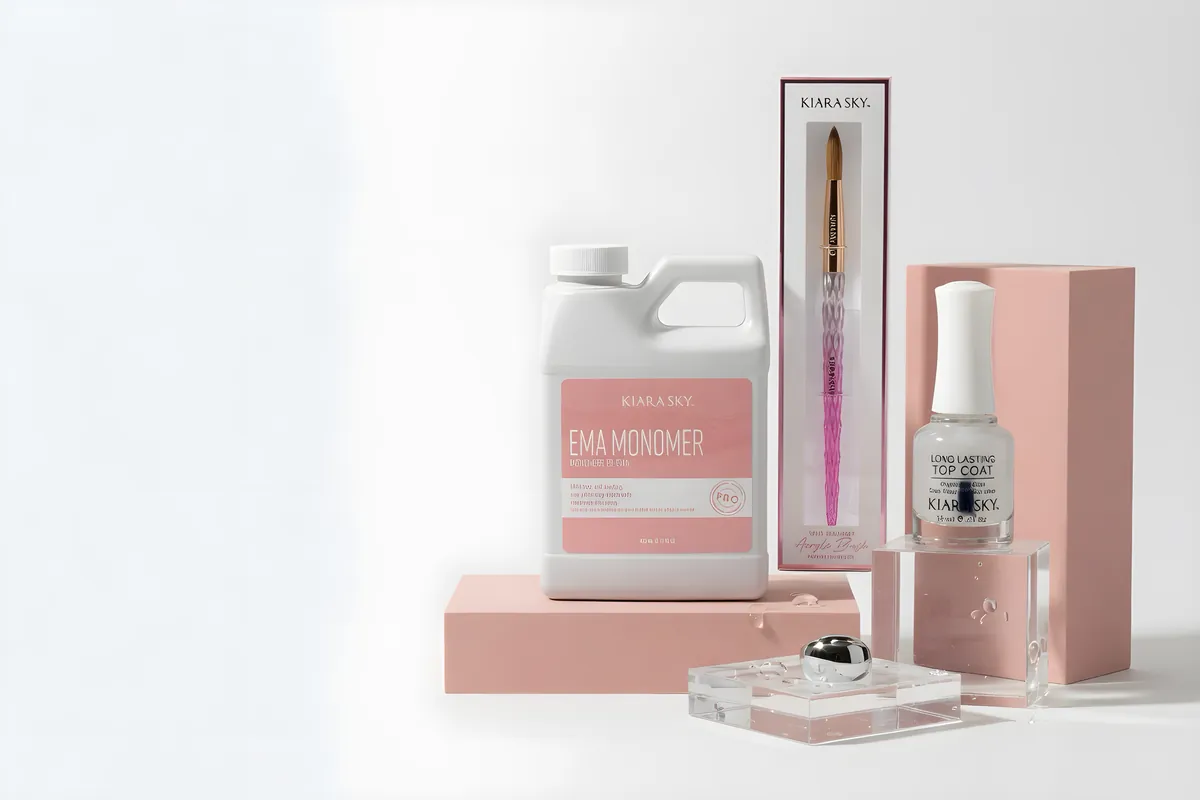
Acrylic: monomer, acrylic powders in clear, pink and white, an acrylic brush, a dappen dish, tips or forms, tip glue, files and a dust brush. No lamp is needed to set the product.
Either way, a tech who is just starting should buy a small, complete set from one brand, learn it well, and then expand. Check beginner kits and student kits for starting sets. Add nippers or tip cutters, a cuticle pusher and good ventilation. In Florida, applying artificial nails is licensed work under Chapter 477, so a license is required to do it for pay.
How to choose
- Choose polygel if you want more working time, less smell, a lamp-controlled cure, and a paste you can shape carefully. It suits beginners, DIY users who have a lamp, and techs who prefer gel.
- Choose acrylic if you want speed, a self-setting product with no lamp, and a very established system that lots of techs know. It suits techs trained in acrylic, high-volume services and clients who want a firm, traditional feel.
- Choose Gel-X if the real goal is length with no sculpting. Read Gel-X vs builder gel and the Gel-X guide.
Shop polygel, acrylic powders and monomer in store or online.
Shop what's in this guide
Easy Gel - Camel - 2.1 oz
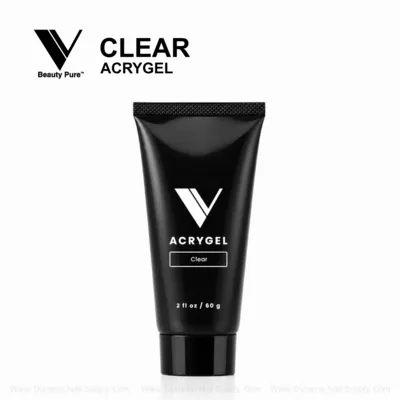
Acrygel - Clear - 2.0 fl oz
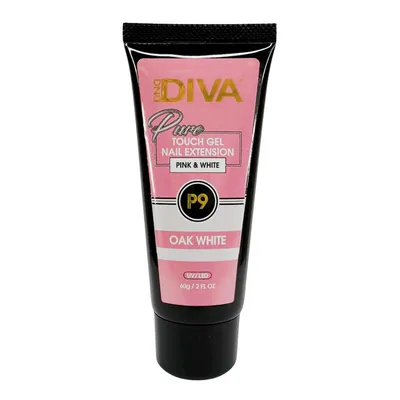
Pure Touch Gel - P9 Oak White - 2 fl. oz
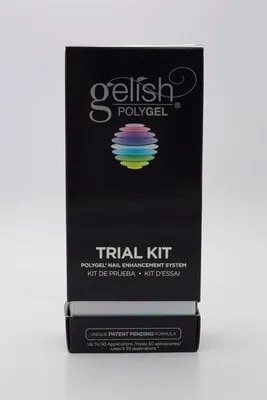
Polygel - Trial Kit
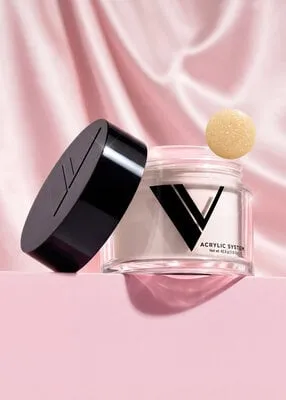
Cover - Forever-ish - 1.5 oz
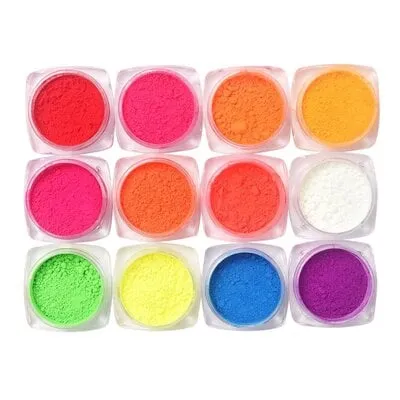
Pigment Powders #1 - 12 ct
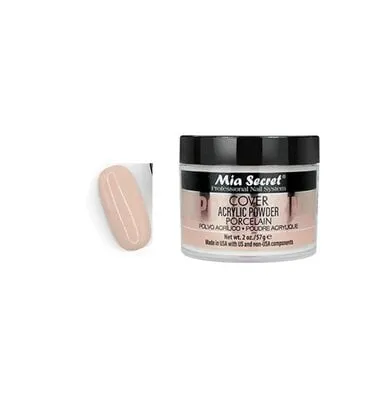
Acrylic Powder - Porcelain - 2.0 oz