How to apply polygel with dual forms or by brush: beginner guide
Step-by-step polygel: prep, slip solution, dual forms or the on-nail brush method, cure, file and finish, plus a fix-it table for lifting and bubbles.
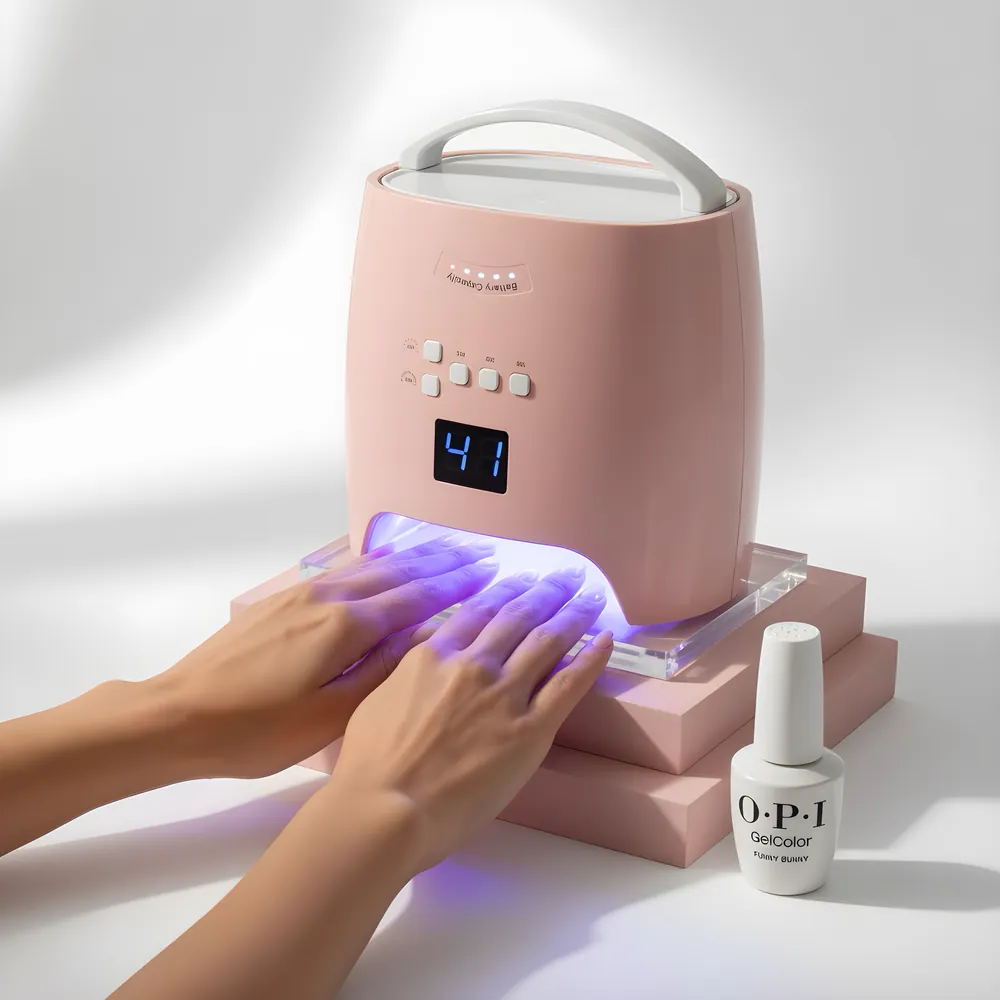
With dual forms, you press a small ball of polygel into the form, spread it with a brush dipped in slip solution, press the form onto the prepped nail from the cuticle end, clean the edges, cure in a lamp, then pop the form off and file. Without forms, you place the polygel on the nail and shape it with the slip-solution brush. Polygel does not harden until it is cured in a lamp.
What polygel is
Polygel is a thick, premixed paste that sits between acrylic and hard gel. Gelish, which sells a polygel line, calls its product a hybrid between hard gel and acrylic, made for licensed nail technicians, premixed so there is no liquid-to-powder ratio to manage, and says it "doesn't harden until cured in LED or UV lamp." That last point is the important one for beginners: you have unlimited working time, and it only sets when you put it in the lamp.
Because it is thick, polygel does not self-level the way a thin builder gel does. It stays where you put it. You shape it with a brush wetted with slip solution, a liquid that stops the paste from sticking to the brush. If you try to use it like a thin gel, it will look lumpy.
Polygel is usually applied on a nail form or in a dual form, which is a reusable shaped template, or placed directly on the natural nail or a tip for an overlay. Dual forms are popular for beginners because the form controls the length and the curve.
One more thing to know before you buy: polygel is part of the acrylate chemistry family, as a hybrid of acrylic and hard gel. If a client has ever had a reaction to acrylic nails or gel products, do not assume polygel is automatically safe for them. Read the label, ask about past reactions, and send anyone with a known allergy to their dermatologist. Our guide polygel vs acrylic covers the difference in more detail.
What you need
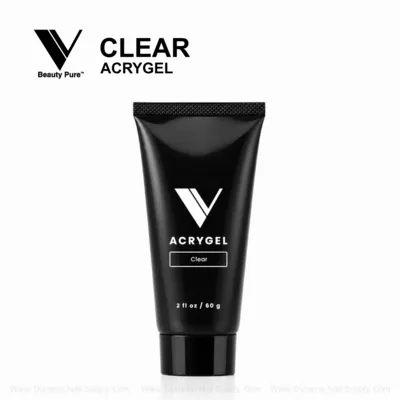
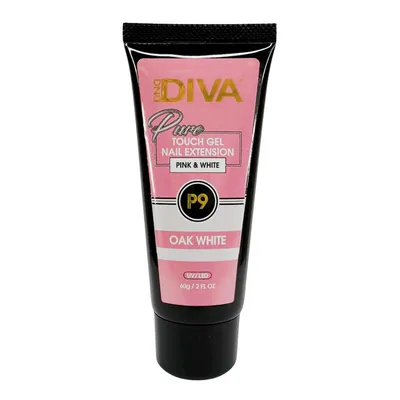
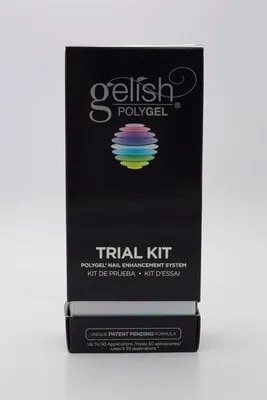
- Polygel in a tube, in clear, pink, white or nude. Browse our polygel range, including Gelish PolyGel in several shades and a trial kit.
- Slip solution. Gelish makes one for its polygel, and other brands sell their own. Use the one for your brand.
- Dual forms or nail forms. Pink Mask and Vicovi sell dual forms in square, ballerina, natural shapes and more. Paper-style nail forms work for sculpting.
- A base or bonder as the brand directs. Gelish uses a thin foundation base gel cured for 5 seconds and pH Bond used sparingly.
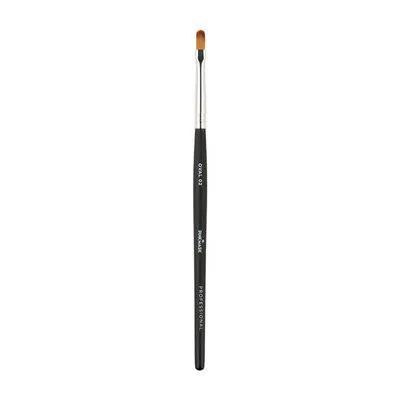
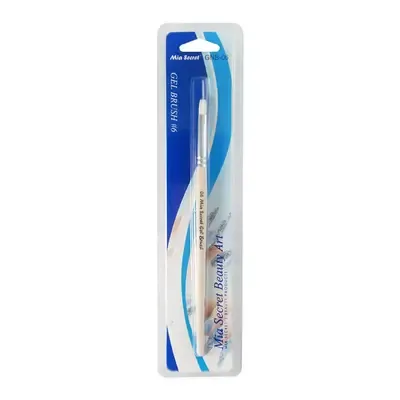
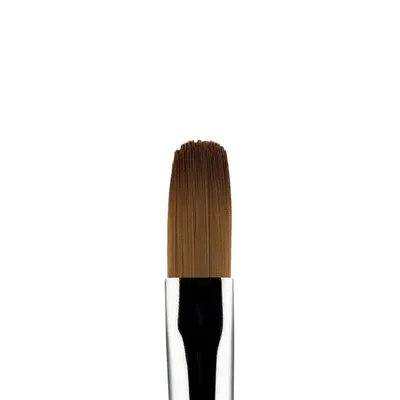
- A gel brush. See gel brushes. A flat or oval brush with a clean, springy tip works well.
- A lamp that suits the gel. See gel lamps.
- Files and buffers. A 150 or 180 file for shaping, a 100/180 buffer for prep, finer buffers for blending. See files and buffers.
- Top coat from gel base and top coats, and cuticle oil.
Prep the nail
Polygel lifts for the same reasons other gels lift: shine on the plate, skin on the nail, or oil. The Gelish instructions give a clear prep order that works for any polygel.
- Sanitize your hands and the client's hands.
- Push back the eponychium (the skin fold at the base of the nail) and remove excess cuticle. Do not cut living skin. The American Academy of Dermatology says not to have cuticles pushed or cut aggressively, so keep it gentle.
- File the natural nail to shape, and buff the shine using the 100 side of a 100/180 buffer.
- Cleanse the plate with a lint-free wipe and nail surface cleanser.
- Apply pH Bond or dehydrator sparingly, as the brand directs.
- Apply a thin layer of base gel and cure it. Gelish specifies 5 seconds for its foundation base.
If you are using tips, size them first. See tip sizes and shapes. For dual forms, pick the form size that matches the nail from sidewall to sidewall, with the form's edge sitting just under the free edge of the natural nail.
The dual form method, step by step
- Choose the form. It should fit the nail's width and curve. Test it dry on the nail first.
- Load the form. Squeeze polygel out of the tube, slice off a small ball with a tool, and place it in the center of the form. Start small, since you can add more but removing it is messy.
- Wet the brush with slip solution. Gelish describes priming the brush with slip solution and wiping it dry, then re-moistening it with a little slip. Too much slip makes the polygel slide and weakens it. Too little makes it stick.
- Spread the polygel inside the form, pushing it toward the cuticle end and the sides. Leave a thin edge at the cuticle where you will press.
- Press the form onto the nail, starting at the cuticle end and rolling down toward the free edge so air does not get trapped. Stop short of the skin.
- Clean the edges. Use the brush or a small tool to push excess polygel back from the sidewalls and cuticle. Gel on the skin causes lifting and irritation.
- Cure. Put the finger in the lamp for the time listed by your brand. Note that Gelish's own page shows 30 seconds in its overview and 60 seconds for the colored layers in the detailed steps, so read the instructions that come with the exact product you buy.
- Pop the form off. Gently flex it away. The polygel should come off as a hard shape, with a rough surface from the form.
- File and shape. See the finish section below.
If the finger heats up in the lamp, take it out for a moment and put it back in. A thick bead can heat while curing. Use a thinner layer next time.
The brush method on the nail
When no form fits, or you are doing an overlay on the natural nail or tips, you shape the polygel right on the nail with the brush.
- Prep and apply base gel as above.
- Place a bead of polygel on the center of the nail.
- Wet the brush with slip solution and wipe off the excess.
- Push the bead toward the cuticle without touching the skin, then to the sidewalls, then toward the free edge. Build a gentle arch, thickest over the stress area and thinner at the cuticle.
- Check from the side and fix any flat spots.
- Hold the nail upside down for a second so the gel settles, without letting it run onto the skin, then cure.
Practice the bead size before you try the shape. Most new techs use too much product the first time and end up filing most of it off. A good drill is to place a bead, shape it on a practice finger, cure it, then cut it in half with clippers or a file to see the thickness. You want it thin at the cuticle, strongest in the middle, and tapering toward the free edge, not a uniform block.
Shape and finish
After the cure, wipe or cleanse the surface if your brand needs it, then file. Gelish uses 180 grit to bring out the smile line, then a 100/180 buffer to smooth the surface, then cleanses again. Finish with a thin top coat and cure it. Gelish lists 30 seconds for its top coat. Massage cuticle oil into the skin when done.
On shaping: file from the side as well as from the top. A good polygel nail has an even thickness, a smooth transition at the cuticle, and a clear apex. Use a dust brush often, and keep dust off the finished surface before the top coat. See files and buffers and, for e-file users, bits and bands.
To remove polygel, Gelish says to file off most of the product with a 150 or 180 grit file (or an e-file with a medium to coarse bit), buff the rest thin, then blend and cleanse the nail. Polygel is filed off, not soaked, so take your time and do not cut into the natural plate.
Fix-it table
| Problem | Likely cause | Fix |
|---|---|---|
| Polygel sticks to the brush | Brush too dry | Re-wet with slip solution and wipe off the excess |
| Polygel slides or looks wet | Too much slip solution | Wipe the brush on a lint-free pad and use less |
| Bubbles inside the nail | Form pressed down flat | Press from the cuticle end and roll toward the tip |
| Lifting at the cuticle | Product on skin or poor prep | Clean up the edges, buff the plate, use dehydrator and base |
| Nail is thick and bulky | Too much product | Use a smaller bead and shape with the brush |
| Heat spike in the lamp | Thick layer cured all at once | Take your hand out for a second and use thinner layers |
| Tacky surface after cure | Weak lamp or short cure | Check your lamp and the cure time. See polygel vs acrylic for more on the system |
A mismatched or old lamp is a common hidden cause. NailKnowledge explains that gels respond to specific wavelengths and that weak or aging bulbs leave gel partly liquid underneath, which can cause lifting and, over time, sensitization.