Gel-X nails: how to apply them step by step (and make them last)
How to apply Apres Gel-X step by step: prep, sizing, Extend Gel, cure times, shaping and aftercare, from a South Florida nail supply store.
To apply Gel-X, buff the shine off the natural nail, dehydrate it, pick a tip that fits from sidewall to sidewall, etch the inside of the tip, roll it on at 45 degrees with a thin layer of Extend Gel, and cure. Apres says to cure the full hand for 30 seconds under LED or 60 seconds under UV, then shape and top coat. A set applied this way is meant to last 3 to 4 weeks.
What Gel-X actually is
Gel-X is a soft gel nail extension system made by Apres. You do not build the length with a brush. You glue a pre-shaped, full-cover tip onto the natural nail with a gel adhesive called Extend Gel, then cure it in a lamp. Because the tip is already shaped, the application is faster than sculpting acrylic or hard gel on forms.
It is not a press-on. A press-on uses a sticky tab or nail glue. Gel-X bonds with gel that hardens under light, and it comes off by soaking in acetone, not by peeling. It is also not acrylic: there is no liquid and powder, and nothing hardens until it goes under the lamp, so you control your working time.
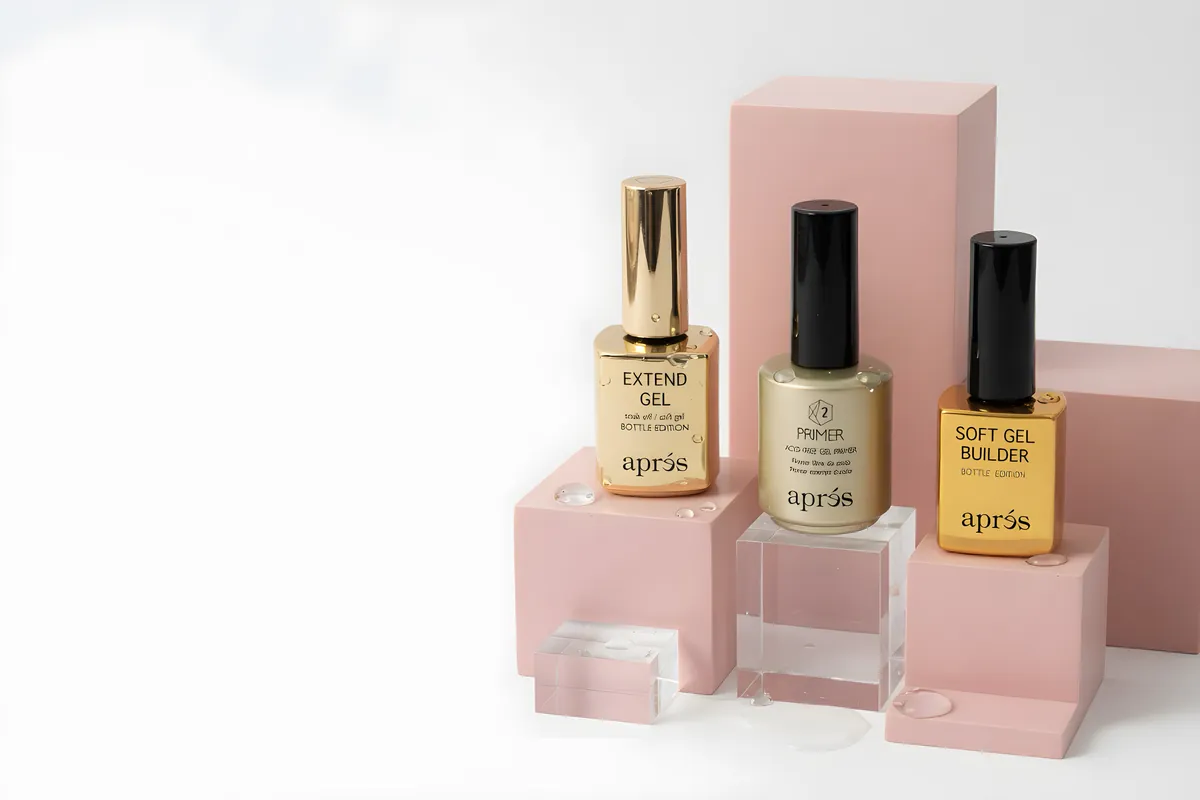
The system comes as a short chain of products. In the Apres line you will see pH Bonder Dehydrator (step 1), Primer (step 2) and Prep (step 3), then Extend Gel and a top coat. Apres also sells tips in two curve families, Natural and Sculpted, in shapes like square, almond, coffin and stiletto. More on that in our tip sizes and shapes guide.
What you need before you start
Set everything out before the first finger. Gel is light-sensitive, and hunting for a file while Extend Gel sits on the nail is how mistakes happen.
- Tips in your sizes. A Gel-X tip box (Tip Box 2.0) or a refill bag in the shape and length you want. Buy the box with the sizes you use most.
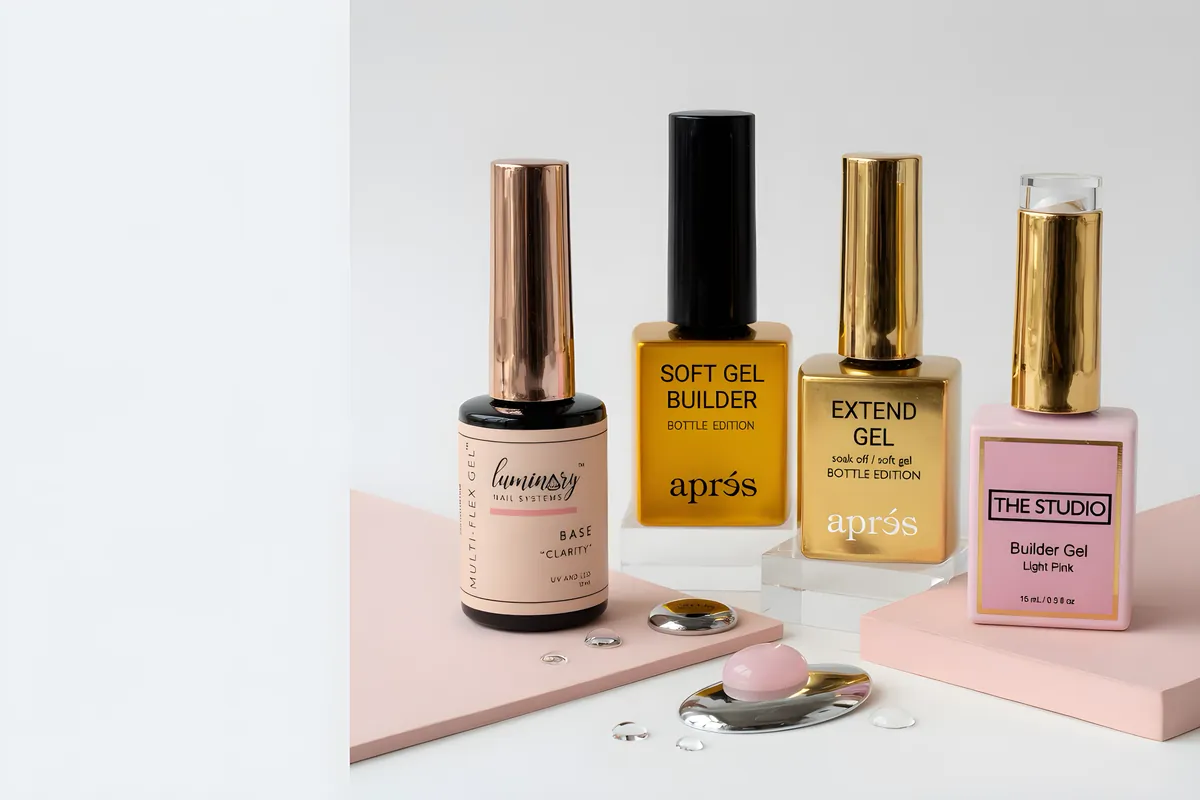
- Extend Gel. The tip adhesive. Apres makes standard, non-wipe and a Sensitive 2.0 version that is HEMA free. Pick one before you start and use it for the whole set.
- pH Bonder, Primer and Prep from the same line, so the chemistry matches.
- An LED or UV lamp. See our gel lamps. The lamp must suit the gel (see the cure section).
- A 100/180 buffer and files. Browse files and buffers.
- A cuticle pusher from pushers, a lint-free wipe, and a dust brush.
- Top coat (a gel top coat, for example Apres Top Coat Non-Wipe) and cuticle oil.
- Optional but useful: an e-file with a ceramic cone or tapered bit from bits and bands, used to clean up cured excess gel.
Prep: the step that decides if the set lasts
Apres says plainly on its help center that lifting is most often caused by inadequate nail prep, and that it is usually about the application rather than the product. So spend your time here.
- Clean hands and nails. Wipe with a lint-free pad.
- Push the cuticle back and tidy the area. Any cuticle skin stuck to the plate gives the gel something to lift from. Do not cut living skin. The American Academy of Dermatology advises against letting anyone push or cut your cuticles aggressively because it can lead to inflammation and infection, so remove only the loose dead skin stuck to the plate and keep the rest of the cuticle intact.
- Buff off the shine. Apres recommends a 100/180 buffer (or a natural nail buffer bit) so the gel has texture to hold. The whole plate should look matte, including the sidewalls.
- Remove dust. Dust left on the plate sits between the gel and the nail.
- Dehydrate. Apply pH Bonder. If the client has oily nail beds, Apres says to apply a second coat.
- Prime if your kit sequence says so, exactly as the label directs.
Do not touch the prepped nail with your fingers or let the client touch it. Skin oil lands on the plate and undoes the bonder.
Sizing tips so they do not pinch or lift
Each tip should sit flush from sidewall to sidewall, with no gap on either side and covering the natural nail from the cuticle end to the free edge. Apres says that if a nail falls between two sizes, you should pick the larger tip and file the base of the tip down to match the nail. If the tip base does not follow the curve of the cuticle area, file it until it does.
Wrong size is one of the five big causes of lifting. Apres also explains the two failure directions on its help center. A tip that is too small and pressed down hard can cause pinching and discomfort, and eventually lifts. A tip that is too big and forced on with heavy pressure can come off within a day or two.
Size every finger before you open the gel. Lay the tips out in order on a sheet of paper so you can grab them with one hand. If the natural nail is very curved, Apres points you to its Sculpted tips, which have more built-in curve, over the Natural tips.
Flat nails are a special case. They leave a bigger gap under the tip. Apres says extra Extend Gel can fill it, but excess gel must be removed before curing so it does not seep onto the skin and cause a reaction.
Apply, flash cure and full cure
Work one finger at a time until you are fast. This is the sequence Apres teaches, in order.
- Etch the inside of the tip. Roughen the underside with Gel-X Prep, or with an e-file (then wipe off every bit of dust). Apres names an unetched tip as a cause of popping off.
- Apply Extend Gel to the center of the nail. Keep it off the sidewalls at first. Apres says less is more: too much gel floods the cuticle and sidewalls.
- Add a little gel inside the tip if needed, then bring the tip to the cuticle at about a 45 degree angle, close to the skin without touching it. Roll the tip down toward the free edge. The angle pushes air out and prevents bubbles.
- Press with steady, even pressure and pinch the sides so the tip hugs the curve of the nail.
- Flash cure that single finger briefly in the lamp to lock the tip in place. Apres recommends a flash cure after each tip, then a full cure once the whole hand is done.
- Repeat on all five fingers, then cure the whole hand. Apres lists 30 seconds in LED or 60 seconds in UV for the full hand.
Check your own lamp against the gel. NailKnowledge explains that gels contain photoinitiators that respond to a certain wavelength range, with UV lamps around 365 nm and LED lamps typically 395 to 405 nm, and that a mismatched or weak lamp can leave gel hard on top and soft underneath. That soft layer is a classic reason for lifting and a risk for skin reactions, so never shorten the cure.
Uncured gel on skin can sensitize you to acrylates over time. If gel touches the skin, wipe it away before curing. Keep it off the cuticle and sidewalls from the start.
Shape, top coat and aftercare
After the cure, clean up the edges. Apres suggests using a ceramic cone bit to remove cured excess gel around the tip, and a hand file for the free edge. File the surface only enough to blend the tip into the nail. Do not thin the stress area, which is the section over the middle of the nail where the tip meets the natural plate. Thin gel there flexes and cracks.
Then add color if you want, seal with a top coat, cure again as that label says, and finish with cuticle oil. Wipe only if your top coat requires it.
For the client, aftercare is simple. Use cuticle oil every day. Wear gloves for dishes and cleaning. Do not use the nails as tools. Do not pick at lifted edges, because a lifted edge lets water in and starts a bigger lift. The AAD also advises letting nails rest for one to two weeks or longer between gel manicures, with moisturizer on nails and cuticles several times a day.
Quick troubleshooting
| Problem | Likely cause | Fix |
|---|---|---|
| Tip pops off in a day or two | Tip too big and forced on, or oily nail bed | Re-size, use a second coat of pH Bonder on oily nails |
| Pinching or pressure at the sides | Tip too small | Go up a size and file the base to match |
| Lifting at the cuticle | Cuticle skin left on the plate, gel flooded the cuticle | Clean up the cuticle area, apply less gel |
| Air bubbles | Tip pressed flat instead of rolled on | Start at 45 degrees and roll toward the free edge |
| Gel feels soft under a hard surface | Weak or mismatched lamp, cure cut short | Check lamp output and full cure time |
| Redness or itching around the nail | Gel on skin | Remove the set and see a doctor if it persists |
For a longer breakdown, read why Gel-X keeps popping off.
Shop what's in this guide
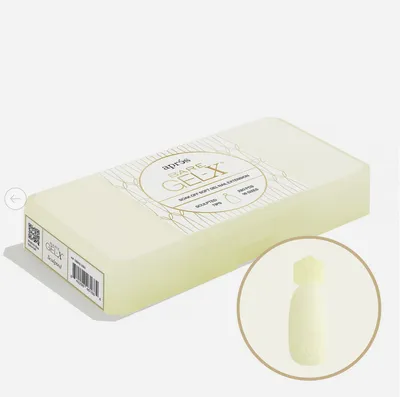
Bare Gel - X Tip Box - Sculpted
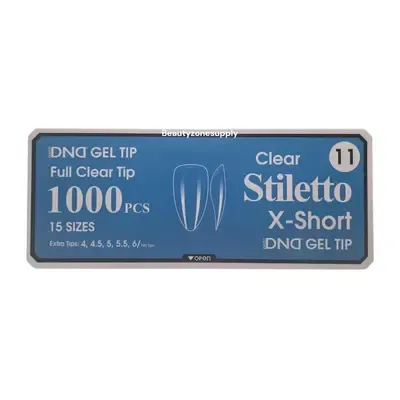
Gel Tips - Full Stiletto X-Short
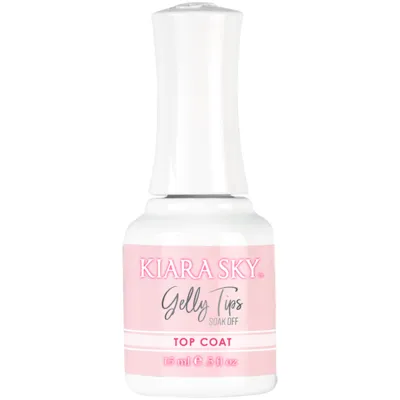
Gelly Tips - 4 Top Coat Non Wipe - 0.5 oz
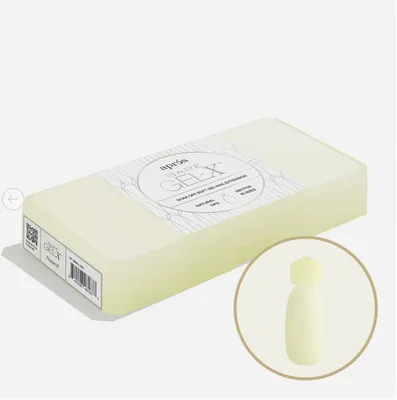
Bare Gel - X Tip Box - Natural
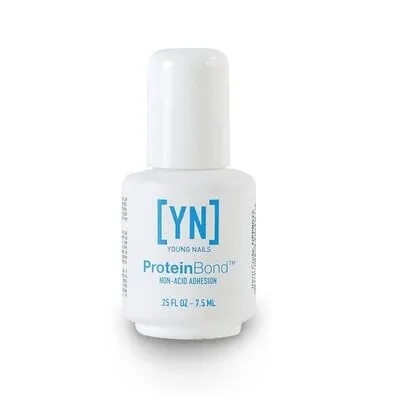
Protein Bond - Primer - 0.50 fl oz
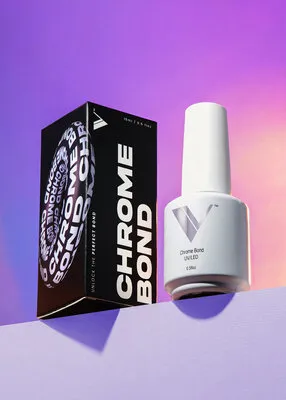
Chrome Bond
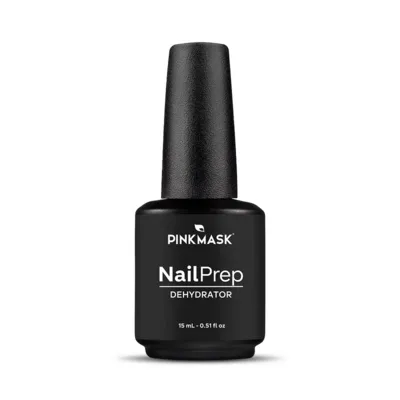
Nail Prep Dehydrator - 15 ml
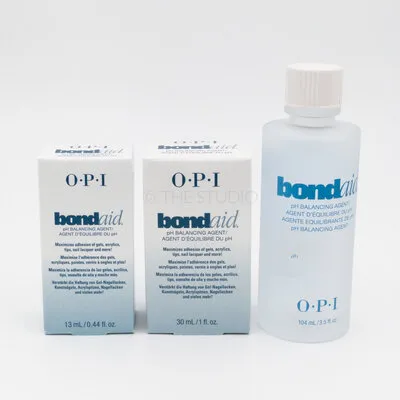
Bond Aid - pH Balancing Agent
Questions we get at the counter
Can you cut Gel-X tips?
Can you do Gel-X on short nails?
How long does Gel-X take to apply?
How long does Gel-X last?
Do I need a lamp for Gel-X?
How do you remove Gel-X?
Sources
- Apres Nail: Gel-X Durability, Separating Fact from Fiction
- Apres Nail Help Center: Why do my Gel-X tips keep popping off?
- Apres Nail Help Center: How long does a Gel-X set last?
- NailKnowledge: Gel polish curing, lamp compatibility and common issues
- American Academy of Dermatology: Gel manicures, tips for healthy nails