Dip powder nails at home: the complete step-by-step guide
Exactly how to do a dip manicure: the kit, the pour-not-dip rule, 12 steps, brush care and a one-nail allergy test, with sources.
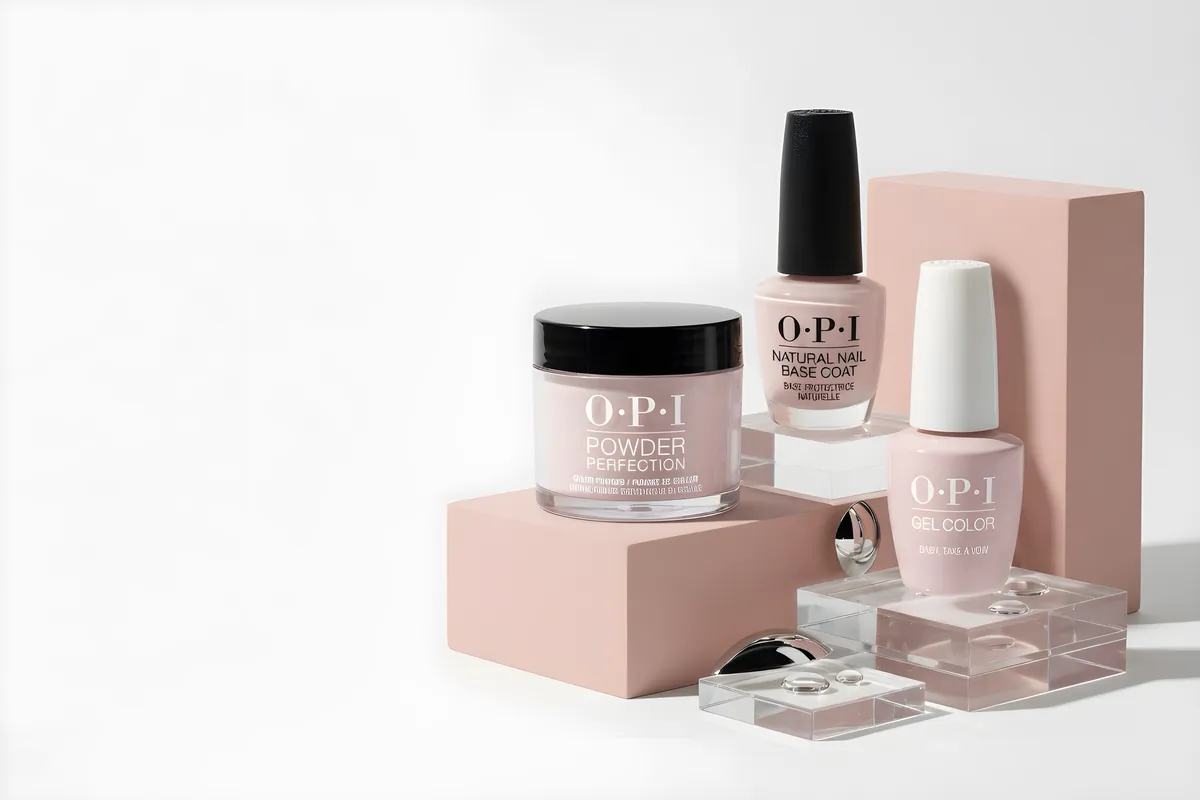
Dip powder is a colored powder layered over a resin base coat and hardened with an activator, so it needs no lamp. Prep and dehydrate the nail, brush on a thin base, pour or dip the powder at about 45 degrees, repeat two to three times, then activator, file and top coat.
How dip powder works and why it needs no lamp
A dip manicure is three things stacked on the nail: a thin layer of liquid adhesive, a colored powder that sticks to it, and a liquid called an activator that hardens the whole stack. The American Academy of Dermatology describes it the same way: adhesives hold the powders in place, and the adhesive is the main allergy culprit (AAD).
The base coat in most dip systems is a resin. Exam-prep material for nail techs describes it as commonly a cyanoacrylate-type resin that sets in the presence of moisture, with the powder being a colored polymer that the resin locks in place. OPI lists ethyl cyanoacrylate and polymethyl methacrylate in its Powder Perfection top coat. This is why dip hardens without a UV or LED lamp: the set is a chemical reaction, not a light reaction.
That is also the main difference from gel. Gel needs a lamp to cure and stays soft until it gets one. Dip is hard within a minute or so of activator. If you want the full comparison, read dip powder vs gel.
What each layer does
- Dehydrator or prep: removes surface oil and moisture so the base can grip the nail plate.
- Base coat: the adhesive. It holds the powder and bonds to the nail. Too much of it is the root of lumps and bulk.
- Powder: color and body. Layers of powder are what give a dip nail its thickness and strength.
- Activator: triggers the final hardening of the stack. OPI says its activator speeds the cure of the base on dipping powders and starts the reaction with the top coat.
- Top coat: seals and adds shine. In OPI's system it reacts with the activator, so the activator must be applied properly and given time before the top coat goes on.
What you need before you start
Dip is cheap to start but easy to under-equip. Missing one item (usually the right file or a way to pour powder) is where most first attempts fall apart. This is the full list.
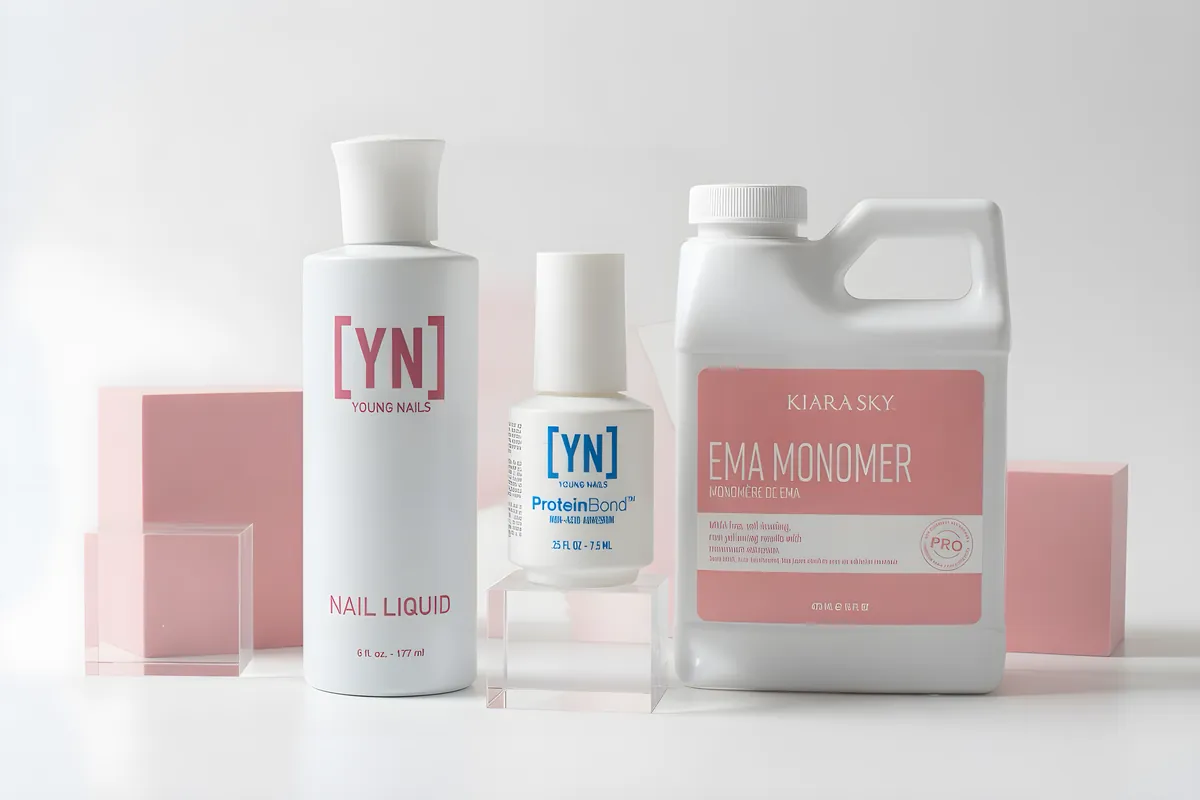
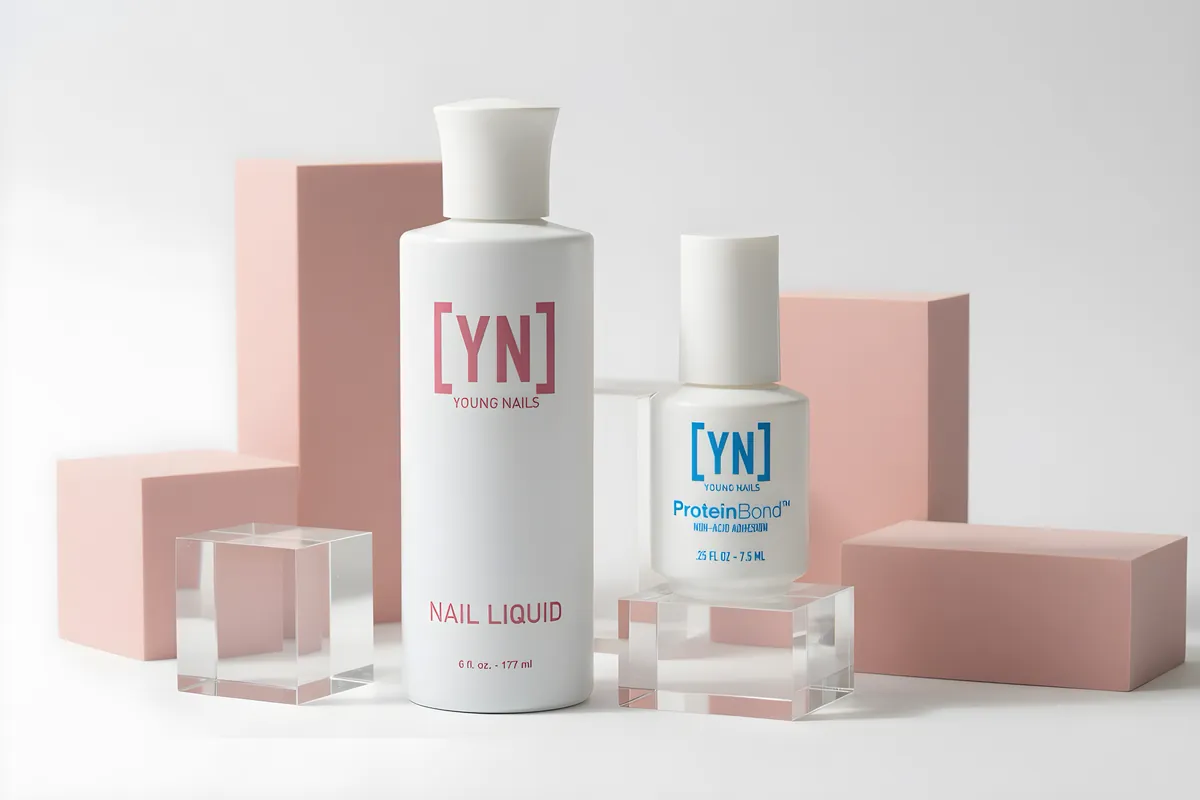
- Dip liquids. Base, activator and top coat, plus a bond or prep step in some brands. Browse the dip liquids. Our catalog carries sets from OPI, NexGen, Kiara Sky, NotPolish, ANC and Triple Vitamin Dip.
- Dip powders. Colors from the dip powder shelf (OPI and NexGen), plus a clear or natural powder for building thickness. AIO powders also work with a dip system, see AIO powders explained.
- Files and buffers. A 180 grit file to shape and 100 and 220 grit buffers to smooth. OPI's own directions use exactly this order. See files and buffers.
- Dehydrator. To strip oil off the nail plate before the base coat.
- A pusher to clear the thin film of dead cuticle tissue off the plate.
- Lint-free wipes and a dust brush. The dust brush is for powder you tap off, never for skin you have not cleaned.
- Small disposable cups or a tray for pouring powder (more on this below).
- Brush saver for keeping the base brush usable. Kiara Sky and SNS make one we carry.
- Cuticle oil for after the top coat has fully dried.
Hygiene first: pour the powder, do not double dip
Dipping a finger straight into a jar that was used on someone else is how dip earned its bad hygiene reputation. The AAD says double dipping can spread bacteria and germs, including those from a nail infection or a wart. Its accepted methods are to pour each powder into a disposable container and throw away what is left, or to sprinkle powder from the original jar onto the nail.
OPI says the same: never dip straight into the jar, pour fresh powder into a small plastic cup, and dispose of it after each client. Nail scientist Doug Schoon, quoted by NBC 6 South Florida, recommends pouring or sprinkling and discarding any powder that has touched skin.
At home, even on yourself, pouring has a second benefit. A jar you dip into collects base coat, moisture and skin oils, and the powder turns to hard clumps. A clean jar stays clean for the life of the product.
Full detail for techs and clients is in is dip powder sanitary.
Pour, sprinkle or dip: compared
The finish looks the same with all three. The difference is control and cleanliness.
| Method | How | Best for | Watch out for |
|---|---|---|---|
| Dip into a cup | Pour a little powder into a small cup, dip into the cup, discard after use | Fast, even coverage on a full set | Never dip the same cup on a second person |
| Pour over | Hold the finger over a tray and pour powder over the wet base | Beginners, thick or curved nails | Needs a tray to catch the powder |
| Sprinkle with a brush | Spoon or brush powder onto the nail | Glitters, ombre and French tips | Slower, easy to leave thin spots |
Powder you tap off after dipping is used product. Do not pour it back into the jar. Brush it into a waste tray and throw it away.
Step by step: a full dip manicure
These steps follow the standard sequence that brands such as OPI publish. Where your brand's directions differ (number of base coats, activator wait), your brand wins.
- Remove old polish and wash hands. Do not apply lotion or oil before the service. Oil on the nail is a top cause of lifting.
- Prep the plate. Gently clear the thin film of dead tissue from the nail plate with a pusher. Do not cut or dig at living cuticle, since the AAD warns that cutting or pushing back cuticles can lead to serious infection. Lightly buff the shine off, then wipe the nail clean.
- Dehydrate. Apply dehydrator to the plate so the base can bond. If your brand has a bond or prep step (NexGen #1 Prep, Kiara Sky #1 Bond, Triple Vitamin Dip #1 Bond), do it now.
- Base coat. Brush one thin, even coat from just short of the cuticle to the free edge. Do not flood the skin. Thin base is the single biggest control you have over final thickness.
- Powder. Pour or sprinkle the color over the wet base. If dipping, dip into a disposable cup at about 45 degrees, which is how OPI directs it. Tap off the excess.
- Repeat the base and powder. OPI builds three layers: base and color, base and color again, then base and a clear set powder. Most brands use two to three.
- Brush off loose powder with a clean dust brush.
- First activator. Apply one generous coat over the whole nail and cap the free edge to seal the powder. Let it harden.
- Shape and smooth. File with 180 grit, then buff with 100 and then 220 grit. Remove all dust.
- Second activator. Cover the whole nail again and wait a few minutes. OPI's professional application guide gives up to 2 minutes in the US (4 minutes internationally) for the activator to harden. A supplier guide says to wait at least 60 seconds after the last activator and wipe with a lint-free wipe, which is the minimum.
- Top coat. Brush on 2 to 3 quick strokes per nail. OPI applies two thin coats with a short dry between them.
- Cuticle oil once the top coat is fully dry.
Why the steps are in this order
Prep before base. The base can only grip a clean, dry, slightly dulled plate. Any oil, lotion or leftover dead tissue becomes a gap, and gaps become lifting a week later.
Thin base, repeated. Each base and powder pass is a small layer. Several thin layers stay flexible and even. One thick layer traps uncured product in the middle and sets as a hard lump with a soft center.
Activate, then file, then activate again. The first activator hardens the stack so it can be filed. Filing exposes fresh surface and removes bulk, and the second activator reseals that surface so the top coat has something to react with. Skipping the second coat is a common reason a top coat stays tacky or dull.
Dust off before every liquid. Loose powder on the surface mixes into the next layer of base or top coat and shows as grit or specks.
Top coat last, in two thin coats. A thick top coat dries slowly and can pool at the cuticle and sidewalls. Two thin coats set faster and look glassier. OPI also notes the final coat is placed carefully because you cannot touch it up once it is down.
Keeping brushes and bottles from hardening
Dip liquids harden fast, and a hardened base brush means a lumpy base coat. Three habits fix most of it.
- Wipe the brush on a lint-free wipe before it goes back in the bottle. Product on the neck of the bottle is what glues the cap shut.
- Use a brush saver. Kiara Sky's blog explains that massaging the second coat of its Seal Protect into the nail with a lint-free wipe stops the activator from hardening the top coat and base bottles.
- Never touch the base brush to activator or the activator brush to base. A supplier troubleshooting guide lists carrying activator into the base as a cause of hardening base coat, stringy product and brushes that harden.
Store bottles upright with caps closed, in a cool, dark place. The same supplier guide gives roughly a three-year shelf life for powder used in good conditions. Old liquids thicken first, so if the base feels like syrup instead of water, replace it.
Test one nail first if you have never had dip
Allergy to nail adhesives is the main risk with dip. The AAD says reactions can appear hours to days later, with signs like swelling, itching or discolored skin around the nail, fluid-filled bumps, or a lifting nail.
The AAD's first-time advice is a one-nail test:
- Dip only one nail. Paint the rest with regular polish.
- Wait 7 days.
- No reaction: go ahead with a full set.
- Reaction in the first 7 days: remove the dip color as soon as you can and let the skin heal. Avoid dip afterward.
- Reaction that lasts 2 to 4 weeks: see a board-certified dermatologist.
Methacrylate allergy is also documented from artificial nails in general (DermNet), so someone allergic to acrylic nails should talk to a doctor before trying dip.
Quick troubleshooting: symptom, cause, fix
Most dip problems are repeatable. Match what you see to the likely cause before you redo the nail.
| Problem | Likely cause | Fix |
|---|---|---|
| Lifting at the cuticle | Dead tissue or oil left on the plate, base coat touching skin, or lotion before the service | Clear the plate, dehydrate, keep base off the skin, add a bond step if your brand has one |
| Chips at the tip | Free edge not capped, or thin layers | Cap every edge with base, activator and top coat; build three layers |
| Cracks across the nail | Layers too thin (the nail flexes under it), too thick at the cuticle (rigid), or old or lightly applied activator | Even thin layers, a generous fresh activator coat, file out bulk |
| Lumpy surface | Thick base, powder clumps from a dipped jar, hardened brush | Thin base, pour powder, wipe the brush, file smooth. See lumpy dip fixes |
| White spots after top coat | Too much last activator or too little drying time | Wait at least 60 seconds, wipe with a lint-free wipe, then top coat |
| Top coat stays tacky | Activator not fully set before top coat, or liquids from different brands | Let the activator dry, keep to one brand |
The causes for cracking, lifting, white spots and contamination come from a supplier troubleshooting guide. They match what OPI's published directions imply: thin even layers, full activator coverage and a sealed free edge.
Dip with tips, short nails and a stronger structure
Dip adds strength to the natural nail, but it is not an extension product on its own. To add length, apply a tip or use a nail form, then dip over it as normal. Our acrylic tips and tip glue work for this. Blend the tip seam with a file before the base coat so no ledge shows through the color.
Two points keep nails strong without making them thick and heavy.
- Build the structure in the powder, not the base. A clear or natural powder in the middle layer adds thickness while the color stays clean. Do not load the base coat heavily to gain thickness. That creates lumps and a rigid layer that cracks.
- Keep the cuticle zone thin. A thick edge near the cuticle is the spot that lifts first as the nail grows out. File it thin before the top coat.
On short or very flat nails, take extra care that the base does not touch the sidewalls. The skin there moves, and product on skin breaks the seal.
Aftercare that makes it last
- Apply cuticle oil daily once the top coat is dry. The AAD recommends petroleum jelly or cuticle oil for rough cuticles. Our cuticle oils are on the shelf.
- Wear gloves for dishes and cleaning products.
- Do not use your nails as tools. A flexed tip is where cracks begin.
- Check your bare nails whenever color comes off. The AAD lists a lifting nail, swollen or discolored skin and a thickened or discolored nail as signs to stop and leave the nails bare for 2 to 4 weeks.
Choosing powder colors
Our dip powder shelf is OPI (1.5 oz jars) and NexGen. Both come in solid colors, whites and French shades; NexGen carries French White and Lite White in 2 oz and 4 oz. If you want a color range beyond that, AIO powders from Chisel, Le Lilia and DND DIVA also work as dip, but check the label and brand directions first.
How long it lasts and how to take it off
OPI states 2+ weeks of wear for Powder Perfection. The AAD says dip can stay chip-free up to four weeks. In practice the limit is nail growth: once a gap shows at the cuticle, it is time to remove or fill.
Removal needs 100% acetone, according to the AAD, and acetone can thin the nail and irritate skin, so protect the skin and do it correctly. Our step-by-step is in how to remove dip powder at home. The AAD also advises waiting a month after removing color before the next gel or dip set; regular polish is fine in between.
If it chips or lifts early, read why dip powder chips and lifts and how to fix lumpy dip.
When to stop and get it checked
Dip is a cosmetic service, not a medicine. If you see lifting that comes with swelling, discoloration or pain, do not cover it with another coat. Remove the color and leave the nail bare. The AAD says many problems clear or grow out in 2 to 4 weeks, and that a problem still there after 4 weeks needs a board-certified dermatologist. Never dip over a nail that looks infected, wet or thickened. Powder does not treat anything and it hides what a doctor needs to see.
Shop what's in this guide
S084 - Dip - Your Zestination Awaits - 1.5 oz
Nails - C34 - Seattle - 2 oz
Dip Powder - White
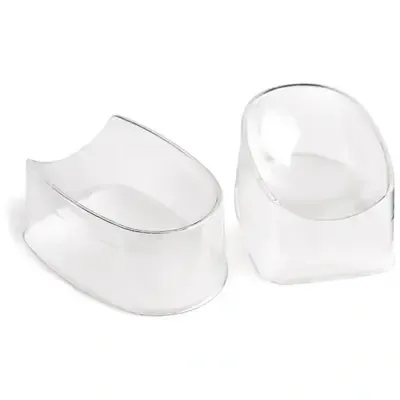
DL - Disposable Dip Trays - 25 Ct - DL-C485
Neon 22 - AIO Powder - 2 oz
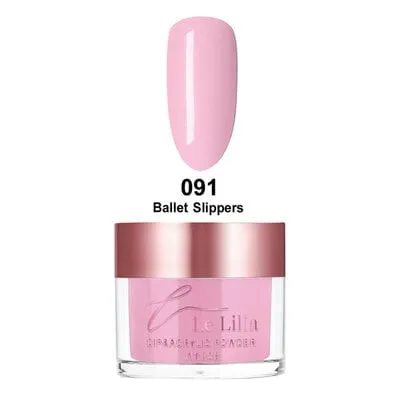
091 - Ballet Slippers - AIO Powder - 2 oz
130 - Delicate Blush - AIO Powder
Fast Set - All in One Powder - Light Pink
Questions we get at the counter
Does dip powder need UV light?
Can I dip over my natural nails without tips?
Can you mix dip powder colors?
How many layers of dip powder should I do?
Is dip powder safe to do on myself?
Can you do dip powder on toes?
Sources
- Dip powder manicure: what to know, American Academy of Dermatology
- Powder Perfection Step 2 Activator, OPI
- Why proper protocol is important with dipping powder manicures, OPI
- Dip powder troubleshooting: cracking, lifting, contamination and color issues, Pure Spa Direct
- You could be risking an infection with nail dipping, NBC 6 South Florida