Why is my dip powder lumpy or bumpy? Causes and how to fix it
Lumpy, bumpy or gritty dip: the four causes, a symptom table, how to level a finished set with 180, 100 and 220 grit, and how to prevent it.
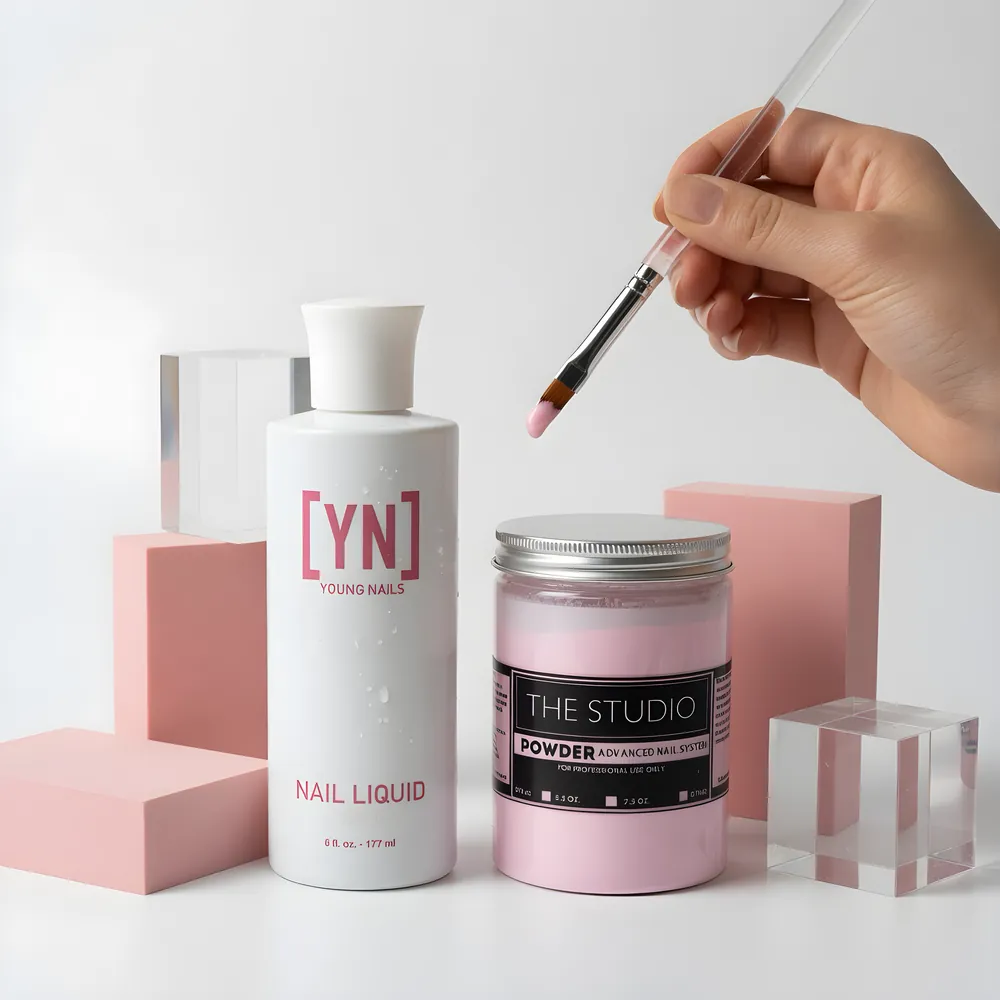
Dip goes lumpy from base coat that is too thick, powder clumped from a dipped jar, a contaminated brush or bottle, or old product. Level a hardened set with a 180 grit file, buff with 100 then 220 grit, reactivate and top coat; prevent it with thin base and by pouring powder.
Why dip powder goes lumpy
Lumpy dip has one of four causes: too much base coat, powder that clumped, a brush or bottle contaminated with the wrong liquid, or old product. Everything else is a variation of those.
Dip builds a nail out of layers. The base coat is wet adhesive, the powder sticks to it, and each pass adds a thin layer. When a layer is too thick the powder piles up where the base pooled, usually at the cuticle and sidewalls, and sets as a ridge. A supplier troubleshooting guide notes that layers that are too thick, especially at the cuticle, leave a rigid structure and a bulky finish. Thin layers stay even, and each one is easier to file level.
Clumps are different. If the jar sits uncovered, or a base-coated finger is dipped in the main jar, the powder near the surface gets wet. The same guide says dipping a base-coated finger into the powder jar creates hard clumps and is a sanitation concern. Those clumps then land on your next nail as grit.
Match the lump to the cause
| What you see | Likely cause | Fix |
|---|---|---|
| Ridge or hump near the cuticle | Base pooled at the cuticle; too much powder in that zone | Thin base, keep it short of the cuticle, file the area level |
| Small hard bumps spread across the nail | Powder clumps from a dipped jar or damp powder | Pour powder into a clean cup, discard the cup after use, replace clumpy powder |
| Stringy base that drags and leaves ridges | Base thickened by activator or powder contamination | Replace the base, wipe the neck and brush |
| Grit or specks under the top coat | Loose powder not brushed off before activator or top coat | Dust off before every liquid |
| Wavy surface after filing | Uneven layers, filed before the stack hardened | Wait until it is hard, use 180 then 100 and 220 grit, refine in sections |
| Bulky, thick-looking nail overall | Too many layers or thick base | Fewer, thinner layers and thin the cuticle zone with a file |
How to prevent it on the next set
- One thin coat of base per nail. If the brush is dripping, wipe it on the bottle neck. The base should sheet on, not pool.
- Stay off the skin. Product on skin creates a ledge, and the same supplier guide says it also leads to lifting.
- Pour, do not dip into the jar. Pour powder into a clean cup or onto a tray, use it, and discard what is left. The AAD and OPI both recommend this for hygiene, and it keeps the jar dry.
- Tap off, then brush off. Tap the excess powder off at an angle, then brush away loose powder before the next liquid.
- Wipe the brush on a lint-free wipe between base and powder, and between powder and activator.
- Cap bottles right away. Open bottles thicken.
- Keep powder dry. Store in a cool, dark place with the lid tight. The same guide gives about a three-year shelf life, but wet or caked powder should go in the trash whatever its age.
See the full routine in the dip powder guide.
How to fix a lumpy set that is already done
You can level many lumpy nails without redoing them, as long as the stack has fully hardened.
- Let it set. OPI says to wait until the powder hardens before filing. Filing a soft stack tears and smears.
- Level with a 180 grit file. Work from the high point, long strokes, light pressure. Stop when the surface is flat to the eye and to the touch.
- Buff smooth. OPI follows the 180 grit file with a 100 grit buffer and then a 220 grit buffer. Use that order and brush the dust off.
- Reactivate. A second coat of activator reseals the filed surface. Wait a few minutes, then wipe.
- Top coat. Two thin coats. A thick top coat will not hide a rough surface. It will only pool in the dips and stay tacky.
If you need to add a thin repair layer to low spots, apply a thin base only to the low area, sprinkle powder, brush off, activate, file and top coat. Keep it very thin, or you will build a new lump.
Brushes, bottles and powder: the contamination checklist
The same supplier guide lists the signs of contaminated product: hardening base coat, stringy product, brushes that harden, and a cloudy top coat that will not dry to a high shine. The causes it names are dipping a base-coated finger into the jar, failing to wipe the brush between products, and old powder past its shelf life.
- Use a separate brush for each liquid, or wipe the brush completely clean between.
- Clean the bottle neck and cap threads after each set.
- Do not pour used powder back into the jar. Powder that touched product or skin is used product, and the Washington State exam-prep guide says never to dump it back into the bulk.
- Replace caked, damp or clumpy powder. It will not give an even surface.
- Replace a base coat that has turned to syrup.
Brush savers help with the base brush. See dip liquids explained.
Base coat technique that stops lumps at the source
Most lumps start with how the base goes on. The base brush picks up more liquid than one nail needs. These habits fix that.
- Wipe one side of the brush on the bottle neck before it touches the nail. You want a loaded brush, not a dripping one.
- Use three strokes. One down the center, one on each side, from just short of the cuticle toward the free edge. Do not scrub back and forth, which pushes base into the cuticle.
- Do the free edge last with the flat of the brush, front and underside, so base capping the tip does not run back into a thick line.
- Work one nail at a time. The base has to be wet when the powder hits it, so do not base a whole hand and then go back to powder. Base one nail, powder it, move on. OPI's directions do the same: base on one nail, then dip right away.
- If you flooded a nail, wipe it. A lint-free wipe pulled once from cuticle to tip removes the excess. Start that nail over rather than powdering a pool.
The same logic applies to the second and third base passes. Each pass should be as thin as the first, because the powder from the last layer is still on the nail and the new base soaks into it. A too-wet third pass is the usual reason for a soft center under a hard top.
Curved nails, sidewalls and the cuticle zone
Strongly curved nails collect product in the sides, where the sidewalls meet the plate. Tilt the finger so the nail is level to the table when you apply base, and tilt it back before powdering at the 45 degree angle OPI uses so the powder drops evenly across the whole surface. Check the sidewalls with a light: a hump you can feel but not see will show up as a ridge once the top coat goes on.
The cuticle zone is the hardest area. It has the least room for product and the most movement. File a slight taper into the last millimeter of the dip so the edge near the cuticle is thin, and finish it with a 220 grit buffer so it blends into the nail. A thick edge here is also where lifting starts, which is why lifting at the cuticle and lumps are often the same problem.
Check nails in natural light or under a bright lamp before the final top coat. Lumps are easy to miss under dim lighting and obvious in daylight.
Special cases: glitter, chunky powders and ombre
Glitter dip and chunky powders are lumpier by design. The same guide suggests shaking the jar well, pouring glitter into a tray, pressing it onto the nail, smoothing it and finishing with a clear layer for shine. If the glitter looks dull or uneven it is usually because the top surface was left rough.
For ombre, sprinkle or brush powders on rather than dipping. It gives more control and avoids carrying one color into another. Smooth the transition with a fine buffer once the stack has hardened. Chrome and shimmer powders show every file mark, so buff to 220 grit before the final activator and top coat.
If you want an even finish on a glitter or textured set, add one more top coat layer than you would on a solid color, and let each one dry.
Shop what's in this guide
S084 - Dip - Your Zestination Awaits - 1.5 oz
Nails - C34 - Seattle - 2 oz
Dip Powder - White
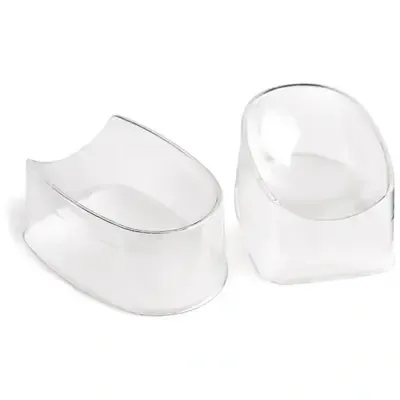
DL - Disposable Dip Trays - 25 Ct - DL-C485
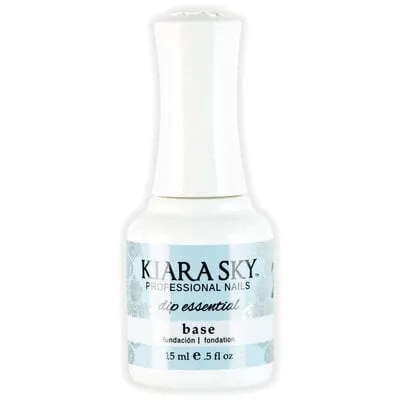
Dip Essential Liquid - #2 Base - .5 oz
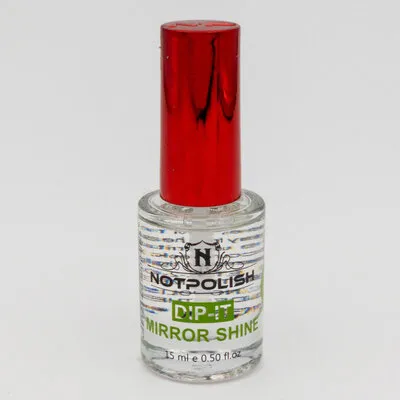
Dip Liquid - #4 Mirror Shine Top Coat - .5 oz
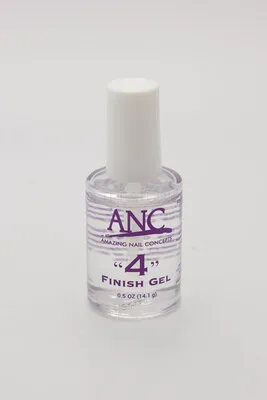
Dip Liquid - #4 Finish Gel - 0.5 oz