Why is my dip powder chipping or lifting? Causes and fixes
Chipping, cracking, lifting or gummy dip? Find the cause by where it fails, with a symptom, cause and fix table and a repeatable routine.
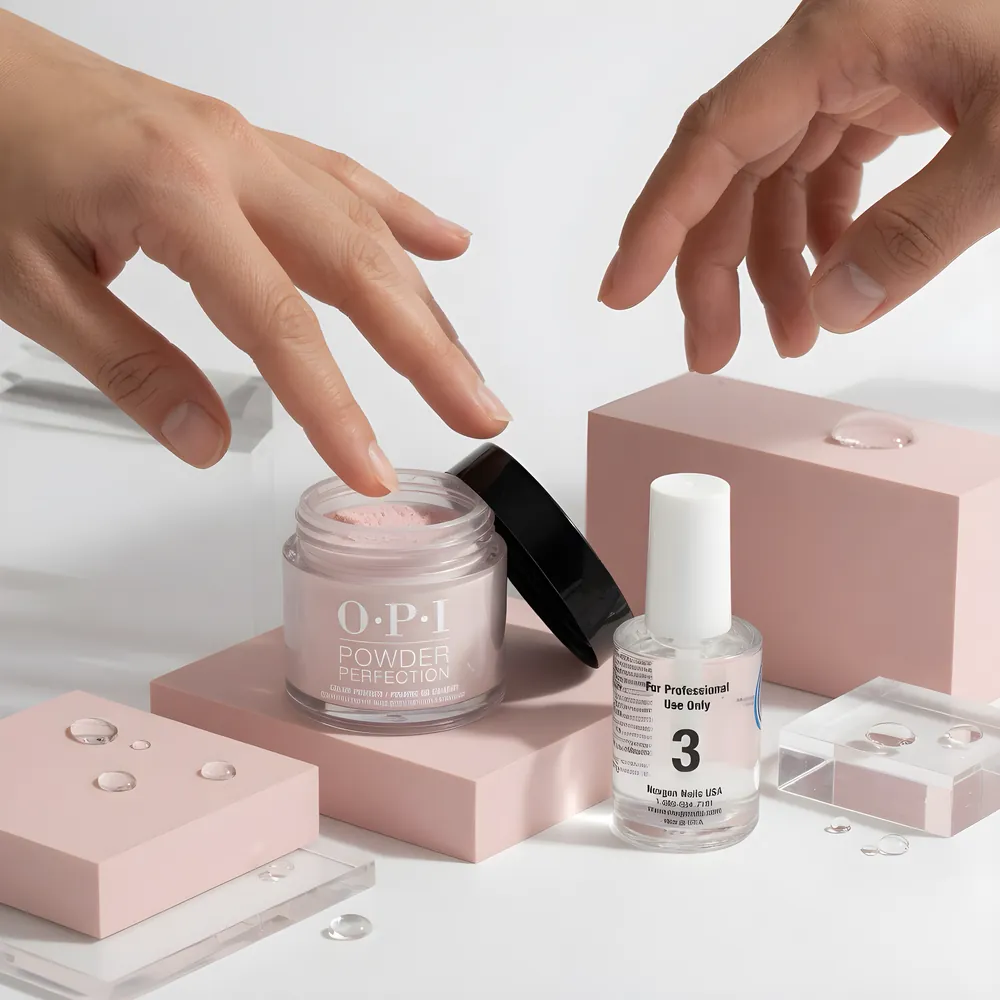
Dip chips when the free edge is not capped or there are too few layers, lifts when the nail plate was not clean and dry or product touched the skin, and cracks when layers are too thin or too thick. Cap every edge, prep and dehydrate, and keep layers thin and even.
Start here: where is it failing?
The location of the damage tells you the cause faster than anything else. Look at where the dip is failing before you change a product.
| Where it fails | Most likely cause | Jump to |
|---|---|---|
| Corners and tip edge chip within days | Free edge not capped, or layers too thin | Chipping at the tip |
| Crack across the middle of the nail | Too thin and flexing, or too thick and rigid | Cracking |
| Gap and lifting at the cuticle | Prep, oil, or product on skin | Lifting at the cuticle |
| Whole layer peels off in a sheet | Oil or moisture under the base | Lifting |
| Soft, gummy or sticky after finishing | Activator or top coat problem, or mixed brands | Soft or tacky |
| White haze or spots | Too much or too little activator timing | Soft or tacky |
This guide is based on manufacturer directions from OPI, published troubleshooting from a professional supplier, and an exam-prep guide for nail techs. If you are new to dip, start with the full dip powder guide.
Chipping at the tip: you did not cap the free edge
The tip is the most exposed part of the nail and the first place water gets in. OPI's directions are explicit: apply the first activator coat over the whole nail and cap the free edge to fully seal in the powder. A supplier troubleshooting guide lists an unsealed free edge as a cause of moisture weakening the tip and of chipping and lifting.
What capping means in practice:
- Run the base brush along the very edge of the nail, front face and underside, before powdering.
- Powder over the edge too, so the edge is covered by the same layers as the rest.
- Run the activator across the free edge and the underside, and the top coat as well.
Other causes of tip chipping:
- Too few layers. One thin layer is a color coat, not a structure. Build at least three layers (OPI builds three: two color and one clear set).
- Long nails with no strength. The more length, the more leverage on the free edge. Add a clear or natural powder layer in the middle for body.
- Filing the tip too thin. When you shape, leave the edge at full thickness. Remove bulk from the cuticle zone instead.
- Using nails as tools. A few weeks of can openers and package edges will take any set.
Cracking across the nail: too thin or too thick
Cracking happens at both extremes, and that confuses people. A supplier troubleshooting guide gives four causes: layers too thin so the natural nail bends under a coating that cannot flex with it, activator applied sparingly or old so lower layers stay soft, layers too thick at the cuticle leaving a rigid structure with no give, and an unsealed free edge.
The fix is balance, not just more product.
- Build three to four even layers. A supplier guide recommends at least three to four and, for long active nails, considers an apex-style build with extra thickness in the stress area.
- Apply a generous, even coat of fresh activator and let it dry fully before shaping. A half-set stack is soft in the middle and cracks when you file or flex it.
- Keep layers thin and file away excess bulk, especially at the cuticle where the nail grows out.
- Cap the free edge.
Lifting at the cuticle: it is almost always prep
Lifting is when the dip separates from the natural nail, usually starting at the cuticle. Sources agree that the cause is rarely the powder. It is what was on the nail before the base coat.
- Dead tissue left on the plate. Cuticle tissue that stays on the plate blocks the base from touching the nail. Clear the thin film with a pusher. Do not cut living cuticle. The AAD warns that cutting or pushing back cuticles can lead to a serious infection.
- Oil or moisture. Lotion, hand soap residue, natural oil and water all stop the base from bonding. Dehydrate, and do not let the client wash or apply lotion between prep and base.
- Base on the skin. A supplier guide says product touching the skin creates a ledge that lifts as the nail grows. Leave a hair's width of space around the cuticle and sidewalls, and clean up any base on skin with an alcohol-dampened brush before activating.
- Naturally oily nail beds. Use a primer or bonder after dehydration if your brand has one.
- Mixed brands. The Washington guide lists mixing products from different brands as a lifting cause. Use one system from base to top.
- Powder caked in the proximal fold. Brush powder away from the skin before activator.
Our dehydrators, primers and bonds category has the prep step if your system has none. Match the product to the system and follow the directions.
Soft, gummy, tacky or white-spotted dip
If the finish stays soft or sticky the stack did not set properly. Common reasons:
- Not enough activator, or activator that is too old. OPI says the activator is what speeds the cure of the base on dipping powders and starts the reaction with the top coat.
- Layers too thick. Thick base traps uncured product in the middle. It looks set on top and is soft underneath.
- Not waiting between steps. OPI says to wait until the powder hardens before filing and to wait a few minutes after the second activator. A supplier guide says to wait at least 60 seconds after the last activator and wipe with a lint-free wipe before top coat, which also prevents white spots.
- Cross-contaminated brushes. Carrying activator into the base or powder into the base makes base thick, stringy and brush-hardening. Wipe brushes on lint-free wipes between products.
- Mixed brands. See above.
- Old product. Powder is stable for years in cool, dark storage (a supplier guide gives about three years). Liquids thicken sooner. Replace any liquid that no longer flows like water.
Troubleshooting table: symptom, cause, fix
| Symptom | Cause | Fix |
|---|---|---|
| Chips in the first week | No cap, thin layers | Cap free edge, 3 layers |
| Cracks along the stress line | Too thin and flexing, or old activator | Even layers, fresh generous activator |
| Lifts at cuticle after 1 to 2 weeks | Skin contact, oil, tissue on plate | Clear the plate, dehydrate, leave a gap |
| Peels off in a sheet | Moisture under the base | Dry the nail completely, dehydrate |
| Bumps and grit | Loose powder, hardened brush, thick base | Dust off, wipe brush, thin base. See lumpy dip |
| Cloudy top coat | Contaminated brush or too much activator | Clean brush, wait before top coat |
| White spots | Too much last activator, not enough dry time | Wait at least 60 seconds, wipe, then top coat |
A repeatable routine that stops most failures
- Remove old polish and wash. No lotion afterward.
- Clear the film from the plate with a pusher; do not cut living cuticle.
- Buff lightly to dull the shine and wipe dust.
- Dehydrate, plus bond or prep if your system has one.
- Thin base, from just short of the cuticle, no skin contact, capping the free edge.
- Powder at about 45 degrees (OPI's angle), tap off, repeat to three layers.
- Brush away loose powder.
- Activator over the whole nail, capping the edge. Let it harden.
- File with 180 grit, buff with 100 then 220 grit, remove dust.
- Second activator, wait, wipe.
- Two thin coats of top coat, capping the edge.
- Cuticle oil after the top coat is dry.
Repairing one chipped nail without redoing the set
If a single tip chips, you do not have to remove everything. File the chipped edge smooth so there is no sharp step, wipe off the dust, brush a thin coat of base on that nail, add powder, then activator, file, second activator and top coat as usual. Keep the repair thin and blend the edges into the old layer with a fine buffer. If the chip exposes a lifted area, do not cover it: lifted product traps water and the repair will fail. Remove that nail and redo it from prep.
Repairs buy time, not strength. If more than two nails chip within the first week, the cause is the routine, not bad luck, so go back through the list above.
That routine is the same as OPI's published sequence plus the prep steps technicians add before it. For a client, take the extra minute to look at each bare nail first. Do not dip over a nail that looks infected or wet. See how to remove dip powder at home when it is time to take it off.
Shop what's in this guide
S084 - Dip - Your Zestination Awaits - 1.5 oz
Nails - C34 - Seattle - 2 oz
Dip Powder - White
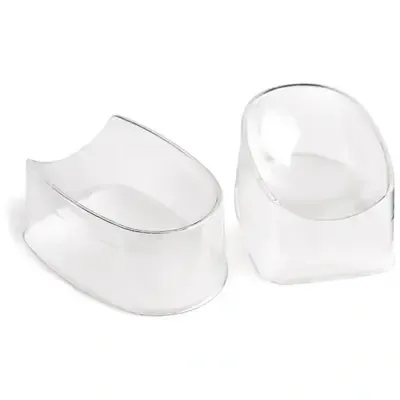
DL - Disposable Dip Trays - 25 Ct - DL-C485
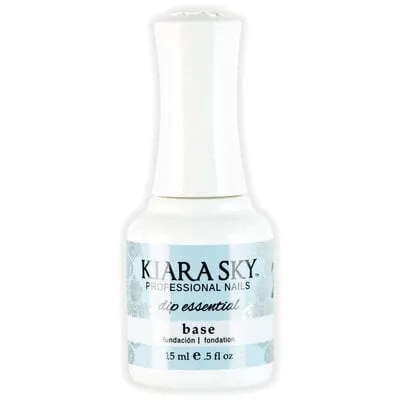
Dip Essential Liquid - #2 Base - .5 oz
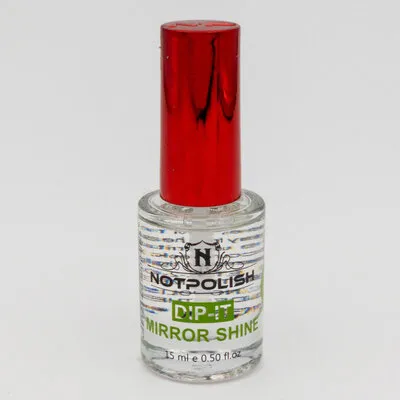
Dip Liquid - #4 Mirror Shine Top Coat - .5 oz
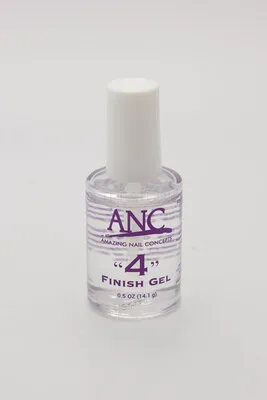
Dip Liquid - #4 Finish Gel - 0.5 oz