Nail Drill RPM Guide: What Speed to Use for Every Job
Exact e-file speeds for natural nails, cuticles, gel removal and acrylic, why published ranges differ, and how to find your own safe speed.
Use about 3,000 to 5,000 RPM on natural nails, 8,000 to 12,000 RPM to remove gel polish, and 14,000 to 16,000 RPM for acrylic bulk removal and shaping, according to Young Nails. Published ranges overlap but do not match, so start at the low end for the job and increase only if the bit stops cutting cleanly.
What RPM actually controls
RPM means revolutions per minute, how many times the bit spins in a minute. It controls two things at once: how fast the bit removes material, and how fast it builds heat by rubbing against the nail.
That is why speed is a trade. Faster removes more product per second, but the surface of the nail plate heats up more quickly, and the bit has less time to clear its own dust. Slower is gentler and easier to control, but a bit that is too slow for its grit will grab and chatter instead of cutting.
Three other things change the result at the same speed: the grit and material of the bit (a coarse carbide cuts much faster than a fine diamond at the same RPM), the pressure you apply, and how long you stay in one spot. Most heat complaints are pressure and dwell time, not RPM alone. Our e-file bits guide explains the bit side.
RPM chart by task
This chart collects published recommendations from nail education sources. Because they are from different makers and educators, the numbers are shown side by side instead of averaged.
| Task | Young Nails | Other source |
|---|---|---|
| Natural nail prep (fine bit, cross-cut medium or sanding band) | 3,000 to 5,000 RPM | Katie Barnes: mandrel with sanding bands 1,000 to 7,000 RPM on the natural nail |
| Cuticle area clean-up with diamond bits | Light pressure (no RPM given) | A supplier guide: typically 7,000 to 15,000 RPM, and 10,000 RPM or less for a beginner |
| Gel polish removal | 8,000 to 10,000 RPM (beginners), 10,000 to 12,000 RPM (pros) | Safety bits are described at "around 12,000 RPM" for cutting, finishing and gel removal |
| Acrylic or hard gel bulk removal and shaping | 14,000 to 16,000 RPM | Katie Barnes: carbide 15,000 to 30,000 RPM depending on technique |
| Refining enhancements with a mandrel and band | Not specified | Katie Barnes: 7,000 to 20,000 RPM on enhancements |
Why the published numbers do not match
If you read three articles you will see three ranges. That is normal, and it comes from real differences:
- Different handpieces. A handpiece with a lot of vibration at low speed feels rougher, so makers recommend different working ranges.
- Different bits. A fine diamond bit and a coarse carbide bit do not behave the same way at the same speed.
- Different goals. A speed written for a beginner is not the speed a 10-year veteran uses on a familiar bit.
- Different measurement. The speed on the dial is the machine's setting. The speed under load may be lower.
The practical lesson is the one every source repeats: speed is a limit, not a goal. A machine that reaches 35,000 RPM does not need to go there.
How to find your safe speed, step by step
- Set the lowest speed in the range for the job. For natural nails that is 3,000 RPM. For gel removal, 8,000 RPM if you are new.
- Check the direction and the bit seating. A right-handed bit runs in forward. A wobbling bit makes every speed feel wrong.
- Touch the bit to the surface at a flat angle with almost no pressure. The bit should cut or sand on its own weight.
- Listen and feel. A steady hum and a fine, even dust trail mean the speed is right. A chatter, a squeal or a grabbing feel means too slow for that bit, the wrong direction or a worn bit.
- Increase in small steps. Move up about 1,000 to 2,000 RPM, and try again.
- Stop going up when the bit cuts cleanly with light pressure and the surface stays comfortable. Write the number down for that bit and job.
- Check with the client. They will tell you about heat before you can see it. If they feel warmth, lift off and slow down.
Practice on tips, a practice hand or a training mat first. Practice hands, fingers and silicone mats are in our beginner and student collection.
Forward and reverse
Bits are made to cut in one direction. Young Nails notes that safety bits come in right-handed and left-handed versions to match the user's dominant hand. In general, a right-handed tech runs the machine in forward with right-handed bits, and a left-handed tech uses left-handed bits with the machine in reverse. A bit used in the wrong direction grabs, chatters and gives a rough finish. Always check the product name, and test at low speed on a tip first.
A few bits (such as many sanding mandrel setups) are less direction-sensitive, but check the maker's note before you assume.
Heat, pressure and what is actually hurting the nail
Clients describe a "hot" nail when the plate temperature climbs quickly. The usual causes, in order:
- Pressing too hard. The e-file removes material by abrasion, not force.
- Staying in one spot. Keep the bit moving with light sweeping strokes.
- A dull or clogged bit that forces you to press harder.
- A grit that is too coarse for the surface.
- Speed set too high for the bit and the job.
Ceramic bits are often chosen to reduce heat. Katie Barnes notes that ceramic can help, but also that correct technique, speed and pressure should keep heat from being an issue with any bit.
Symptoms of the wrong speed
| What you see or feel | Probably too | What to try |
|---|---|---|
| Bit chatters, skips or grabs | Slow (or wrong direction, or worn bit) | Check direction first, then step up by 1,000 to 2,000 RPM |
| Nail gets warm, client flinches | Fast, or too much pressure | Lift off, slow down, lighten up |
| Bit smears gel instead of cutting it | Fast with a fine or clogged bit | Brush the bit clean, use a coarser grit at a lower speed |
| Surface looks glazed or melted | Heat from speed or dwell time | Slower, keep moving, change the bit |
| Finish is rough and scratchy | Coarse bit for the finishing stage | Step down to a finer grit and keep the speed modest |
| Dust flying everywhere | Fast, with no dust collection | Add a dust collector, lower the speed where possible |
Machine features that help you hold the right speed
- Exact speed control. Young Nails highlights precise RPM control, not just low, medium and high.
- A low minimum speed. Check the spec sheet for the lowest setting. A machine that cannot go below 5,000 RPM cannot do natural-nail prep at 3,000.
- A foot pedal or on-off switch you can reach easily so you can stop instantly.
- A well-seated chuck. A bit that wobbles at 10,000 RPM is worse at 20,000.
We explain what to look for in a first machine in best nail drill for beginners, and you can browse all e-file drills.
Finally, never clean the machine itself with acetone. Young Nails recommends an alcohol-based cleanser on the motor and handpiece.
Speed, dust and your lungs
Higher speeds throw more fine dust into the air. NIOSH recommends local exhaust ventilation at the table (portable units or downdraft tables), gloves and an N95 filtering facepiece respirator for nail technicians. Florida rule 61G5-20.002 requires salons to be well ventilated and nail extension services to be performed in a separate, adequately ventilated area. Learn how to set up capture at the source in our nail dust collector guide, and see our dust collector range.
Worked examples: choosing speed for real situations
These examples apply the ranges above. They are starting points, not rules.
Example 1: Removing a full set of gel polish, first time. Young Nails gives 8,000 to 10,000 RPM for beginners. Start at 8,000 with a safety-style bit or a medium sanding band. Use light passes and stop to check the surface every few seconds. If the color is lifting in thin sheets, you are at a good speed. If you are pressing, switch to a fresh band or bit instead of increasing the speed.
Example 2: A client with thin, flexible natural nails. Stay at the low end of the natural-nail range, 3,000 RPM, with a fine band or fine diamond bit. Thin plates heat quickly. Work in short passes and let the nail rest between them.
Example 3: Shortening a long acrylic set. Start at 14,000 RPM with a coarse carbide bit held flat. If the bit is clean and sharp and still slow, step up to 16,000. If it is still slow after that, check that the bit is the right grit before you add speed.
Example 4: Cleaning grown-out product near the cuticle. Use a fine, safety-style bit at the low end of the gel-removal range and keep it moving. The closer you are to skin, the slower and lighter you should be.
Example 5: Smoothing a fill after you have shaped it. Drop the speed back down and use a fine bit or band. A fine bit at high speed can still create heat.
Shop what's in this guide
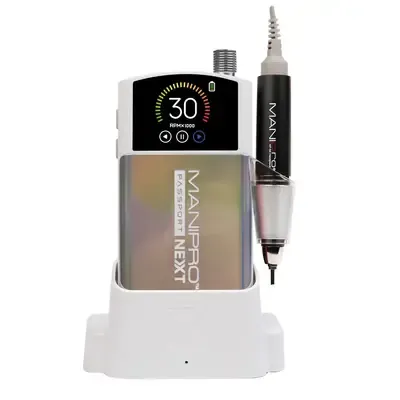
ManiPro Next - White/Unicorn
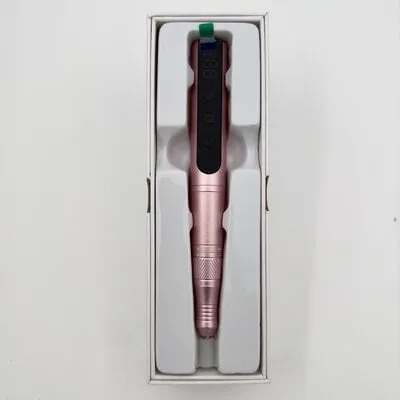
Cordless e-File Nail Drill - 35k RPM - Pink
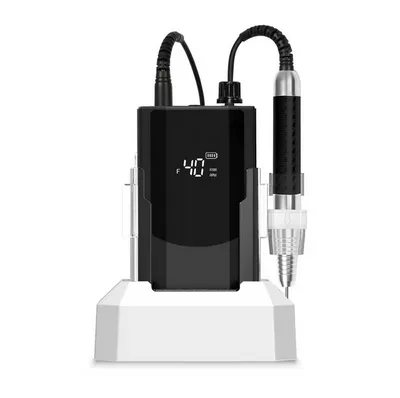
NAD - Portable Nail Drill - 40k RPM - 65 watts - Black
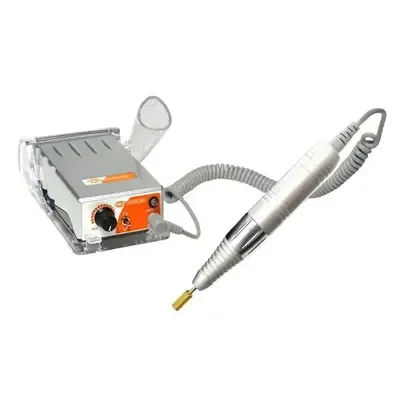
Pro Power 20K (30k) E-File Drill - Silver
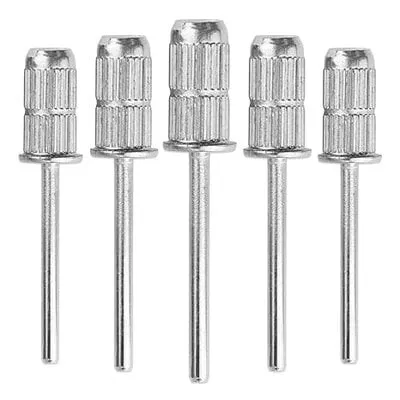
Bit - Mandrel - Silver - 3/32
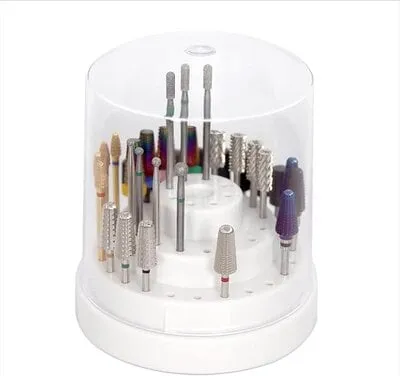
Carbide Nail Drill Bit Holder - 48 Holes - Small - White
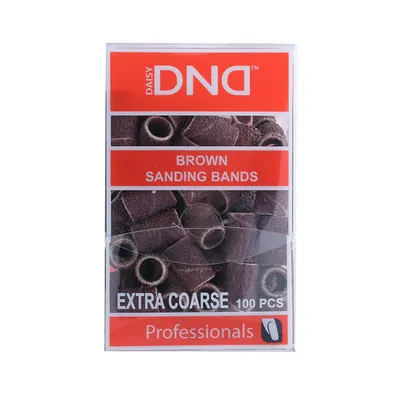
Brown Sanding Bands - Extra Coarse - 100 pcs
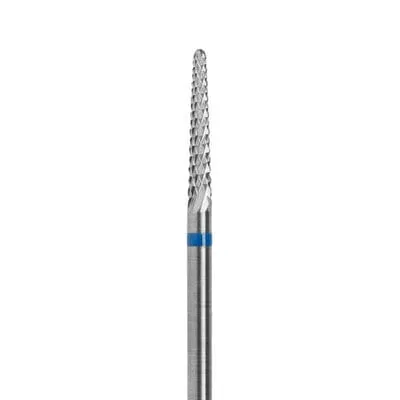
ProBit Nail Drill Bit - Cone - Blue - M - 119
Questions we get at the counter
What RPM should I use on natural nails?
What RPM removes gel polish?
What RPM for acrylic?
Is higher RPM always faster?
Which direction should my e-file run?
Why does the nail feel hot while filing?
Sources
- The Ultimate Nail E-File Guide: Essential Bits and How to Use Them, Young Nails
- What's the difference between diamond, carbide and silicone e-file bits, Scratch Magazine (Katie Barnes)
- E-File Bit Guide for Nail Techs: Shapes, Grits and Safe Use, Pure Spa Direct
- Nail Technicians: Workplace Safety and Health, CDC/NIOSH
- Fla. Admin. Code R. 61G5-20.002, Salon Requirements