How to Stop Gel Nails Lifting: Prep Steps, Causes and a Troubleshooting Table
Gel lifting is almost always a prep, product or curing problem. Step-by-step prep, a cause-and-fix table, and when lifting is a health warning sign.
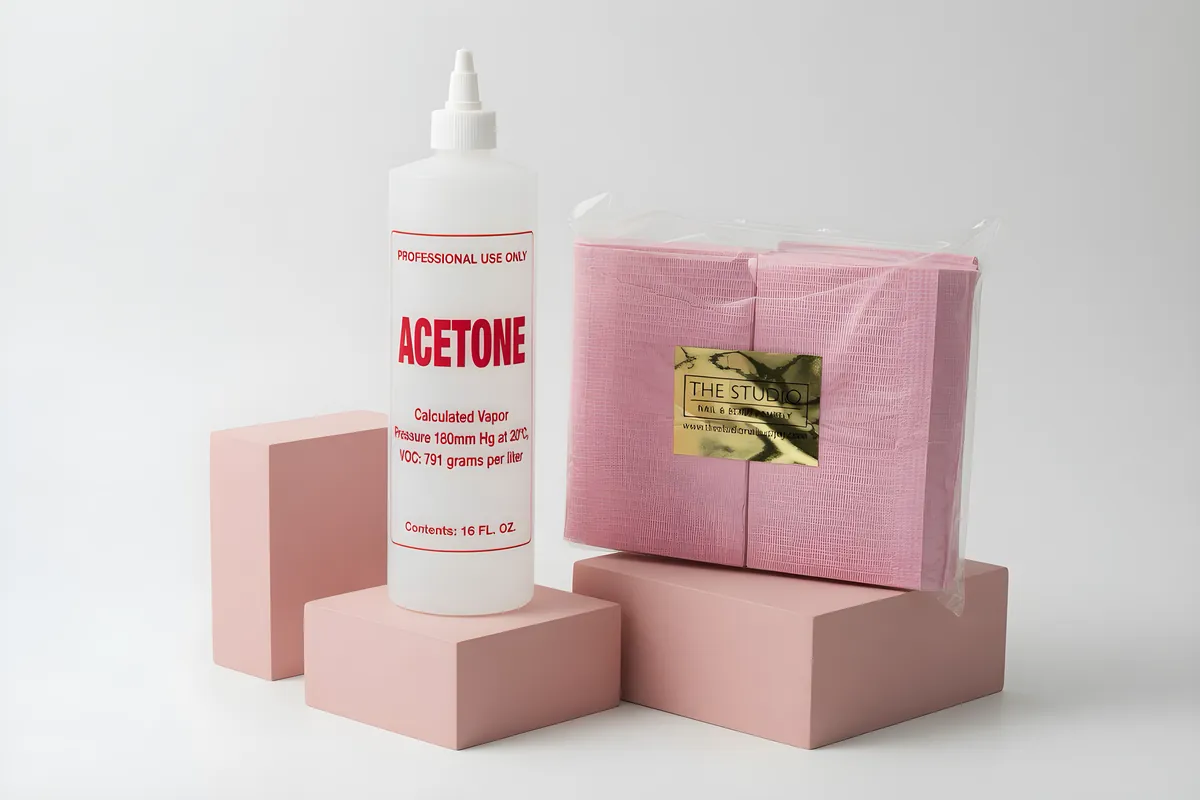
Gel lifts when it bonds to oil, moisture or dead skin instead of clean nail plate, or when it is under-cured or applied too thick. Stop it by removing all cuticle tissue from the plate, buffing off the shine, wiping dust away, dehydrating and priming if your system calls for it, applying thin layers, capping the free edge and curing fully. If a nail lifts with redness, swelling or a color change, stop and see a doctor.
Why gel lifts in the first place
Gel is a resin that hardens when light hits it. For it to stay put, the first thin layer has to stick to the surface of the natural nail, and that surface has to be the nail plate itself. Anything else gets in the way:
- Oil and moisture. Skin oil, lotion, cuticle oil and water on the plate form a film that the base layer sits on instead of the nail.
- Cuticle tissue. Thin, clear skin that grows on the nail plate (the non-living layer that looks like a film) is not nail. If product bonds to it, it lifts when the skin sheds.
- A glossy surface. Smooth, shiny plate gives less for the product to grip.
- Thick or flooded product. Gel that runs into the cuticle or sidewalls cures onto skin, which flexes and moves.
- Under-cured gel. Product that has not hardened fully stays weak and soft. The British Association of Dermatologists notes that using the wrong UV lamp may stop gel polish from curing properly.
- Stress. Lots of water exposure, using nails as tools and picking all break the seal. The American Academy of Dermatology (AAD) advises wearing gloves for dishes and not using nails as tools.
Almost all lifting traces back to one of those. Fix the cause, not the symptom.
The prep routine, step by step
Always follow the instructions that come with your gel system, because they differ in the exact products they require. This routine covers the steps nearly every system shares.
- Start with clean, dry hands and a clean station. Wash the client's hands with soap and water, and dry them well. Wipe the table, change the towel.
- Push back the cuticle gently. Use a pusher or bit appropriate to the job. Do not cut live skin. The AAD advises not letting a manicurist push or cut cuticles aggressively, which can lead to inflammation and infection. See pushers and bits for tools.
- Remove the thin film of tissue from the plate. This is the step most people skip. Lift off any clear film from the nail plate and around the sidewalls without scraping into the plate.
- Buff the shine off. A light pass with a fine buffer or file takes away gloss. The goal is a matte surface, not a thinner nail. Press lightly and never grind.
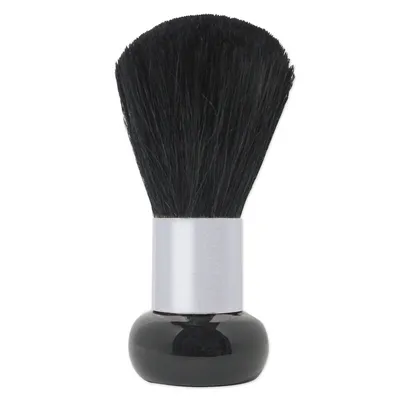
- Brush off the dust. Use a dust brush, then wipe with a lint-free wipe. Lint from cotton pads can end up trapped under gel. Lint-free wipes are available in our catalog.
- Dehydrate. Apply a nail prep dehydrator to the plate, if your system uses one, and let it air dry. See dehydrators, primers and bonds.
- Prime if the system calls for it. Some systems use an acid-free primer, some use a bonder, some use nothing extra. Use what the maker specifies. Primers should go on the nail plate only, not on the skin.
- Apply a thin base. Keep a small margin from the skin. Cap the free edge by brushing along the tip of the nail.
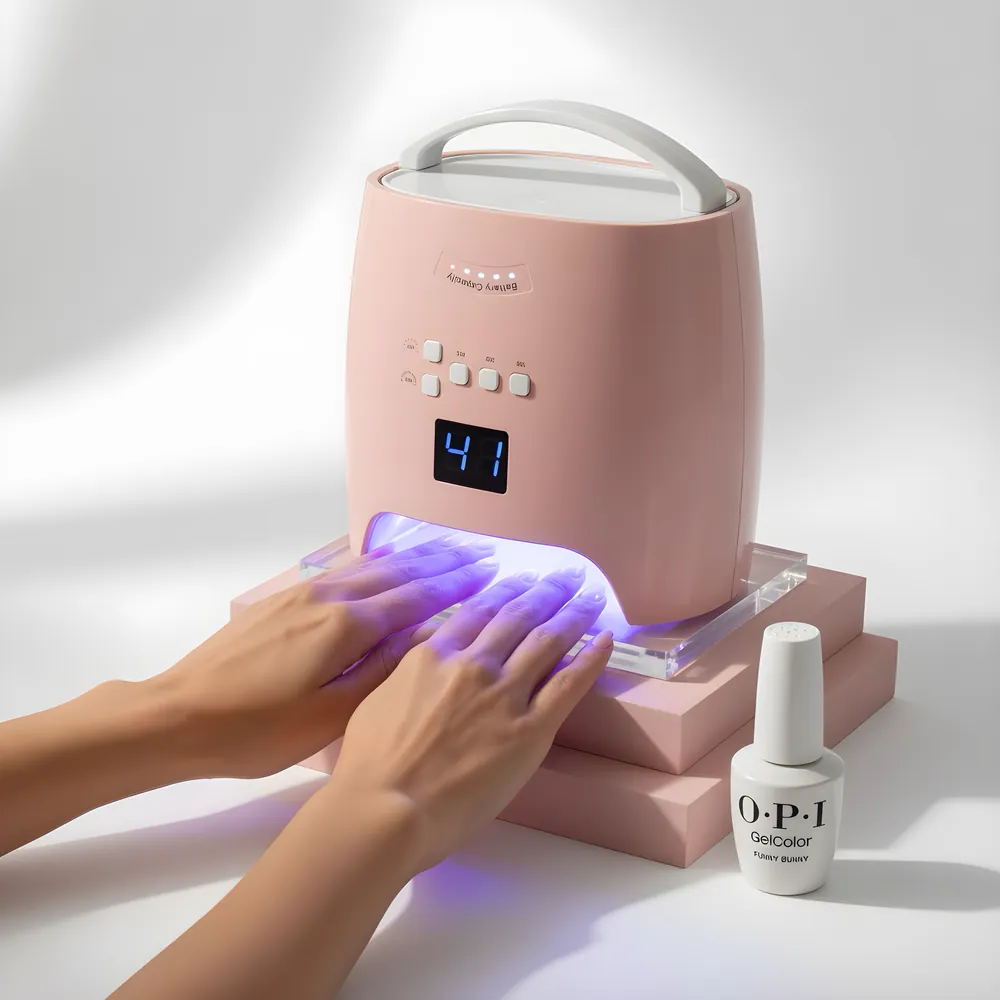
- Cure fully with the right lamp. Follow the maker's cure time.
- Build in thin layers. Two thin coats of color cure better and wear better than one thick coat.
- Cap the free edge on every layer, including top coat, and seal without flooding the cuticle.
After prepping, do not touch the nail plate with bare fingers or let the client touch it. Skin oil returns quickly.
Troubleshooting: where does it lift?
| Where it lifts | Likely cause | Fix |
|---|---|---|
| At the cuticle, within days | Product on the skin, tissue left on the plate, or product too close to skin | Remove film from the plate, keep a small margin, clean the skin edge before curing |
| At the free edge or tip | Uncapped edge, filing or tool use that breaks the edge seal, water exposure | Cap the edge every layer; tell client to use gloves for chores |
| Bubbles or patches in the middle | Oil or moisture trapped, dust or lint under base, thick layer | Better dehydration and dust removal; thinner coats |
| Whole coat peels off in a sheet | No buffing, no dehydrator, or wrong base for the system | Matte the plate and follow the system's prep products |
| Sides of the nail lift | Flooded sidewalls, product on skin, curved nail not wrapped | Brush thin along the sidewall, cure in position, avoid skin |
| Soft or gummy gel, lifting soon after cure | Under-cure, mismatched lamp or old product | Check lamp and cure time; check expiry and storage |
| Nail itself loosening from the bed with redness or itch | Possible allergy or infection, not a prep error | Remove product, stop, see a doctor |
Is it lifting, or just growth?
Clients often call the gap at the cuticle "lifting" when it is simply the nail growing out. Tell them apart before you re-do the whole set.
| Sign | Normal growth | True lift |
|---|---|---|
| Gap at the cuticle | Uniform band of bare nail, product still firmly bonded above it | Product edge rises, you can slide a thin tool under it |
| Timing | Two to three weeks after the service | Days after the service |
| Feel | Smooth edge | Catches on clothing, hair and towels |
| Look under the product | Clear | White, cloudy or discolored pocket |
Normal growth calls for a fill or a new set. A true lift calls for a look at the prep, the curing and the client's habits, and for a health check if the area under the product is discolored.
Choosing prep products
Prep products do different jobs, and they are not interchangeable:
- Dehydrator or nail prep. Removes surface moisture and oil. Examples in our catalog include Gelish pH Bond, Apres Gel-X pH Bonder Dehydrator, V Beauty Pure Nail Prep Dehydrator and Pink Mask Nail Prep Dehydrator.
- Primer. A thin bonding layer. We stock acid-free primers such as The Studio Acidless Primer and Apres Gel-X Primer, plus Young Nails Protein Bond. Methacrylic acid primers are different: OSHA lists methacrylic acid in nail primer as a cause of skin burns and irritation, so keep primer off skin and off the table.
- Base. Rubber bases and builder bases add flexibility and strength. Use the one your system recommends for the nail type.
- Lint-free wipes. They keep the plate clean without leaving fibers.
Store prep liquids with the lid closed and replace them when they thicken or lose their smell, since a weak dehydrator or a contaminated primer brush can undo careful prep. Label every bottle you decant with the product name, as OSHA advises for chemicals moved into smaller bottles.
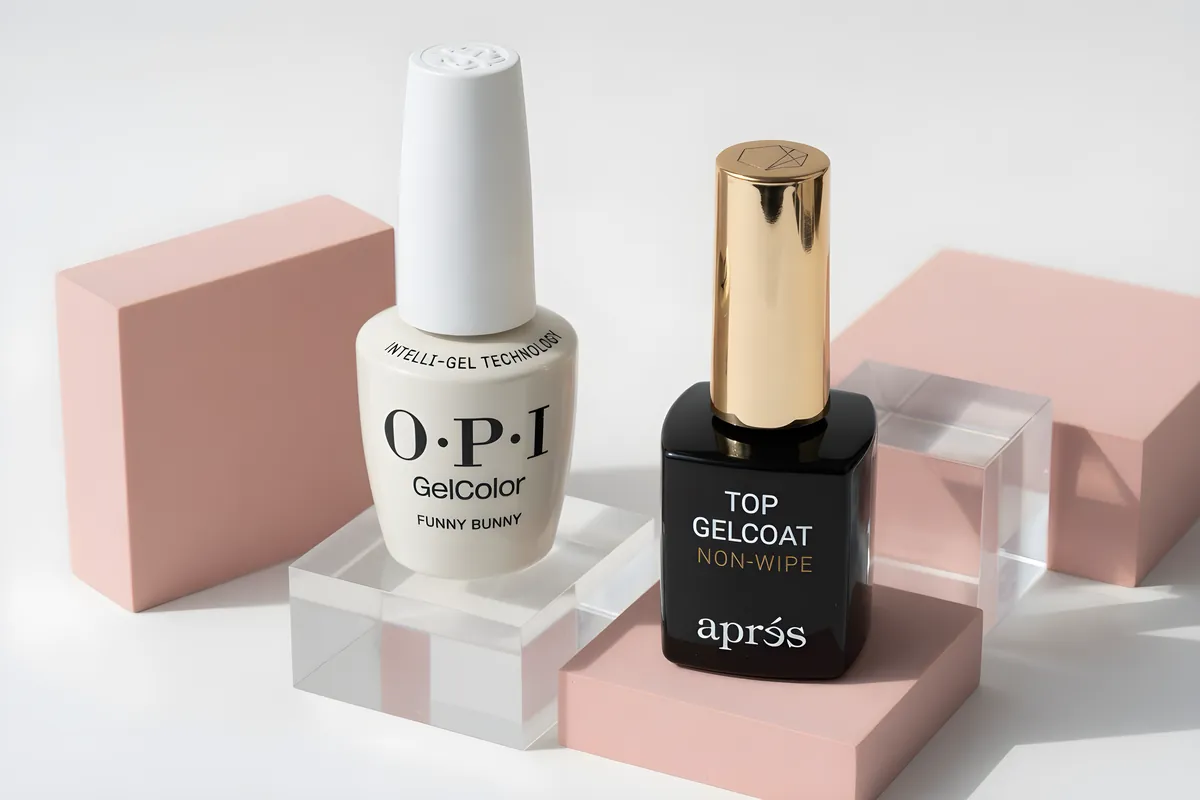
Do not mix brands blindly. Some systems are designed as a set. If you are working with Apres Gel-X, follow the Gel-X steps. If you are using a regular gel polish, follow that brand's guide.
A 20-second check before you cure the base
- Is the plate matte all the way to the sidewalls?
- Is there any visible film, dust or lint on the nail?
- Did the client touch the nail or their face after dehydrating?
- Is the layer thin enough that you can see the nail through it before cure?
- Is there a margin of bare skin around the cuticle and sidewalls?
- Is the lamp the right one for this product, and is the timer set to the maker's cure time?
If the answer to any of these is no, fix it before curing. Curing a mistake locks it in.
What the client can do to help it last
- Wear gloves for dishes and cleaning. Too much water exposure weakens nails and makes them split, peel or break, according to the AAD.
- Do not use nails as tools to open cans or scrape labels.
- Do not pick at chipped gel. The AAD says picking and peeling cause damage, and your manicurist should remove it.
- Between services, moisturize. The AAD recommends petroleum jelly or a moisturizer on nails and cuticles several times a day to reduce brittleness and chipping. The key point for you as a tech is to keep oil and lotion off the nail plate on the day of the service.
- Come back for a fill or rebalance before a small lift grows. Water gets under a gap.
See our guide on recovering from thin, peeling nails after gel if the natural nail already looks damaged.
When lifting is a health warning
Not all lifting is a technique problem. Stop and send the client to a doctor if you see:
- Nails that loosen, together with an itchy red rash on the fingers, eyelids, face or neck. Dermatologists describe this as a sign of nail product allergy. See our allergy guide.
- A green or dark patch under a lifted nail, which can be a bacterial infection. See green nail bacteria vs fungus.
- Pain, swelling, warmth or pus around the nail.
- Thickened, crumbly or discolored nails that were that way before the service.
In those cases, do not try a stronger primer. Remove the product and refer.
Shop what's in this guide
Protein Bond - Primer - 0.50 fl oz
Chrome Bond
Nail Prep Dehydrator - 15 ml
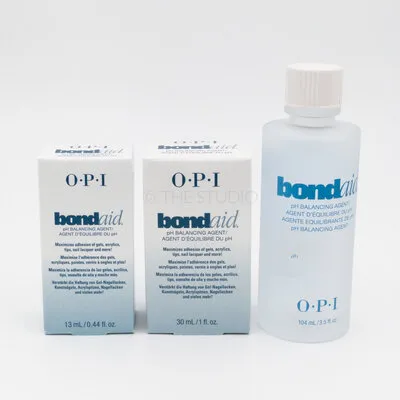
Bond Aid - pH Balancing Agent
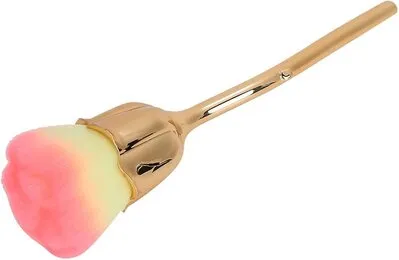
Rose Dust Brush - Orange/ Yellow
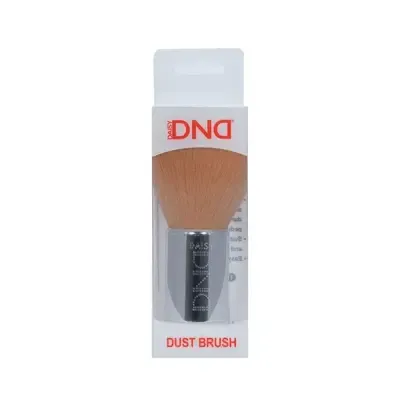
Dust Brush - XL - White
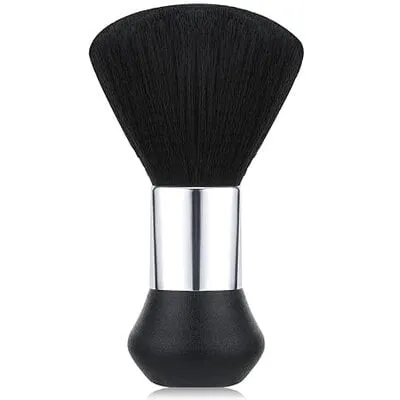
Dust Brush - Medium - Black