Builder gel apex: what it is, where it goes and how to build it
The apex is the high point of a builder gel nail. Learn where it sits, how to place the bead in 6 steps, and how to fix flat, bulky or cracking nails.
The apex is the highest point of a builder gel nail, placed over the stress area in the middle of the nail where it takes the most pressure. Build it by placing a bead of builder at the center, floating it toward the free edge and the cuticle, then adding a little more product at the stress area so the nail is thickest there and thin at the cuticle and tip. Cure each layer fully.
What the apex is and why it matters
Look at a nail from the side. A strong enhancement is not flat. It rises from a thin edge at the cuticle to a gentle peak and then runs out to the free edge. That peak is the apex. It sits over the stress area, the part of the nail that bends and takes the impact when you type, grab or catch a nail.
Think of a bridge. A flat plank of the same thickness will flex in the middle and eventually crack. An arch spreads the load. The apex gives the nail that arch, so it holds its shape with less total product. That is how you get a nail that is strong and still looks natural, instead of one that is simply thick.
Without an apex you get one of two problems. A flat, thin nail snaps at the stress area. A flat, thick nail looks bulky and has no strength advantage. A good apex lets you keep the cuticle area thin, which is where the nail most needs to look natural and where lifting often starts.
Where the apex goes
Place the apex in the middle third of the nail, slightly toward the free edge side of the center, directly over the stress area. A simple rule: the nail should be thinnest at the cuticle, thickest at the apex, and tapering again to a clean, sturdy free edge.
Stand the finished nail on its edge and look at it from the side:
- The cuticle end should blend in with no ledge you can feel.
- The highest point should be roughly centered over the stress area, not at the cuticle and not at the tip.
- The free edge should be thin enough to look natural but not paper thin.
- From the front, the nail should show an even curve (the C curve) with no flat spots on the sidewalls.
The right apex position changes a little with nail shape and length. Longer nails need the apex a bit further toward the tip to support the extra leverage. Short nails need a smaller, subtler arch.
What you need
- Builder gel. A thick builder holds an apex better than a thin one. We carry builder and solid gels in pots, jars and bottles. Read builder gel in a bottle vs pot if you are not sure which to pick.
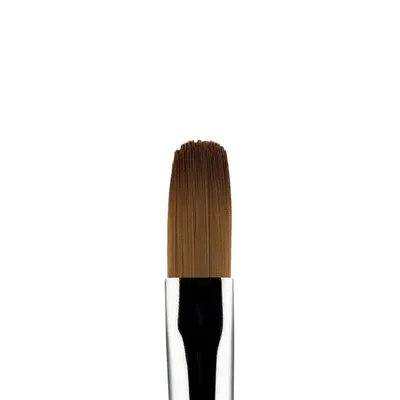
- A gel brush with a firm, clean edge. See gel brushes.
- A bonder or base as the brand directs, and a thin slip layer. See dehydrators and bonders.
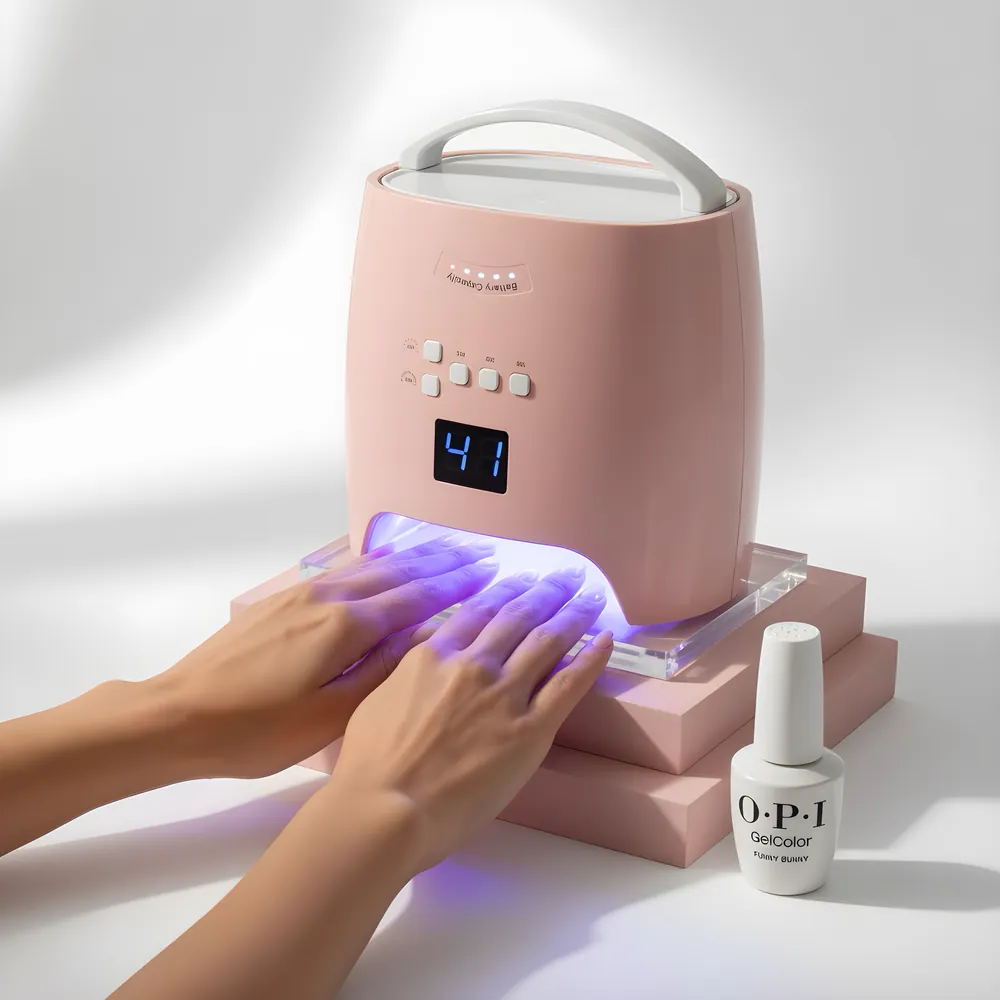
- A lamp that suits the gel. See gel lamps.
- Files and buffers for shaping. See files and buffers.
- Cleanser, lint-free wipes and a dust brush.
How to build the apex, step by step
- Prep the nail. Tidy the cuticle area, buff the shine, remove dust, dehydrate, and use any bonder the brand requires. Apres says inadequate prep is the most common cause of Gel-X lifting, and the same applies to builder gel.
- Apply a slip layer. A very thin layer of base or builder across the whole nail, cured as the label says. Keep it off the skin. Apres advises less gel and keeping gel off the sidewalls at first, which is good advice for builder too.
- Place the first bead at the center of the nail. The bead should be about the size of a lentil for a short nail. Use the brush to float it, not scrub it. Move it toward the free edge first, then toward the cuticle, stopping a hair away from the skin.
- Settle the gel. Turn the hand upside down for a second or tilt it so the gel flows toward the stress area. Gel is self-leveling to a degree, and gravity helps. Do not let it run onto the skin.
- Cure the base build, following the product's cure time. NailKnowledge points out that a gel can look cured on the surface and still be liquid underneath, so do not cut the cure short.
- Add the apex. Place a small second bead over the stress area. Pull the brush from the center out to the sides to make the arch, feathering it into the first layer. Check the side view and add or remove a little product if needed. Cure again.
- Shape. Wipe the inhibition layer if the product leaves one, then file the sidewalls straight, refine the C curve, and blend the cuticle area. Smooth with a buffer.
- Finish. Add color if you want, top coat, cure, and apply cuticle oil.
If you find yourself filing off a lot of gel, the bead was too big. Use less product and let the shape come from the brush and not from the file.
How the type of builder changes the build
Builder gel behaves differently by thickness. A thicker gel from a pot barely moves, so you place it exactly where you want it and shape it with the brush. A thinner gel from a bottle levels itself, so you have to place it and then hold the finger still, sometimes upside down, to let it settle into position. Neither is wrong, but the apex is easier to control with a thicker gel and easier to flood with a thinner one.
Soft builder (soak-off) is more flexible, so build the apex slightly fuller on longer nails. Hard builder is more rigid and can carry a thinner apex. If you are not sure which you have, see hard gel vs soft gel.
Whichever you use, cure thicker areas according to the label. A thick apex can heat in the lamp. If you feel heat, take your finger out for a moment and then continue, and use thinner layers on the next set.
Shaping after the build: C curve, sidewalls and cuticle
The apex gives strength, but the shape makes it look right. After the build, check three things.
The C curve. Look down the nail from the free edge. The cross-section should be an even arch, like a shallow C, with the same height on both sides. Pooled gel on one side makes a lopsided curve. A deeper curve is stronger. A flatter curve looks more natural but is more prone to breaking.
The sidewalls. File them straight from the cuticle corner to the free edge so the nail looks even from above. A common beginner mistake is to leave the sidewalls rounded, which makes the nail look wider at the tip.
The cuticle area. It should blend into the natural nail with no ledge. If you feel an edge with your fingernail, buff it smooth. A thick cuticle ledge is the first place lifting starts, because it catches on clothes and hair.
Finish by looking at the side view again. If you can see a dip between the cuticle and the apex, add a thin layer to blend it. If the arch is too high, file the surface. Then clean the nail, top coat and cure.
Troubleshooting the apex
| Problem | Cause | Fix |
|---|---|---|
| Nail is flat and cracks at the middle | No apex, too thin at the stress area | Add a small bead over the stress area and cure in layers |
| Nail looks bulky and thick | Too much product, apex too high | Use a smaller bead and file the surface smooth |
| Thick ledge at the cuticle | Product pushed to the skin | Leave a hair of space and feather the edge |
| Lifting at the cuticle | Gel on skin or poor prep | Keep gel off the skin, buff and dehydrate properly |
| Apex too close to the tip | Gel flowed forward | Hold the finger tilted back while placing the bead |
| Uneven C curve | Gel pooled on one side | Rotate the finger and level the sidewalls before curing |
| Soft or tacky under the surface | Weak lamp or short cure | Check bulbs and cure time |
How to practice
Practice on a practice hand or a few tips pressed into a holder before you try it on a client. Place the bead, shape the apex, cure, then look at the side view. Take a photo from the side and compare it with the rules above. Do this ten times with a smaller bead each time until you can build the arch with less product.
If you work on tips, you can build an apex over a Gel-X tip too. See Gel-X vs builder gel for how the two work together. Keep product off the skin and cure each layer fully. NailKnowledge notes that under-cured layers can lead to sensitisation reactions, and DermNet describes acrylate allergy from nail products as causing fingertip dermatitis and rashes on the face and neck. Tidy edges matter for the client as much as for the look.
Shop what's in this guide
Builder Gel in a Pot - Wedding Day
Hard Builder Gel - Pink - 2 oz
Hema Free Hard Builder Gel - HG01 Clear - 30ml
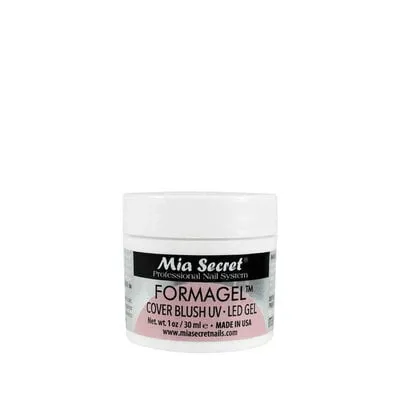
Formagel Builder Gel - Cover Tan - 1 oz
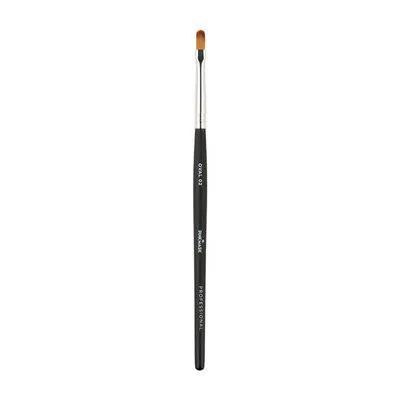
Gel Brush Oval - 02
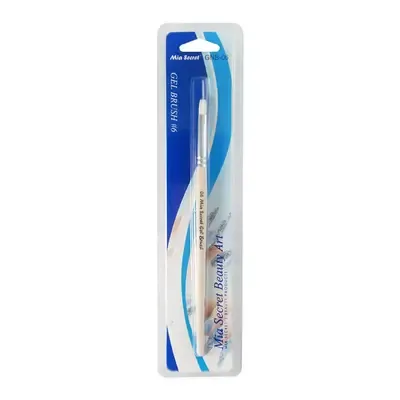
Gel Brush #6
Flat Round Brush