How to Clean and Care for Acrylic and Gel Nail Brushes
Clean a Kolinsky acrylic brush with monomer, fix a clogged one, store it right, and care for synthetic gel brushes. Mistakes that ruin brushes.
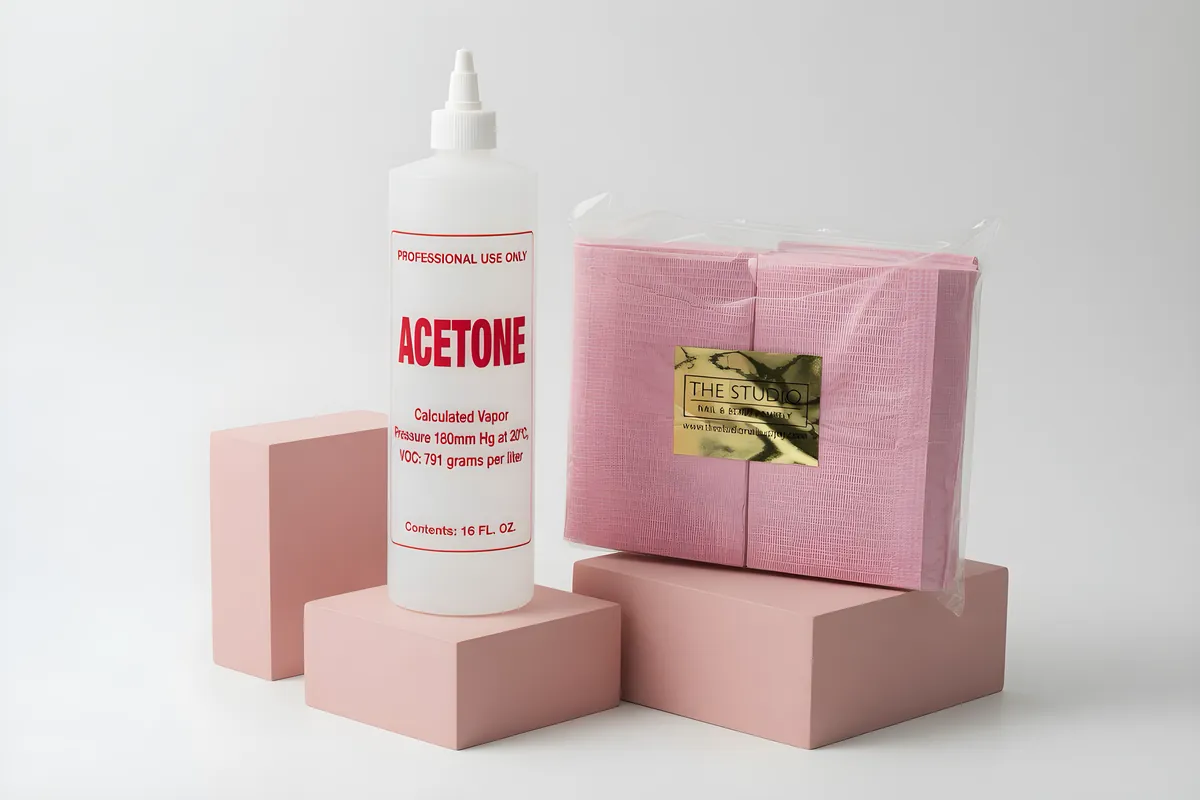
Clean an acrylic brush with fresh monomer, never with soap, water or acetone as a routine. Wipe it on a towel during the service, rinse it in monomer afterward, reshape the tip while damp, and store it flat in a clean, covered place. Gel brushes are usually synthetic and work differently, so follow the gel maker's cleaning directions.
Why brush care decides your results
A nail brush is the tool that touches your product more than any other. A brush that holds its point gives a controlled bead, a clean cuticle line and even pressure. A clogged or frayed brush gives lumps, hairs in the product and a shape you have to fight. Brand guides say a well-cared-for acrylic brush can last well over five years, while a neglected one is ruined in a day.
The two brush families need different care, so know which you own.
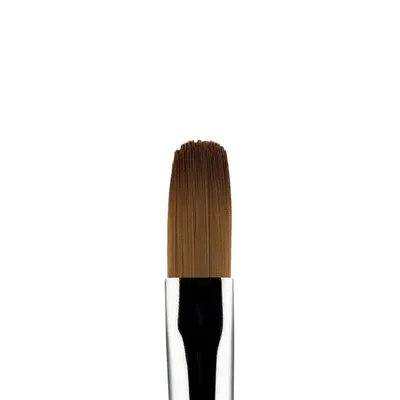
- Acrylic brushes are usually made with natural hair, most often Kolinsky sable, held in a metal ferrule. They are made for monomer and acrylic powder. Natural hair holds liquid well and is easy to dry out or damage.
- Gel brushes are usually synthetic (nylon or similar) because natural hair does not suit most gel formulas. They are shaped for flat, oval or round control.
Browse our acrylic brushes (Kolinsky styles from The Studio, V Beauty Pure, DND and Sophia) and gel brushes (Pink Mask, Mia Secret, V Beauty Pure and more).
Prep a new acrylic brush
A new acrylic brush often comes with a protective coating on the bristles that keeps the point in shape during shipping. NSI, a nail brand, says to remove it before first use.
- Pour a small amount of clean monomer into a dappen dish.
- Dip only the bristles for about 15 seconds. Keep the metal ferrule out of the liquid.
- Lift and wipe gently on a nail wipe or brush mat. Repeat a few times until clean.
- While still wet, shape the bristles into the form you want and wipe once more. Pour out the dirty monomer.
Don't pull on the bristles, and don't submerge the entire brush.
During the service: wipe, wet, shape
Most clogged brushes are made in the middle of a set, not at the end of the day. Build these habits into every service.
- Wipe the brush on a lint-free wipe or brush mat after every few beads, so acrylic does not harden inside the bristles. NSI advises never setting a brush down without wiping it first.
- Dip into fresh monomer, not the same cloudy liquid all day. A used dish carries tiny acrylic particles back into the brush. Pour fresh monomer for each client.
- Keep the ferrule out of the monomer.
- Do not use the brush to push or mix hard-to-reach product. Use the right tool for scraping or pushing.
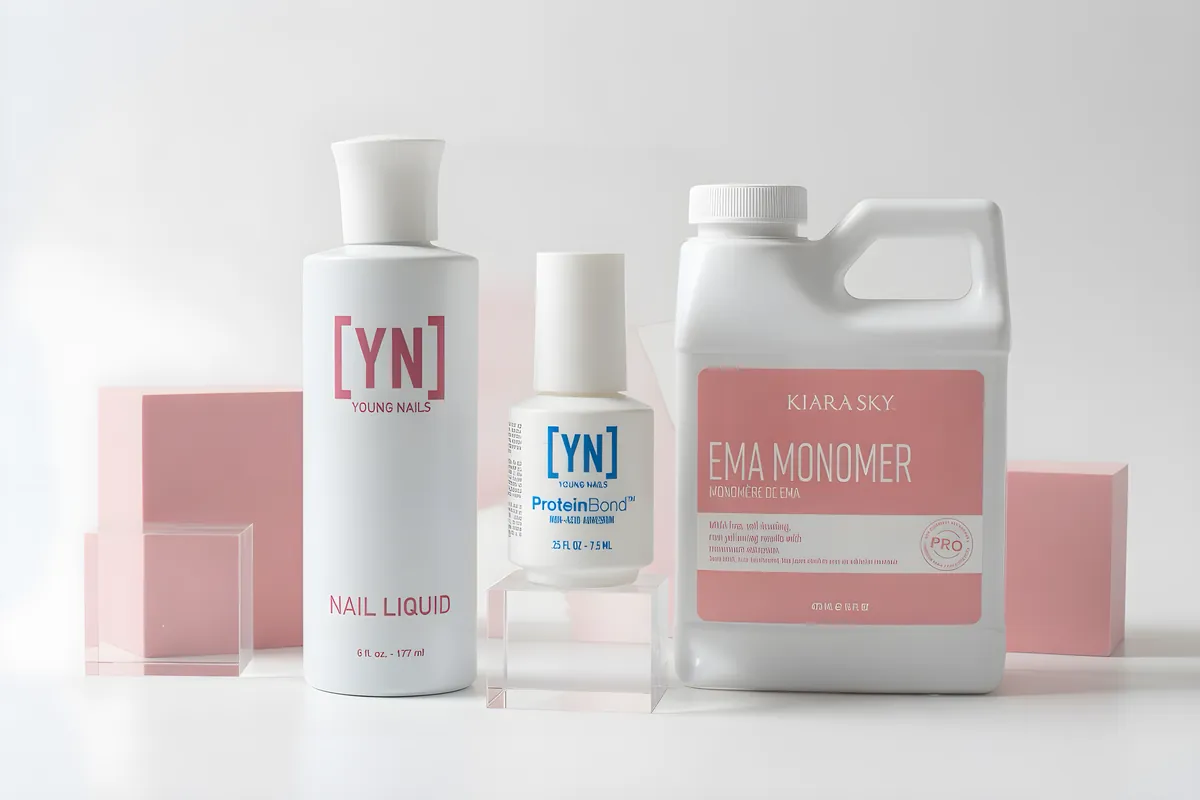
Young Nails lists a ceramic dappen dish as part of its brush-cleaning setup. Our monomer range includes Young Nails, CND, Kiara Sky and NotPolish, and our dappen dishes come in glass and decorative styles.
After the service: clean an acrylic brush step by step
- Pour fresh monomer into a clean dappen dish. Lay out a clean towel beside it.
- Soak the bristles. NSI says to soak for 2 to 5 minutes to soften leftover acrylic. Young Nails says to soak the bristles in monomer after any application, and that a brush that is already clogged can need five minutes to half an hour or more.
- Wipe and press. Remove the brush, wipe it on the towel, then lay it on the towel, fold the towel over and lightly press and gently pull the brush through to push out residue. Avoid scrubbing or pulling, which can break the hairs.
- Repeat if acrylic remains.
- Reshape. Touch the tip to the towel and roll the handle between your fingers to bring the bristles back to a point while they are damp.
- Condition (optional). NSI suggests wiping the brush with a few drops of cuticle oil on a wipe, and adding a brush conditioner, to help lock in moisture.
- Dry and store. Rest it on a clean dry towel so it can dry, then store it in a drawer or covered place.
A hardened or clogged acrylic brush
If acrylic has set in the bristles, act quickly. The longer it sits, the less likely you can save the brush.
- Soak the bristles in fresh monomer. Start with a few minutes and extend if needed. Young Nails allows from five minutes to half an hour or longer. Another brand allows up to 48 hours for brushes that are completely hard.
- Wipe and press out loosened product on a towel. Use a cuticle pusher to gently push the bristles down and release chunks, as one brand suggests.
- Reshape while damp.
- Last resort: a little acetone. Young Nails says to add a drop or two of acetone to the monomer and soak for five to ten minutes, repeat as needed, then rinse the brush in fresh monomer to remove all acetone. Another brand says acetone cleans but can dehydrate the bristles, so use it only after monomer has failed.
Acetone is hard on bristles and ferrule glue. If you end up with frayed or sparse ends afterward, Young Nails says it is time to replace the brush. A brush that is badly clogged is often too far gone to rescue, which is why daily care is cheaper than replacement.
Caring for gel brushes
Gel brushes are usually synthetic. NSI notes that brush cleaners, which are too harsh for natural sable, are better suited to gel brushes made with synthetic or nylon bristles. Still, gel brand instructions vary, so check the maker of your gel and brush.
General habits that help any gel brush:
- Wipe it before the gel cures. Cured gel in the bristles is hard to remove. Wipe the brush on a lint-free wipe right after use, and clean it with the product the gel maker names.
- Keep gel away from light. Gel hardens under UV and LED light. Put the cap back on bottles and store brushes away from the lamp.
- Use a separate brush for each gel type. Builder gel, color gel and clear base can contaminate each other if you mix brushes.
- Keep acrylic and gel brushes separate. Each brush is made for one kind of product.
- Shape the bristles and store flat or with a cap. A bent tip does not recover.
Our clean-up brushes are handy for tidying around the cuticle without touching your gel brush.
Acrylic brush vs gel brush at a glance
| Acrylic brush | Gel brush | |
|---|---|---|
| Typical hair | Natural, often Kolinsky sable | Usually synthetic (nylon or similar) |
| Used with | Monomer and acrylic powder | Gel, builder gel, polygel (check the maker) |
| Routine cleaner | Fresh monomer | The gel maker's recommended cleaner or wipe |
| Avoid | Soap, water, acetone as routine. Leaving product to harden | Cured product in the bristles. Mixing with acrylic |
| Tip care | Reshape while damp | Reshape and cap or store flat |
| Replace when | Frayed or sparse after cleaning, hairs shed, will not hold a point | Bristles splay, tip bent, residue won't clean |
Storage and when to replace
- Store flat in a covered container or drawer, or in a dedicated brush holder or case. NSI advises storing brushes flat in a covered area, and not in a position where the bristles press against anything.
- Keep the point protected with a cap or holder. We stock brush holders in many sizes.
- Don't stand a brush on its bristles, and don't leave it in monomer.
- Replace a brush that loses its point, sheds hairs into the product or stays splayed after conditioning.
Brushes are metal and hair, so Florida disinfecting rules (61G5-20.002) apply to a brush used on more than one client: clean it, then use an approved disinfectant. The rule says brushes should have hair removed, then be immersed in an approved disinfectant. Natural-hair acrylic brushes are rarely soaked in disinfectant because it dries the hair, so many salons assign brushes to a single service and wipe the handle and ferrule with an approved disinfectant. Confirm your approach with the Florida Board of Cosmetology or your instructor.
Mistakes that ruin brushes
- Leaving product in the bristles. Acrylic hardens in minutes. NSI's rule is never to set the brush down without wiping it first.
- Using dirty monomer. Used liquid carries bits of cured acrylic. Pour fresh monomer for cleaning and for each client.
- Dipping the ferrule. NSI says to keep the metal ferrule out of the liquid.
- Scrubbing the bristles. Young Nails warns that scrubbing or pulling can damage or break the hairs.
- Standing the brush on its bristles. A bent tip stays bent.
- Acetone as a daily cleaner. It is a last resort. Kiara Sky and Young Nails both warn that it damages bristles.
- Putting a brush back in its original packaging after use. NSI cautions against it because contact with monomer can break down plastic packaging.
- Using one brush for everything. Keep a dedicated brush per product type.
Shop what's in this guide
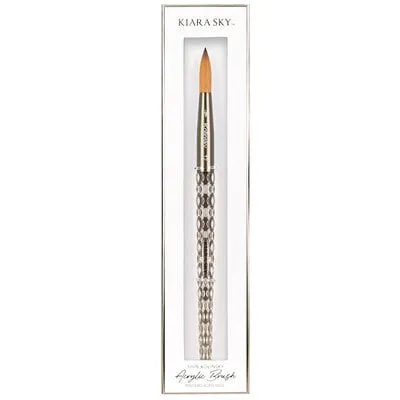
Acrylic Kolinsky Brush - Black - Size 12
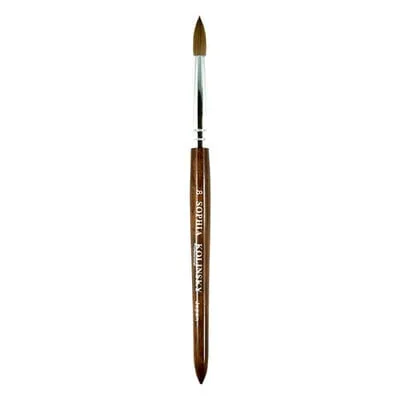
Kolinsky Acrylic Brush - Japan - Wood - #8
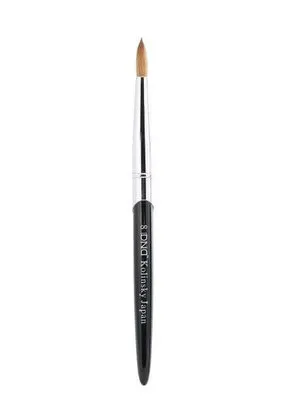
Kolinsky Acrylic Brush - Black - #8
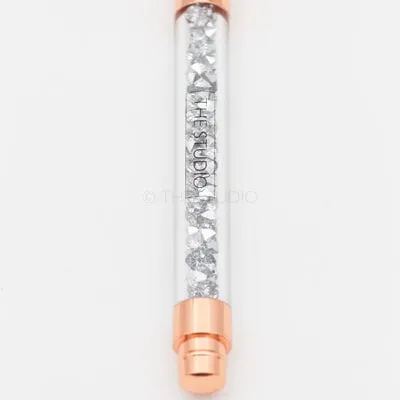
Kolinsky Acrylic Brush - Rose Gold - Silver Crystal - #10
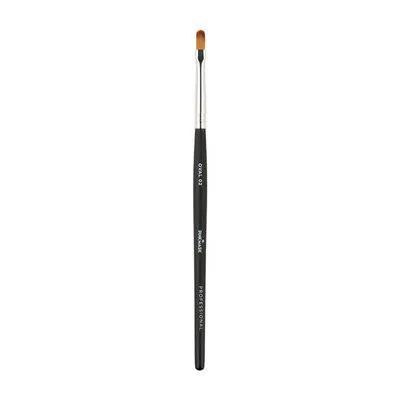
Gel Brush Oval - 02
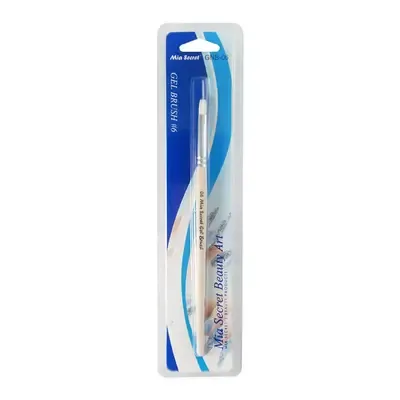
Gel Brush #6
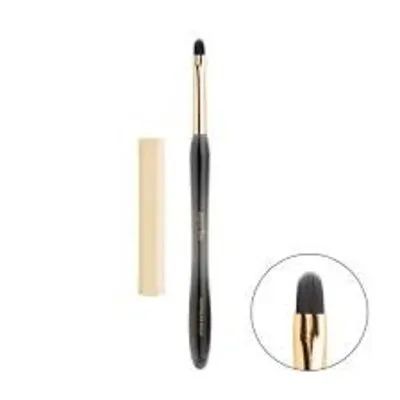
Flat Round Brush