How to make lash fans: the pinch method, step by step
Learn how to make handmade volume lash fans with the pinch and roll method, fix collapsing or twisted fans, and know when premade fan trays make sense.
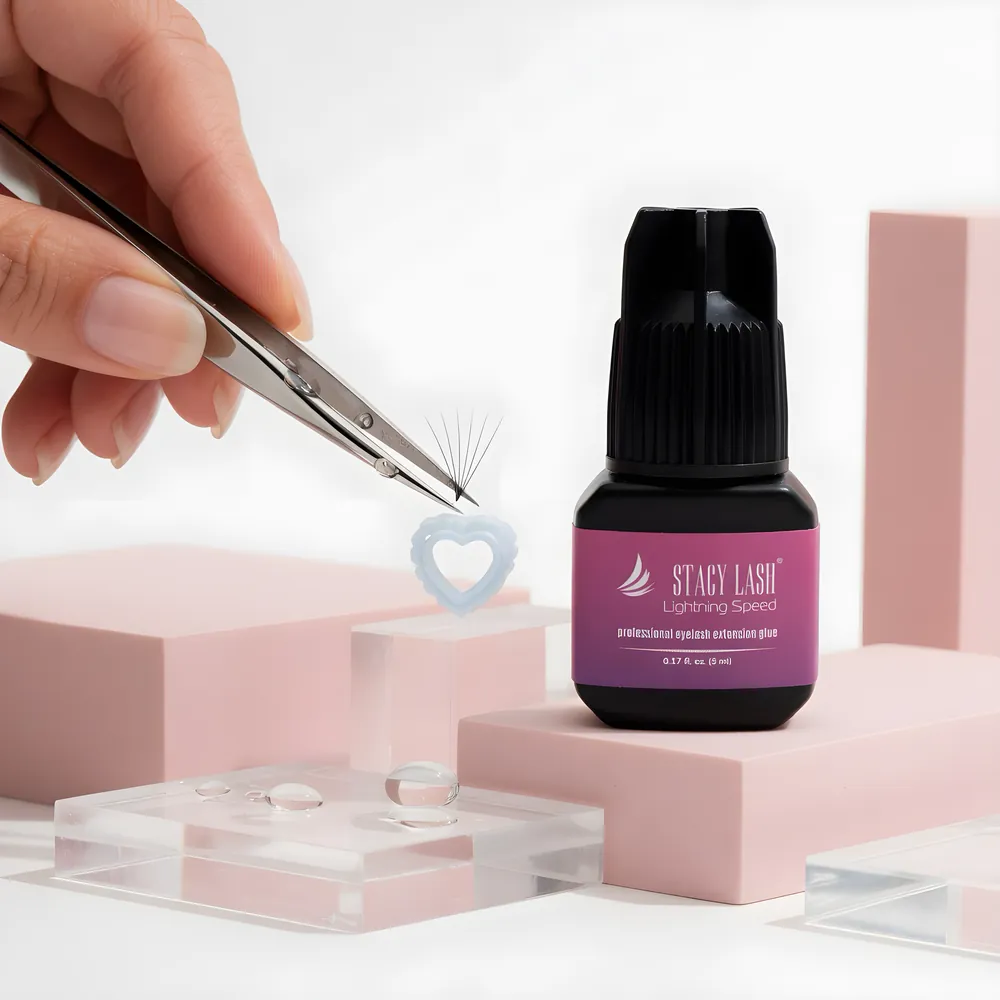
A lash fan is a group of two or more ultra-fine extensions joined at the base so they open like a small hand fan on one natural lash. To make one by hand, pull a few lashes off the tray with tweezers, pinch the base between your fingers, release the tweezers, then keep pinching and gently rolling the base until the tips open into a fan. Light pressure and a clean, even base matter more than speed.
What a lash fan is (and what 2D to 10D means)
A volume lash fan is several very thin extensions attached to one natural lash. The "D" number is just the count of extensions in the fan. A 3D fan has three, a 5D fan has five, and so on.
According to Lash Affair's breakdown of lash styles, standard volume uses 2 to 6 ultra-fine extensions per natural lash at roughly 0.05 to 0.07 mm. Mega volume (also called Russian volume) uses 10 to 16 or more at roughly 0.03 to 0.05 mm. The same source notes the technique of handmade ultra-fine fans of 10 or more lashes came out of Russian lash artists in the early 2010s, which is where the name comes from.
| Fan size | Typical name | Typical fiber thickness | Who it suits |
|---|---|---|---|
| 2D to 3D | Light volume | 0.05 to 0.07 mm | First fans, fine natural lashes, soft fullness |
| 4D to 6D | Volume | 0.05 to 0.07 mm | Everyday full sets once your fans are consistent |
| 7D to 10D | Heavy volume | 0.05 mm and finer | Experienced artists, strong natural lashes |
| 10D to 16D | Mega volume | 0.03 to 0.05 mm | Advanced work with very fine fibers |
The ranges above come from published lash-education sources and vary a little between brands. Treat them as a map, not a rule, and follow your trainer's guidance on what is safe for your client's natural lashes.
Why fans use thinner fibers
The whole point of a fan is more look with less weight on the natural lash. A single classic extension can be 0.15 mm thick. A fan splits that load across several hair-thin fibers.
Here is simple geometry you can check yourself. The weight of a fiber of the same length and material follows its cross-section, which grows with the square of the diameter. One 0.15 mm fiber has a cross-section proportional to 0.15 x 0.15 = 0.0225. A 5D fan of 0.05 mm fibers is 5 x (0.05 x 0.05) = 0.0125, so it carries a lot less material than that one classic. A 10D fan of 0.05 mm fibers lands around 0.025, close to a single 0.15. That is why a 10D fan on a weak natural lash is not a free upgrade, even though each fiber is thin.
Lash Affair states plainly that thicker fibers add weight per extension and stress the natural lash, and that a responsible artist matches the diameter to the client's natural lash strength. Fan size and fiber thickness should be chosen together, never one at a time.
Set up your station before you start fanning
Most bad fans come from a messy setup, not bad hands. Before you pinch anything, get these in place:
- A tray with the right diameter and curl. Pick the thickness for the fan you want before you pull any lashes. Browse the full range in lash trays.
- Tweezers that suit fan making. Stacy Lash's tweezer guide says volume work asks for tips and tension that fit your preferred fanning method, and that boot tweezers have an angled tip that gives a useful pickup surface. See our lash tweezers types guide or shop lash tools and tweezers.
- A second pair of isolation tweezers for placing the finished fan.
- A flat surface for the glue. A lash palette or glue ring keeps a fresh drop within reach.
- Good light and a steady forearm. Rest your wrist. Shaky hands make twisted bases.
Wash your hands and keep tools clean. The FDA's eye cosmetics guidance says to wash hands before applying and to make sure any instrument you place near the eyes is clean.
The pinch and roll method, step by step
The pinch method is one of the most taught ways to make handmade fans. A lash-education write-up from Curacoro breaks it into three moves: pull the lashes off the strip, pinch the base, then keep pinching and rolling the base to rotate the lashes open into a fan. Here is the same flow in practical detail.
- Choose the fiber first. Decide the diameter that matches the client's natural lash and the look you want. Do this before touching the tray.
- Pull the lashes off the strip. Place the tweezer tips on the top and bottom of the lash group and pull toward you and slightly up. Take the number of lashes you want in the fan, no more.
- Bring your fingers in. Curacoro suggests pointing the tips of your thumb and index finger toward your chest so they form about a 90 degree angle to you.
- Pinch the base. Pinch the bases of the lash group between those fingertips, then release the pressure on the tweezers.
- Roll to open. Keep pinching and gently rolling the base between your fingers. The fibers rotate and spread into a fan. Stay light. Curacoro warns that heavy pressure can break the lashes.
- Check the fan. Look at it from the side and from above. The base should be narrow and tidy, the tips evenly spaced.
- Pick it up. Grip the fan just above the base with your volume tweezers.
- Dip only the base. Touch the base into a small drop of adhesive. Glue climbing up the stems makes sticky, clumped fans.
- Place it. Attach the fan to an isolated natural lash, then check for stuck neighbors before you move on.
Curacoro also makes a point worth repeating: there is no single tweezer that fits everyone, and practicing with one pair for a couple of weeks tells you more than rotating through many.
Easier routes while you build your hands
Handmade fans take months to get consistent. Two common ways to get working sooner are the lonely fan approach and premade fans.
The lonely fan method
Educators often describe this as the beginner-friendly option: you separate the lashes and spread them with your tweezers so they open on their own, then dip only the base in glue. It is slower to look perfect but forgiving while your fingers learn the pinch.
Premade fans
Some trays are sold already built into fans, so you skip the fan-making step and focus on isolation, placement and retention. The Studio's PreVolume trays list the fan size right in the name, for example 7D at 0.07 in a C curl, and 10D at 0.05 in C or D curls. They are a good way to learn how a finished fan should look and to take pressure off a busy day.
Handmade fans give you control over width, density and curl mixing, which premade fans cannot. Premade fans give you speed and consistency. Many artists use both. If you are mapping out your first volume sets, our guide on classic vs volume vs hybrid lashes explains where each fits.
Fan problems and fixes
| Problem | Likely cause | Fix |
|---|---|---|
| Fan collapses when you pick it up | Base not joined, or tweezers gripping too low | Roll the base a few more times before releasing, and grip just above the base |
| Twisted or crossed base | Over-rolling, or fibers pulled at uneven angles | Pull a clean bundle from the tray, roll gently in one direction, and discard fans that cross |
| Fan is too wide | Too much rolling, or too many lashes | Fewer rolls, or switch to a lower count. Wide fans are a style choice, not a default |
| Fan is too narrow or closed | Not enough roll | Add a gentle roll and check from the side |
| Sticky, clumped fans | Glue climbing the stems | Dip only the base and use a fresh drop of glue |
| Broken or kinked fibers | Pressure too heavy | Lighter pinch. Curacoro's guidance is to stay very light with movement |
| Fans fall off quickly | Base glued unevenly or natural lash not isolated | Check isolation, clean the natural lash, and review your glue conditions (see our lash glue range) |
A simple practice plan
You do not need a live client to improve. The Studio carries practice silicon eyes in nude and brown so you can rehearse placement without a person in the chair.
- Week 1: Make 2D and 3D fans only. Make twenty on a palette and judge them by eye: tidy base, even tips.
- Week 2: Add a drop of glue, dip bases only, and place fans on practice eyes. Check each one for stuck lashes.
- Week 3: Move to 4D and 5D. Time yourself but do not chase speed until the fans are consistent.
- Week 4 onward: Mix widths, try a premade tray alongside your handmade fans, and compare them side by side.
Keep every practice session short and focused. Twenty good fans teach more than a hundred rushed ones.
Picking trays for fan work
Fine fibers are what make a fan light, so look for 0.03, 0.05 or 0.07 thickness depending on fan size. Elan's tray range includes fine options in several curls, and The Studio's range covers 0.05 and 0.07. Choose a curl you can reproduce consistently, since curl mixing makes fans harder to judge. Our guide to lash trays for beginners walks through curl, thickness and length choices.
Shop by brand: Elan, The Studio and Ardell.
Shop what's in this guide

Lash - Cashmere Mink - Dark Brown - 0.05 - CC Curl - MIX (10-15)
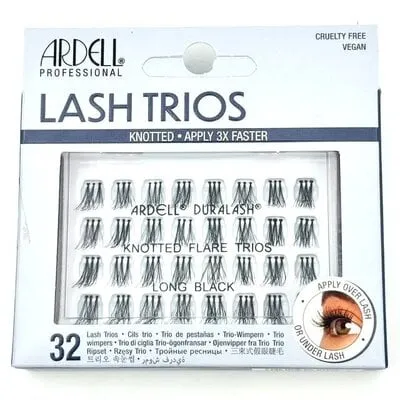
Lash Trios - Knotted Flare Trios - Long Black
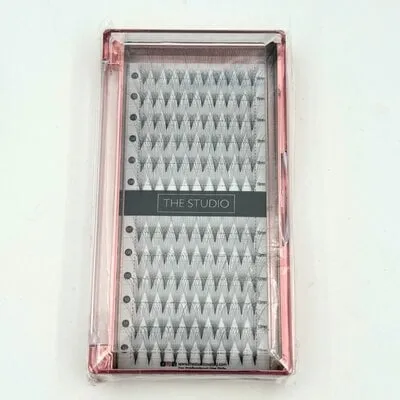
Lash - PreVolume - 10D - .05 - C - 20mm
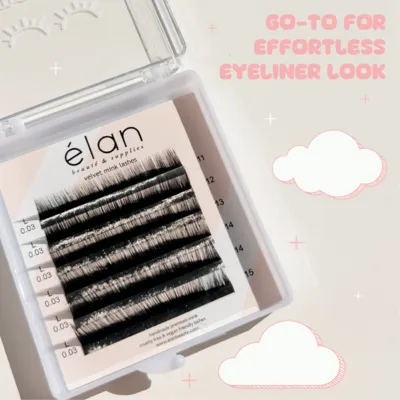
Lash - Mini Tester Tray - 0.03 - L Curl - Mix 11-15mm

Lash Wash Bottle - Purple - 250 mL
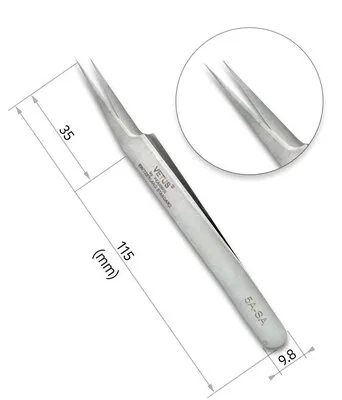
Tweezers Fine Tip - 5ASA
Fiber Tip Tweezer - Pink - 4